
Create Links that Point to Locations in Another Document (Glossary Example)
- Introduction
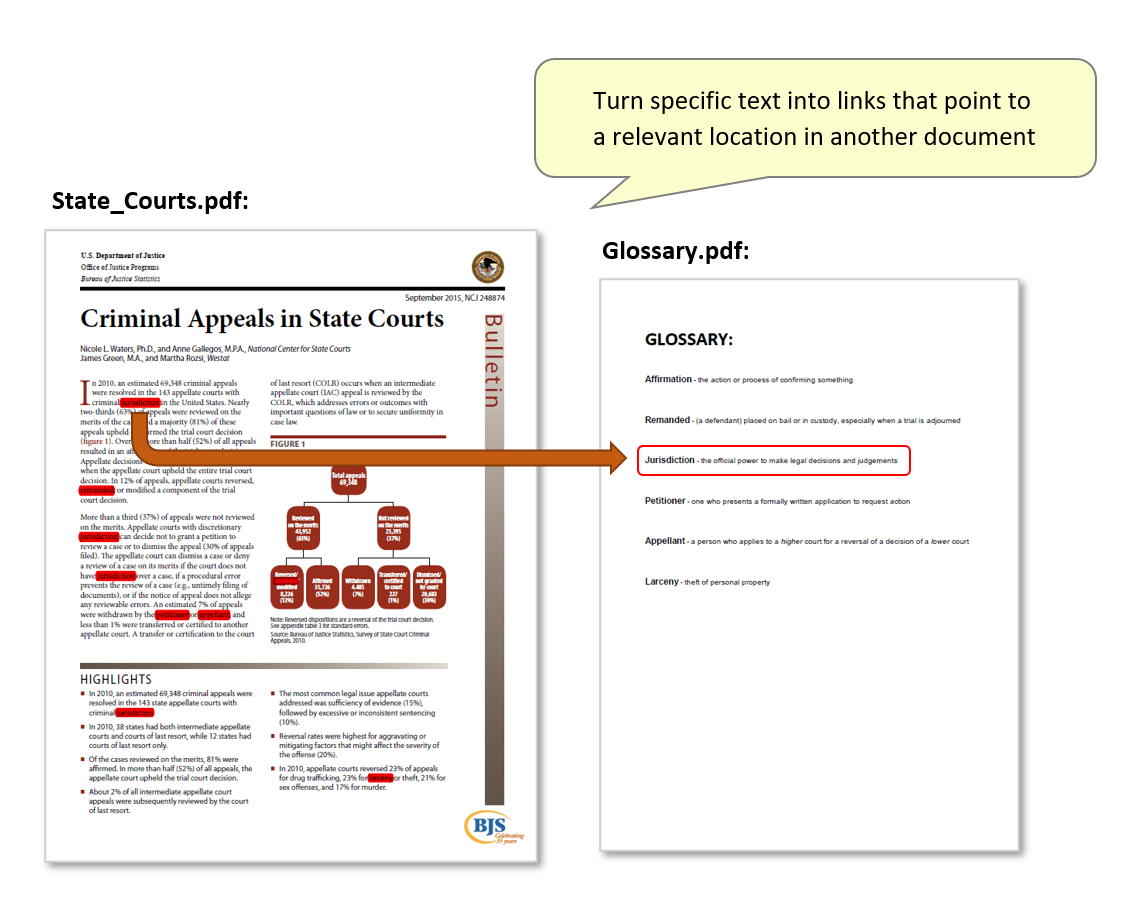
- This tutorial explains a way to add links to specific items of text in a document, that point the user to a page location in another file. This may be useful for reducing the amount of information on pages by linking the user to another document, instead of featuring footnotes/annotations in the same document. The example below explains the method using a glossary file as the secondary document. The main document contains specific keywords that need to be turned into links - these will point to the corresponding location in the glossary when clicked on.
- The same technique could also be useful for linking to a second document containing a series of labelled images, so that they are kept out of the main document. The main document would only need written image refences (e.g.: “see fig.1”). Alternatively, the secondary document could be an index of annotations created to add informative updates to existing text, whilst preserving the original document.
- Method Description
- The goal is to turn specific words in a document into links that point to the relevant definition located in a separate glossary file. First, each keyword/definition must be bookmarked in the glossary. These bookmarks are then used to generate a "link dictionary" - used to turn all occurrences of these keywords in the main document into interactive links, that direct the user to the bookmarked location in the glossary file.
- Input Document Description
- The files used here include a sample PDF (State_Courts.pdf) containing some 'keywords' which we wish to turn into links (highlighted in the image above). The keywords are all listed in the second PDF (Glossary.pdf). This is a glossary file containing all keywords, along with definitions for each one (see image above).
- Note that the documents could be of any length, with the secondary (glossary equivalent) file containing many more locations to point to, but we will demonstrate using only single-page documents.
- Prerequisites
- You need a copy of Adobe® Acrobat® along with the AutoBookmark™ plug-in installed on your computer in order to use this tutorial. Both are available as trial versions.
- Step 1 - Open the "Bookmark Text Patterns" Dialog
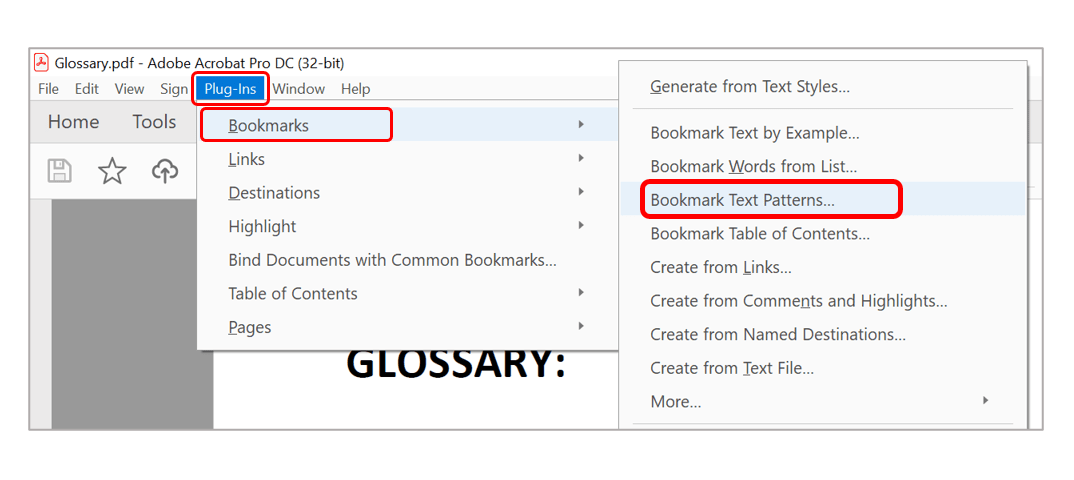
- The first step is to bookmark each item in the glossary document that you want the links in the main document to direct the user to. In this example, we will bookmark each keyword via a text search. Open the (Glossary.pdf) document in Acrobat, then select "Plug-Ins > Bookmarks > Bookmark Text Patterns..." from the main menu.
- Step 2 - Add a Bookmarking Text Pattern
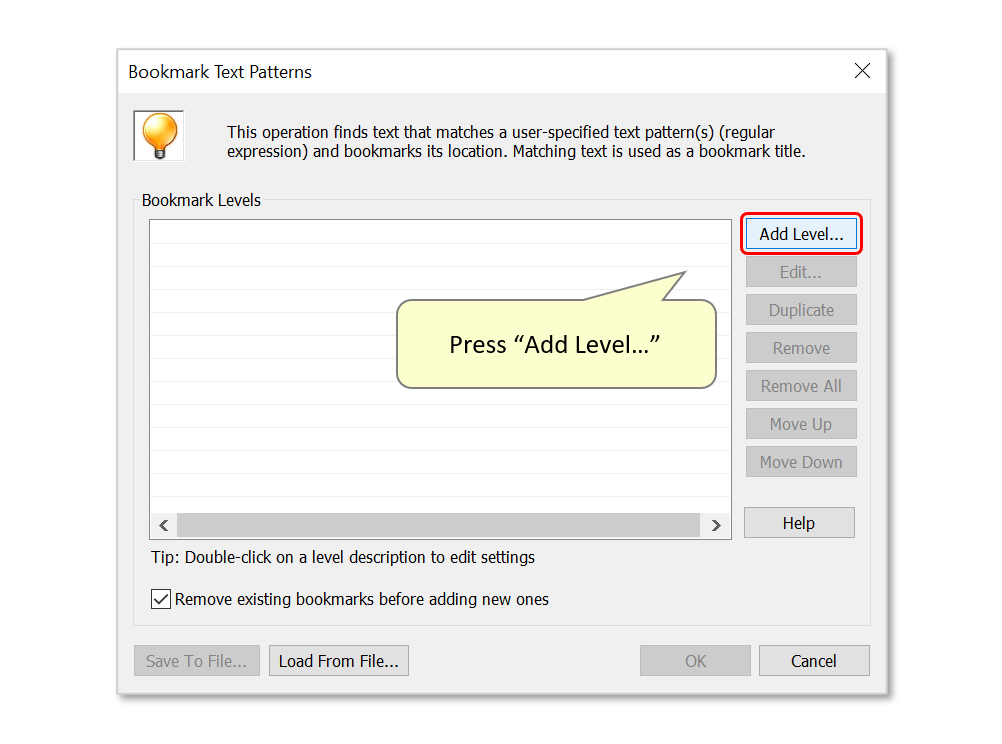
- Use the "Bookmark Text Patterns" dialog to configure search parameters that will bookmark the relevant text. Press "Add Level..." to add a pattern.
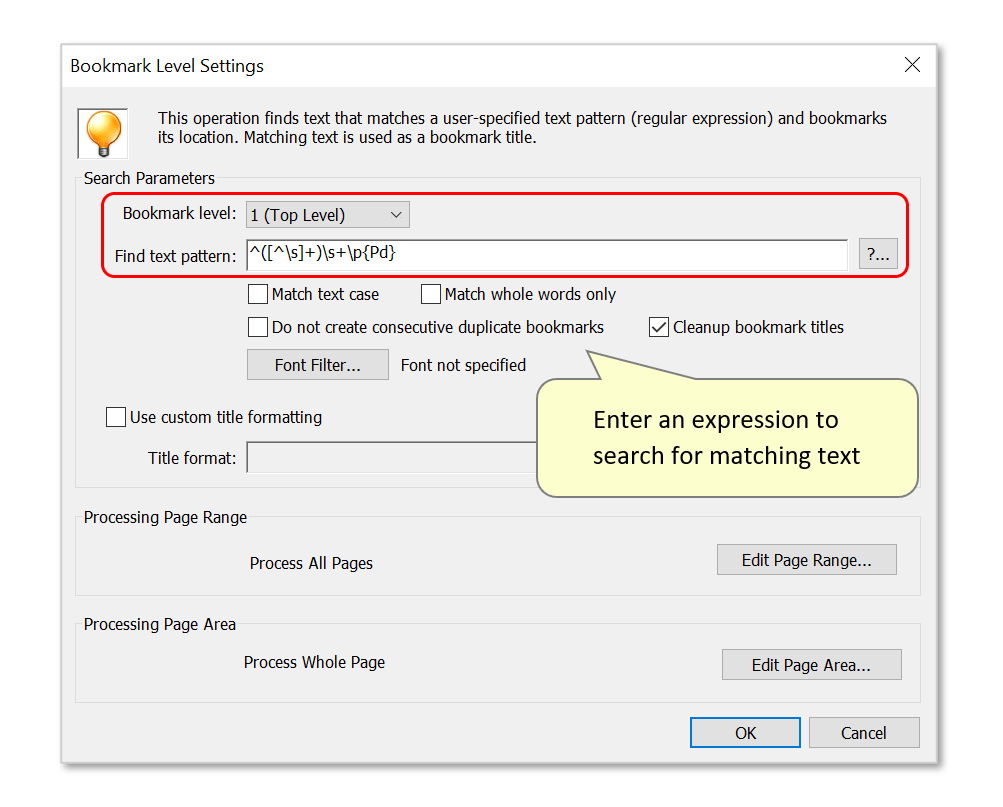
- Use the settings dialog that opens to enter a text pattern (regular expression). All text found matching this criteria will be bookmarked - here, the search will produce "level 1" bookmarks. The expression must identify keywords that exist before a dash (-). All keywords in this document follow a "Keyword - ..." format.
- The search expression used here is ^([^\s]+)\s+\p{Pd}:
- ^ - matches with the start of a new line
- ([^\s]+) – identifies one or more NON-whitespace symbols (a keyword). It will match all text until a space or a new line occurs
- \s+ - matches one or more whitespace symbols
- \p{Pd} – identifies the occurrence of a dash (-)
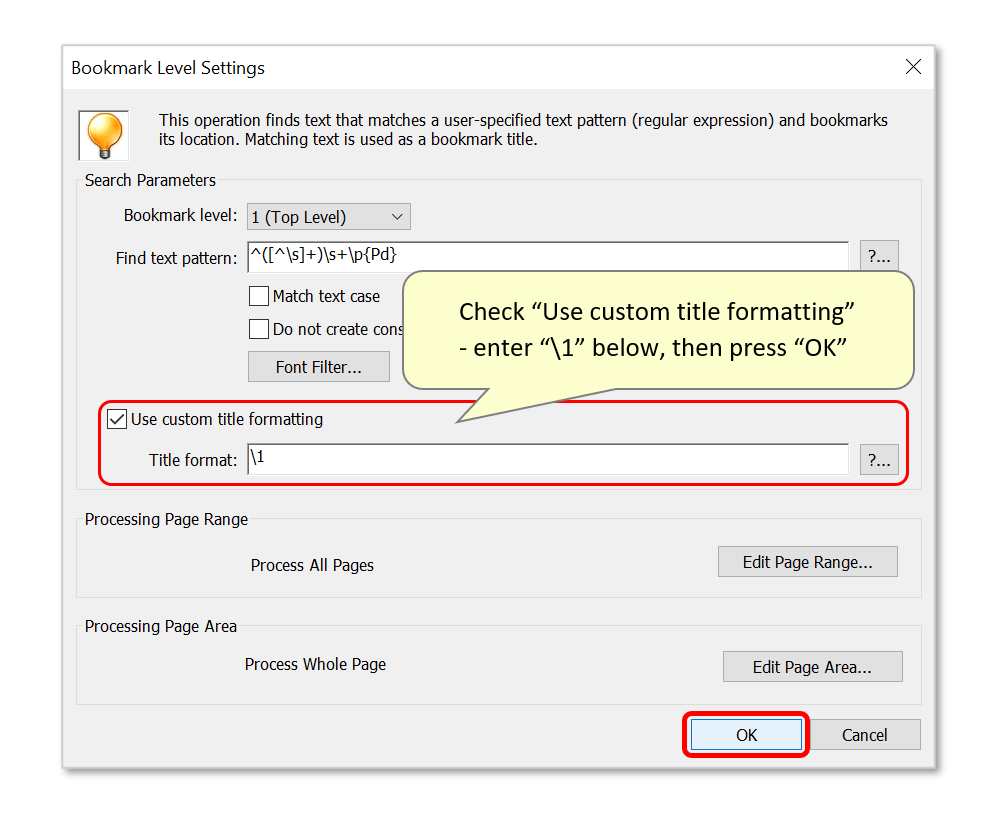
- Optionally check the checkboxes below to use any of the available processing options. In this example, we have unchecked "Match text case" so that the search is NOT case sensitive. All keywords being bookmarked here begin with a capital letter - unchecking this option means that any text occurring before a dash will be bookmarked.
- If “Use custom title formatting” is disabled, new bookmark titles will be identical to the text found to match the expression.
- It may be desirable to name bookmarks slightly differently to how the identified text occurs in the document. It’s possible to configure the plug-in to name bookmarks using text that matches only a specific capture group used as part of the regular expression (enclosed search items within a pair of round brackets).
- The capture group used here is “^([^\s]+)” - check "Use custom title formatting" and enter "\1" next to "Title format:" to name bookmarks using ONLY the word identified by the search expression. “\1” refers to the first capture group used in a regular expression. This will avoid the dash being included in the bookmark titles (e.g.: "Affirmation" instead of "Affirmation -" etc.
- Press "OK" to proceed.
- Step 3 - Confirm the Search Pattern(s)
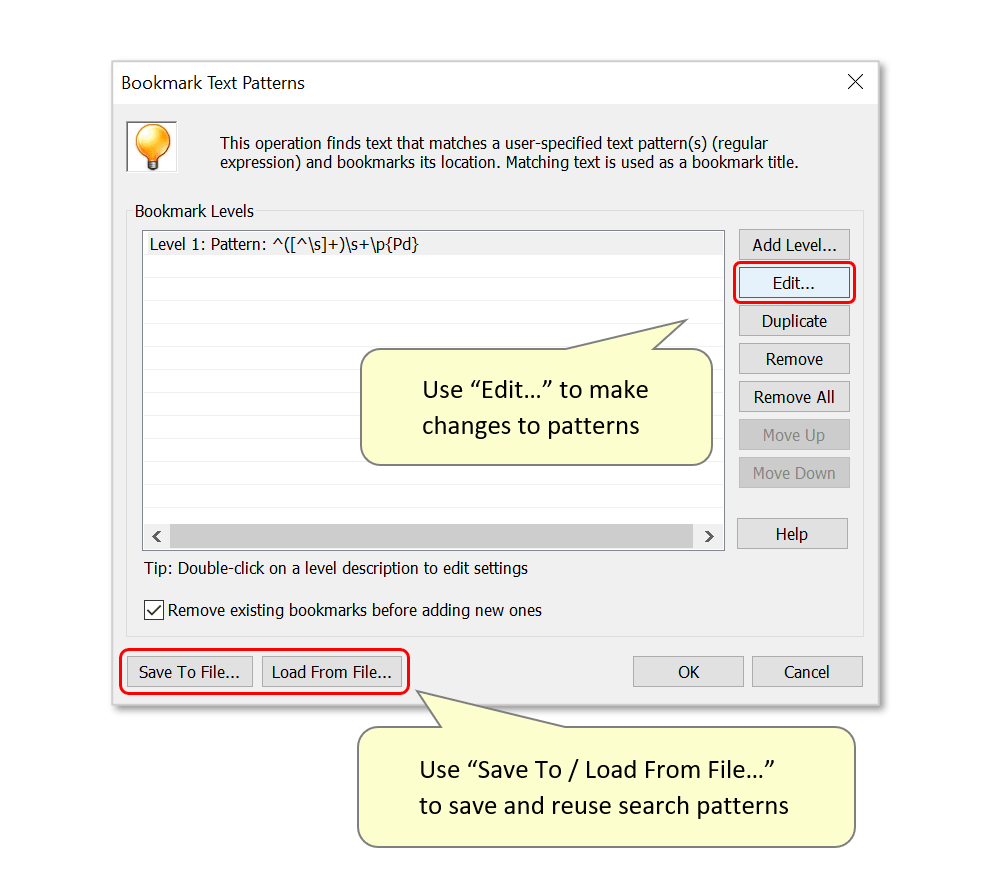
- Optionally select a bookmark level search pattern in the list on the left and press "Edit..." to make any changes.
- Use the "Save To File..." button to save the current search pattern(s) as an *.abtp settings file for future reuse. This can be loaded via the "Load From File..." button to process new documents in the same way.
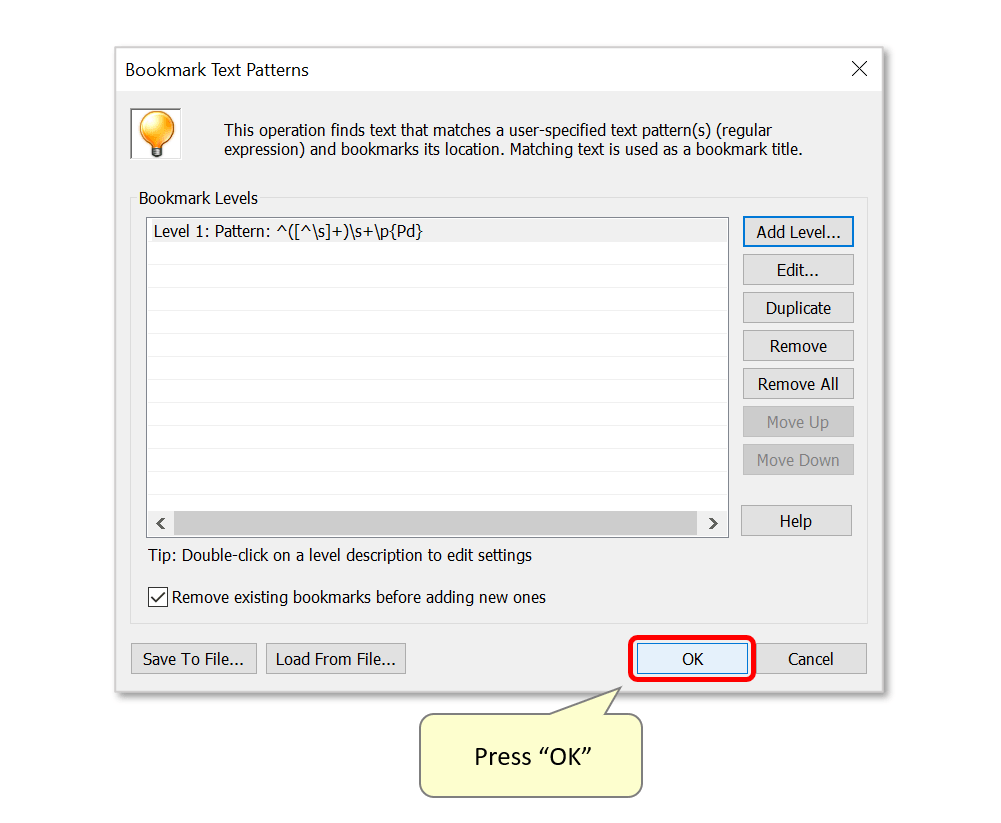
- Press "OK" to run the search and create bookmarks.
- Step 4 - Inspect the New Bookmarks
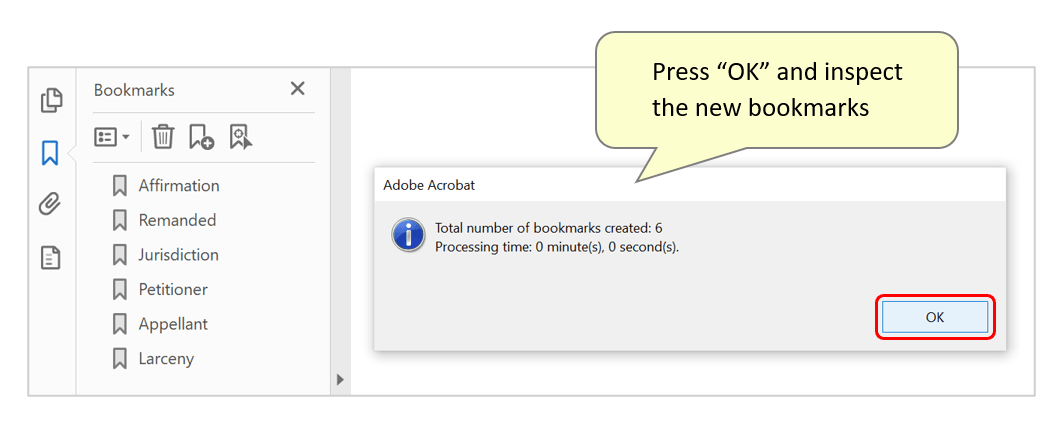
- A report box will show the number of bookmarks successfully created. Press "OK" to close it.
- Inspect the new bookmarks added to the document - if necessary, expand the "Bookmarks" navigation pane using the arrow symbol on the left. In this example, all keywords with definitions have been identified and bookmarked. The bookmarks are named after each keyword.
- Save changes to the document, then close it (press the save symbol in Acrobat - or use "File > Save" from the main menu).
- Step 5 - Create a New Dictionary
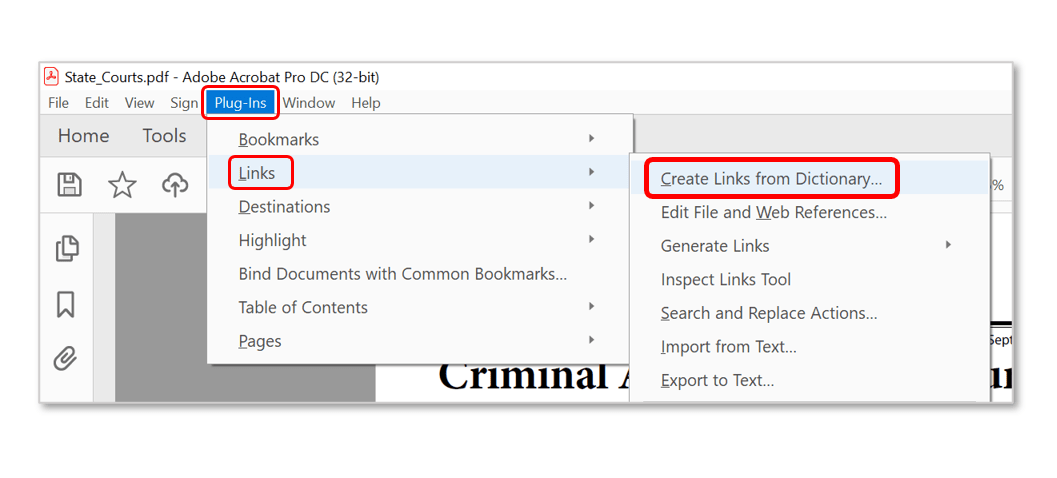
- Open the PDF document you want to add links to (State_Courts.pdf) in Acrobat, and select "Plug-Ins > Links > Create Links from Dictionary".
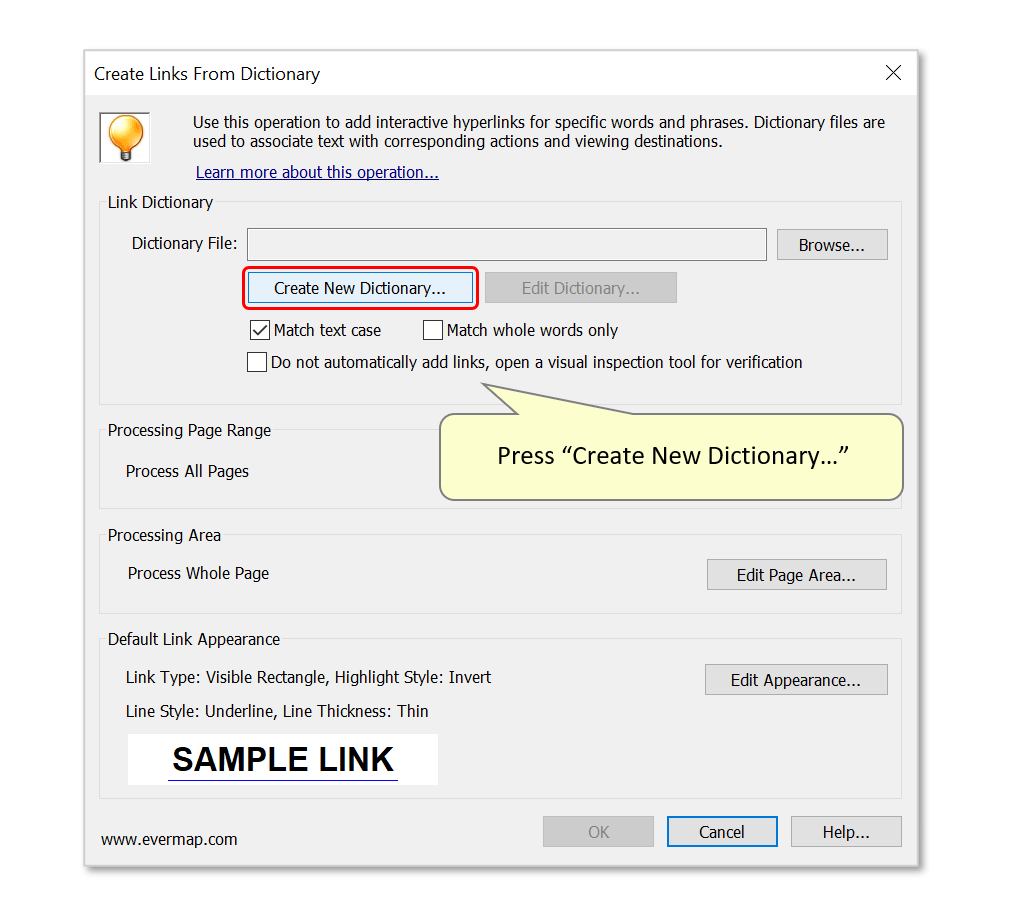
- Press the "Create New Dictionary..." button.
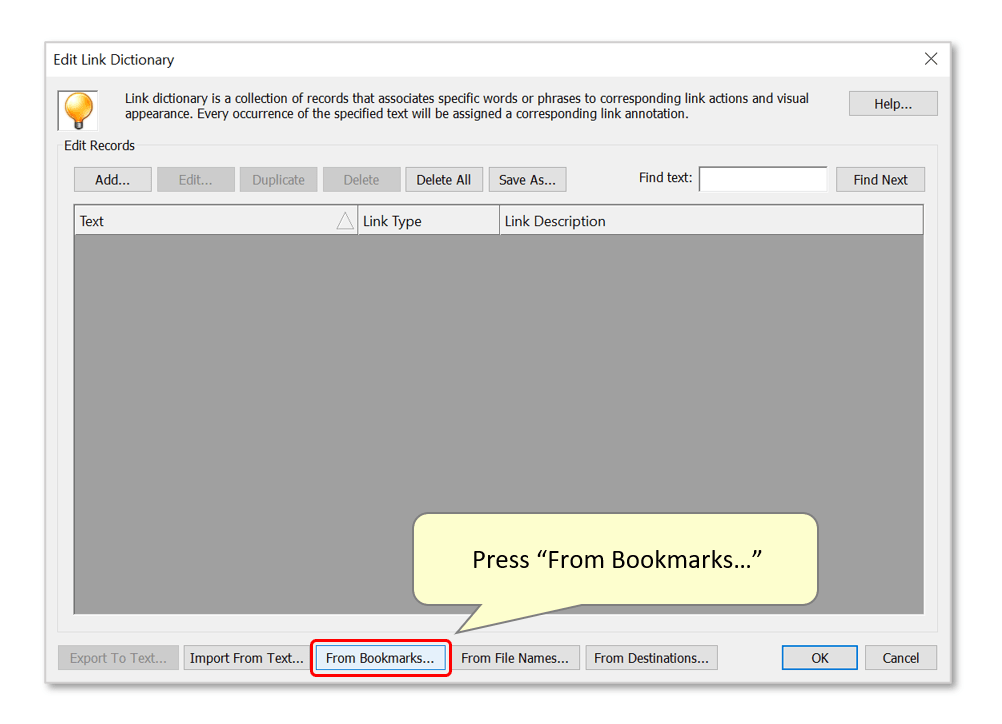
- Step 6 - Create a Dictionary from Bookmarks in Another Document
- Press the "From Bookmarks..." button.
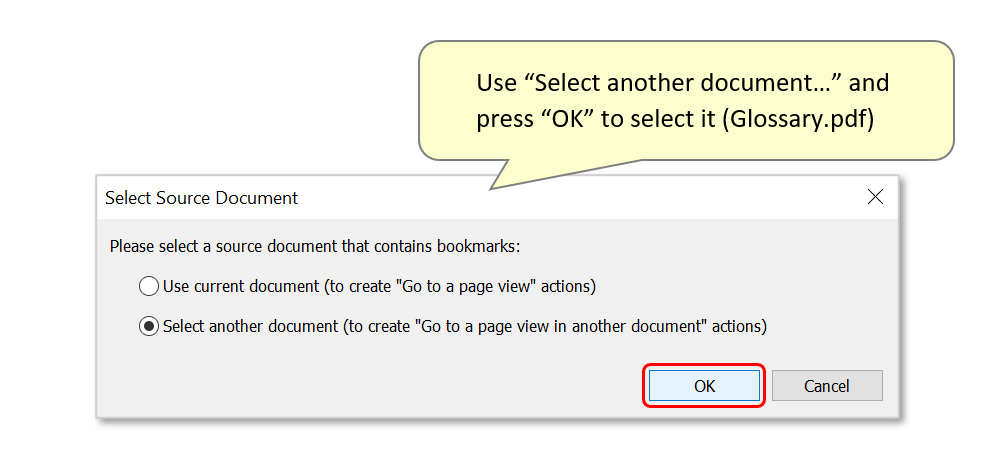
- In the dialog that opens, choose the "Select another document..." option and press "OK".
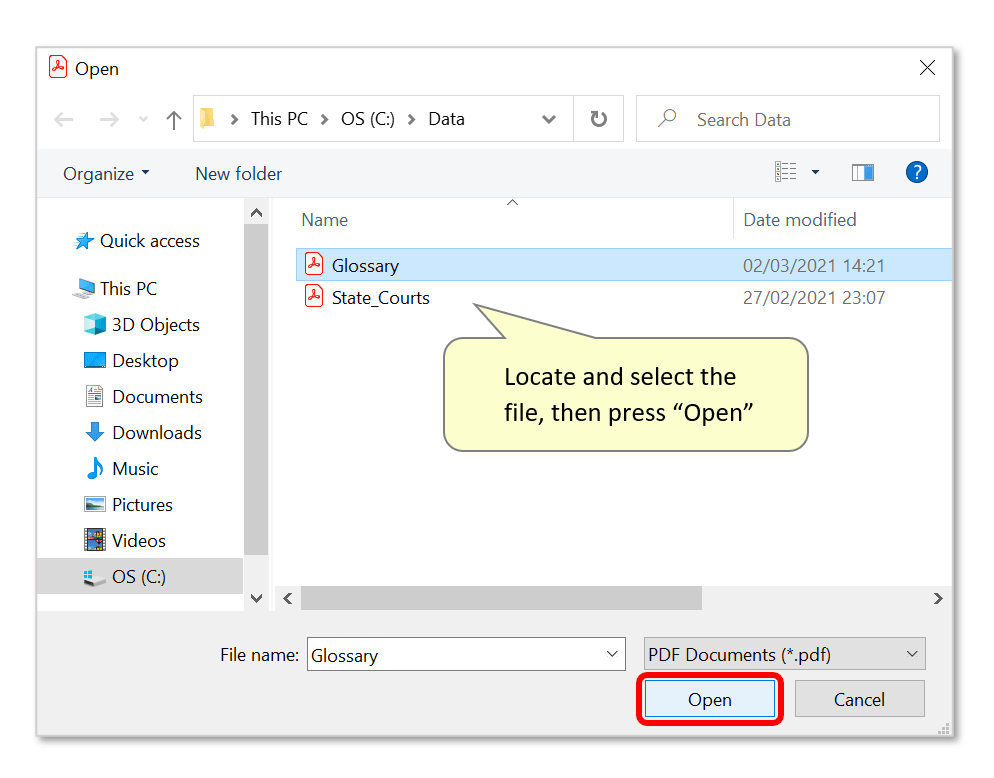
- Locate the file that you want to create links to (Glossary.pdf), select it, and press "Open".
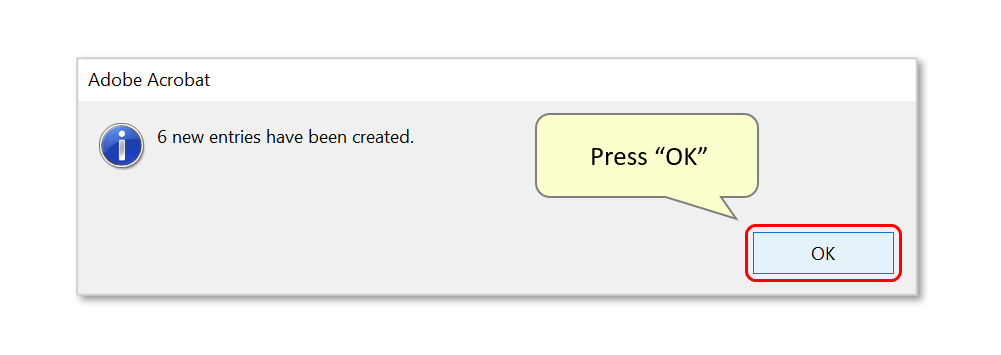
- A report box shows the number of dictionary entries created - press "OK" to close it.
- Step 7 - Save the Dictionary
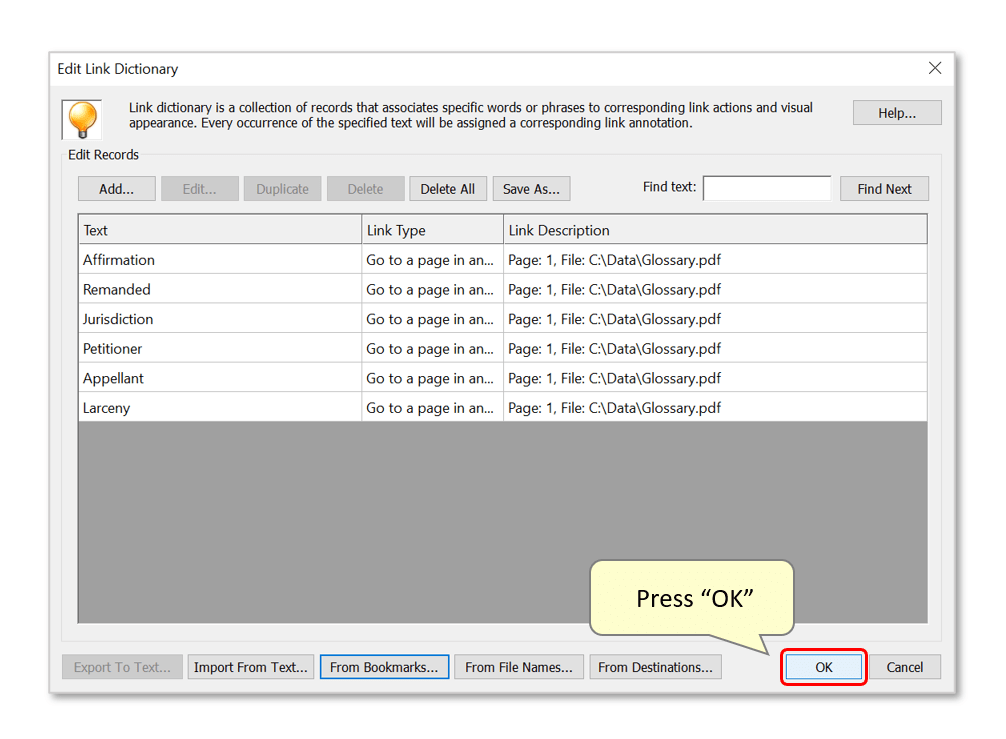
- Press "OK" to proceed to generate links.
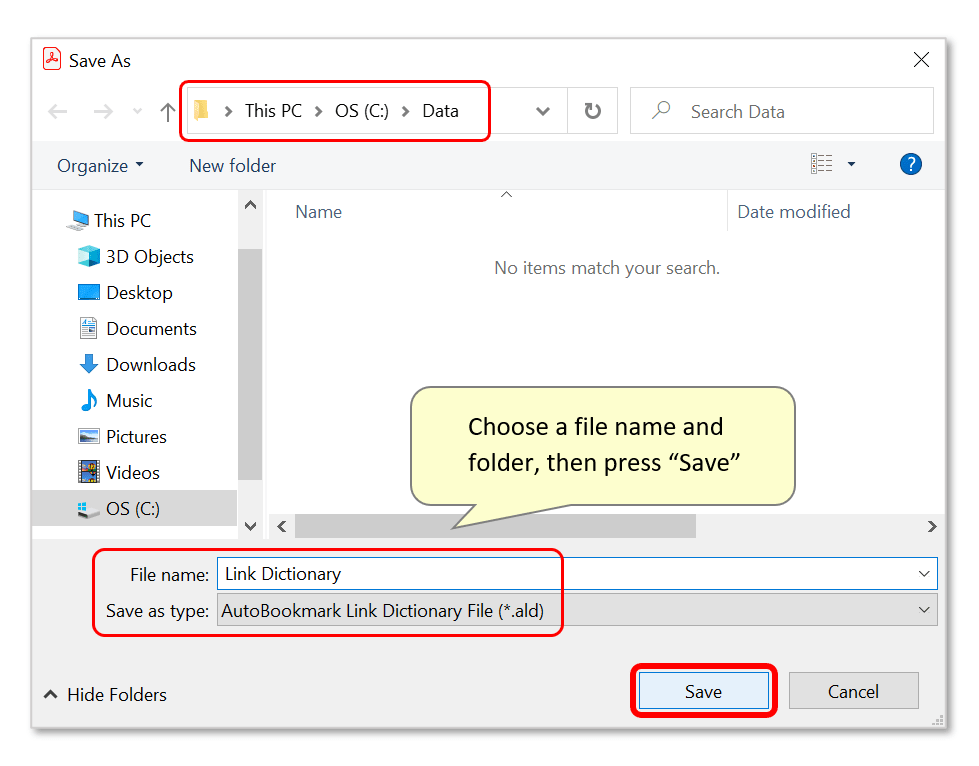
- You will be prompted to save the dictionary. Choose a file name and location, then press "Save". The file will be saved with an *.ald extension.
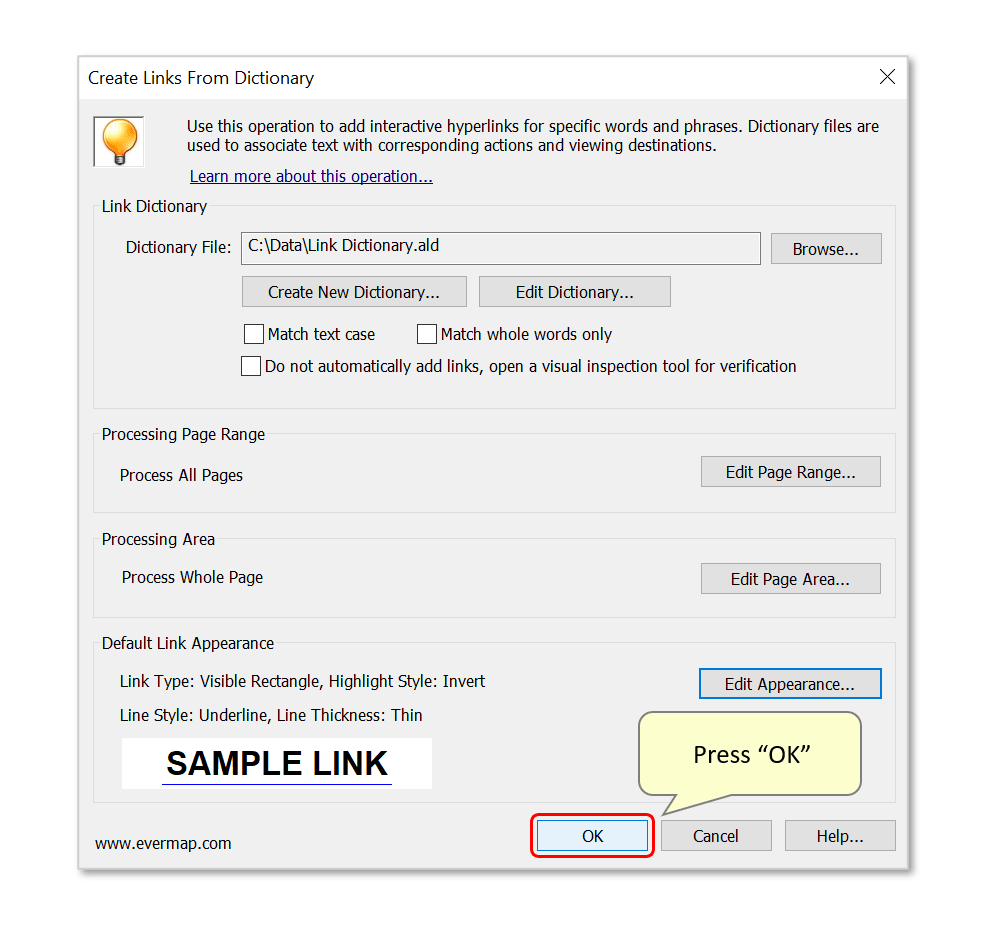
- Step 8 - Create Links
- Optionally edit processing settings before continuing (e.g.: process only a specific page range/area, or modify the appearance of links). Here, we will create links using the default appearance settings.
- Press "OK" to generate the links.
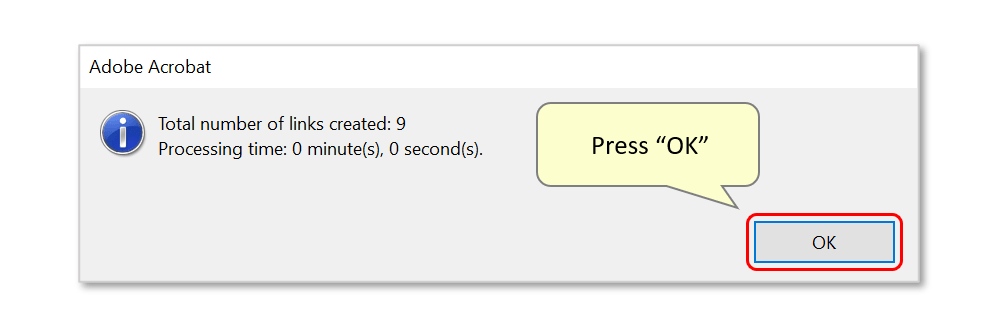
- A report box shows the number of links that have been added to the file - press "OK" to close it.
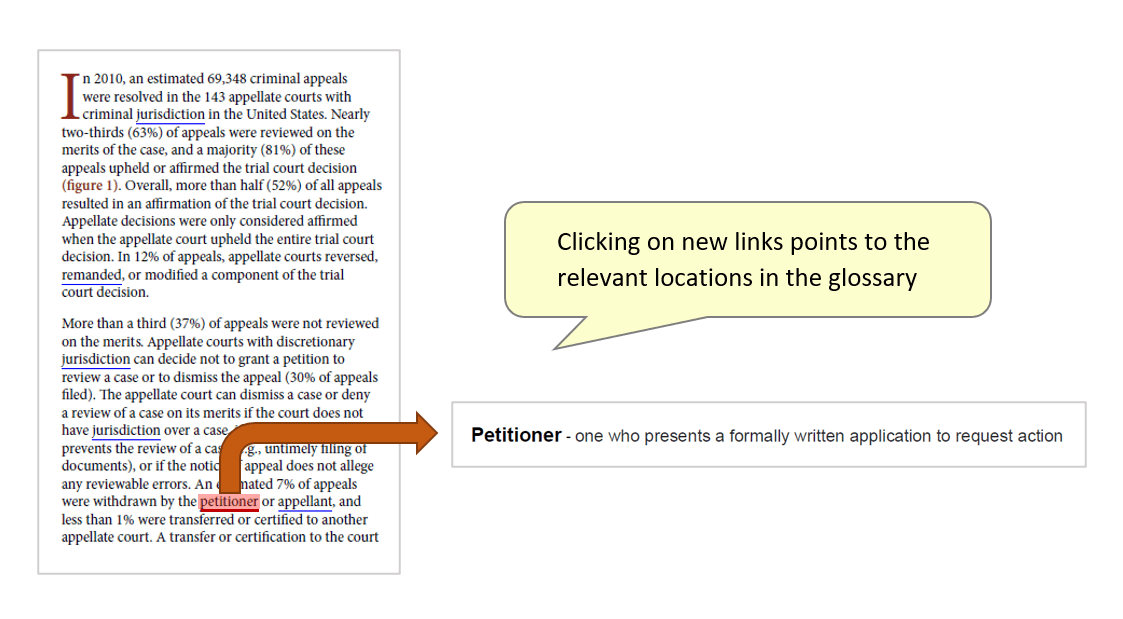
- Step 9 - Inspect the Results
- All occurrences of the search words have been turned into links in the document. Click on them to check that you are directed to the relevant location in the second PDF. In this example, clicking on a linked word in "State Courts.pdf" opens "Glossary.pdf" in Acrobat, at the corresponding definition:
- Click here for a list of all step-by-step tutorials available.