Assigning Emails by Text Search
AutoDocMail plug-in for Adobe® Acrobat®
- Introduction
- This tutorial looks more closely at how to assign emails via a text search using AutoDocMail™. This method can be used to simplify the automatic processing of documents, avoiding the need to customise individual email messages/subject lines being sent to each recipient.
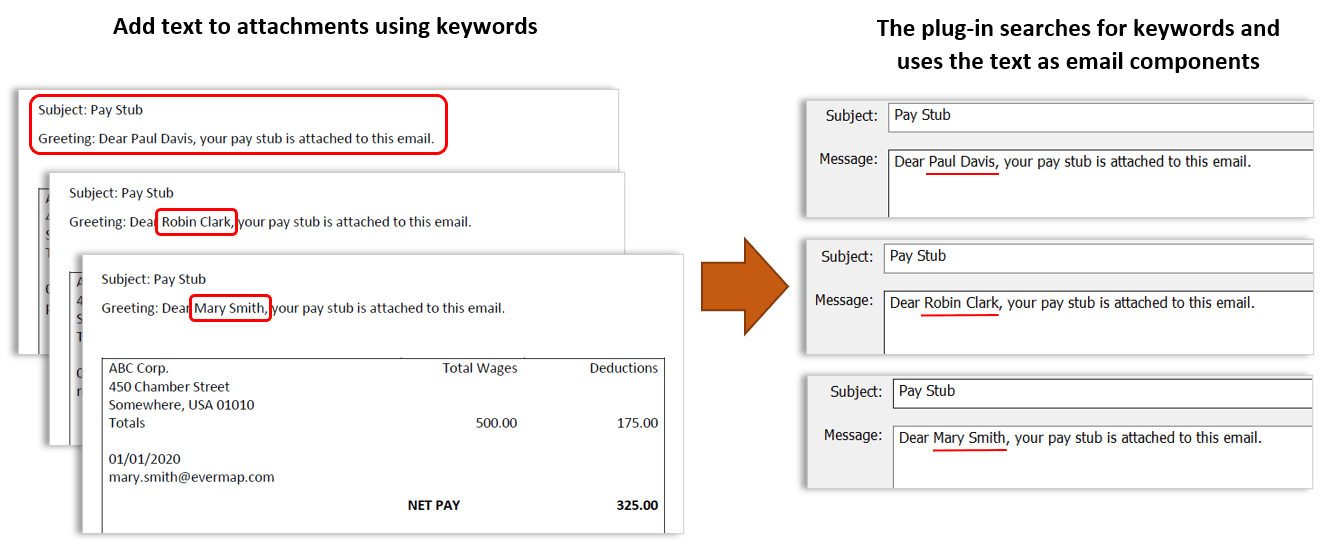
- This method uses keywords accompanied by unique text within the attachments being emailed. The plug-in recognises these keywords and automatically extracts the specific text to be used in the outgoing email. This may be various items such as “BCC,” “Subject,” Filename,” or “Greeting” text. A unique email for each recipient can be generated using this method, as a different email message and/or subject line is extracted for each one.
- Sample Documents Used Here:
- In this example, we use a PDF document containing multiple ‘pay stubs’ to be sent to various recipients, one-per-page. Each pay stub page also features a ‘subject’ line (“Pay Stub”) as well as a ‘Greeting' line (e.g.: Good morning, please see the attached file… etc.). These are marked using the ‘subject’ and ‘greeting’ keywords as the plug-in identifies this format and extracts the relevant text. It is then used as the actual email’s ‘subject’ and/or ‘message’.
- This text could even feature within attachments as white text on a white background - or be covered by other document components. The text simply needs to feature somewhere within the document as ‘readable’ text. Using white text may be handy if it is not suitable for it to be visible as part of the attachment. In this example below, all text has been left clearly visible to simplify the demonstration.

- Prerequisites
- You need a copy of Adobe® Acrobat® (Standard or Pro) along with the AutoDocMail™ plug-in installed on your computer in order to use this tutorial. Both are available as trial versions.
- Step 1 - Open the "Auto-Email Documents" Dialog
- Start the Adobe® Acrobat® application. Now select Plug-ins > Auto-Email Documents… from the main Acrobat menu.
- [⚡ How to locate Plugins menu in Adobe® Acrobat® ⚡]
- Step 2 - Access Emailing Settings
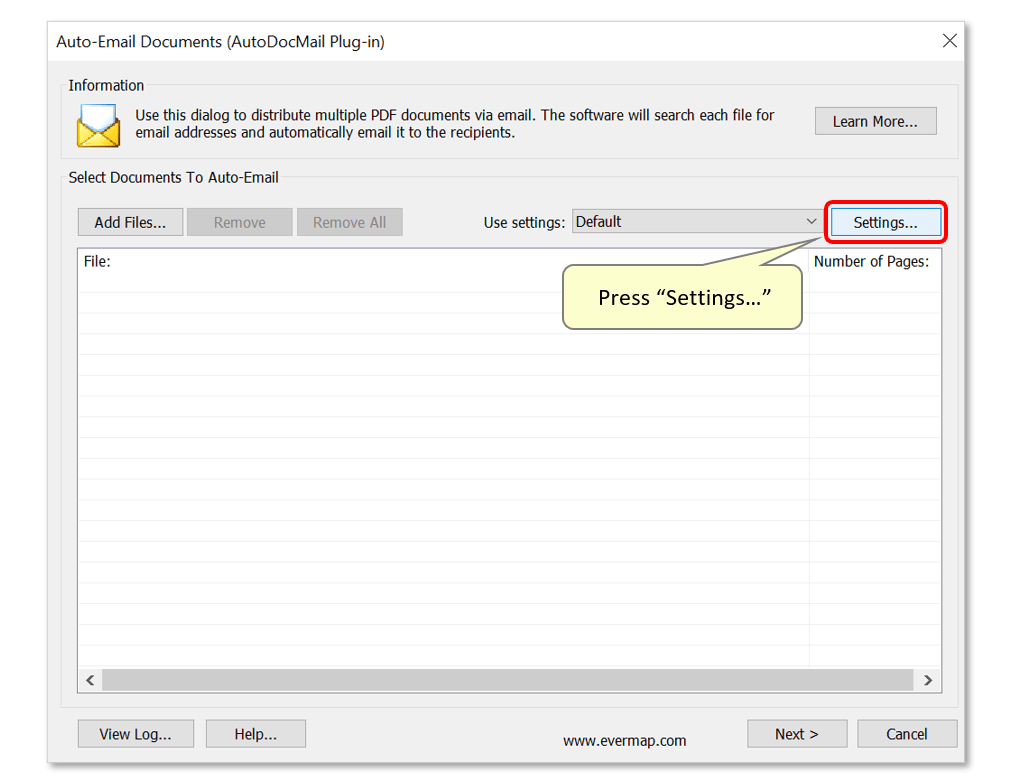
- In the "Auto-Email Documents" dialog, press the "Settings..." button.
- Step 3 - Edit Settings
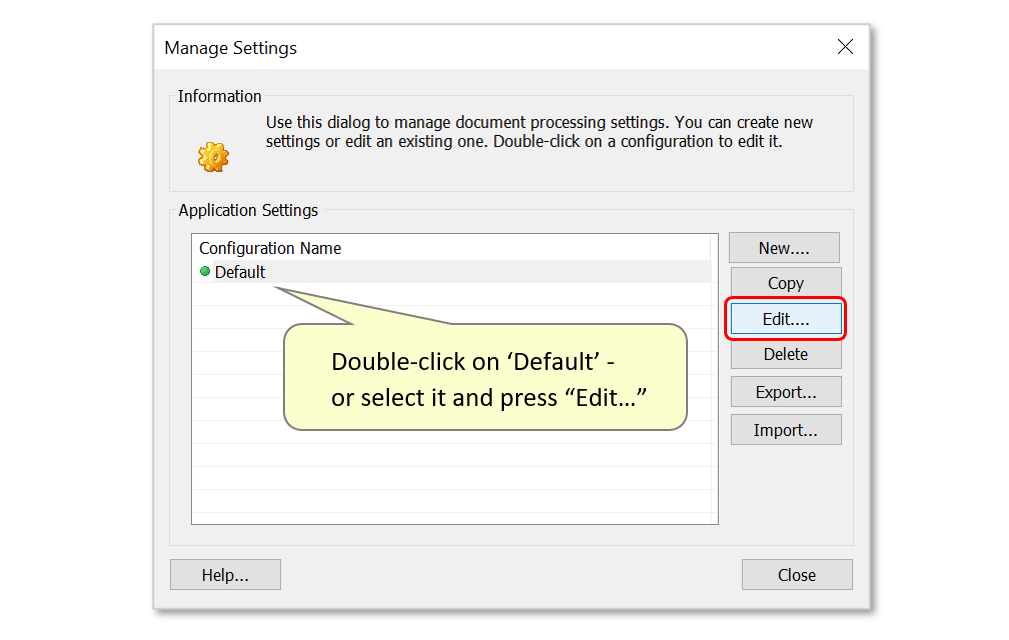
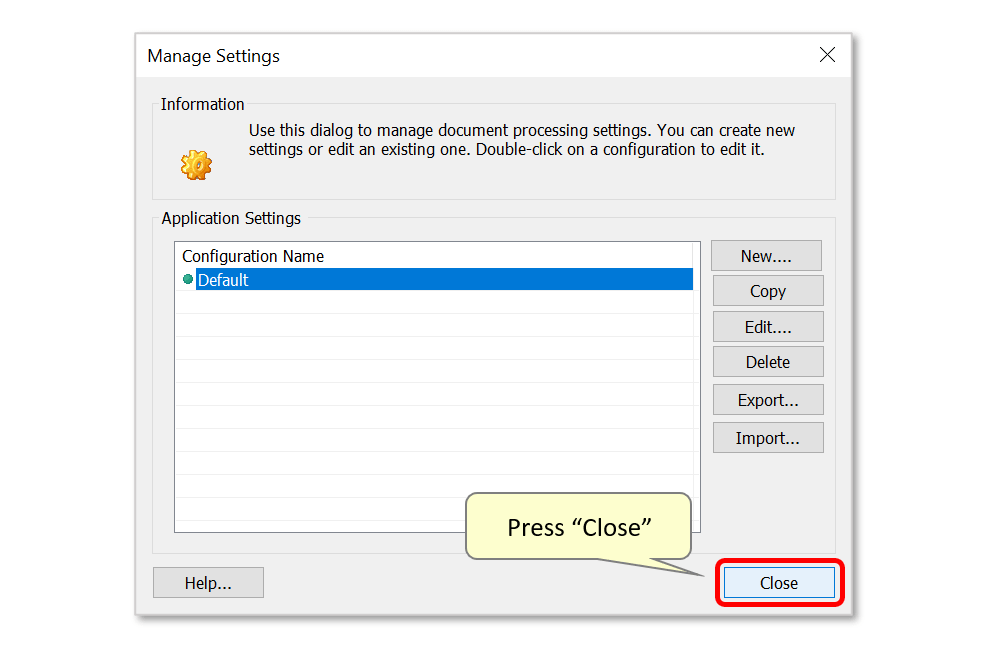
- This opens a dialog showing a list of saved settings configurations. Click the “New…” button to configure new settings, or double-click on “Default” settings to modify these. Any settings configuration can also be changed by selecting it and pressing the "Edit..." button.
- Step 4 - Open the "Default Message Settings"
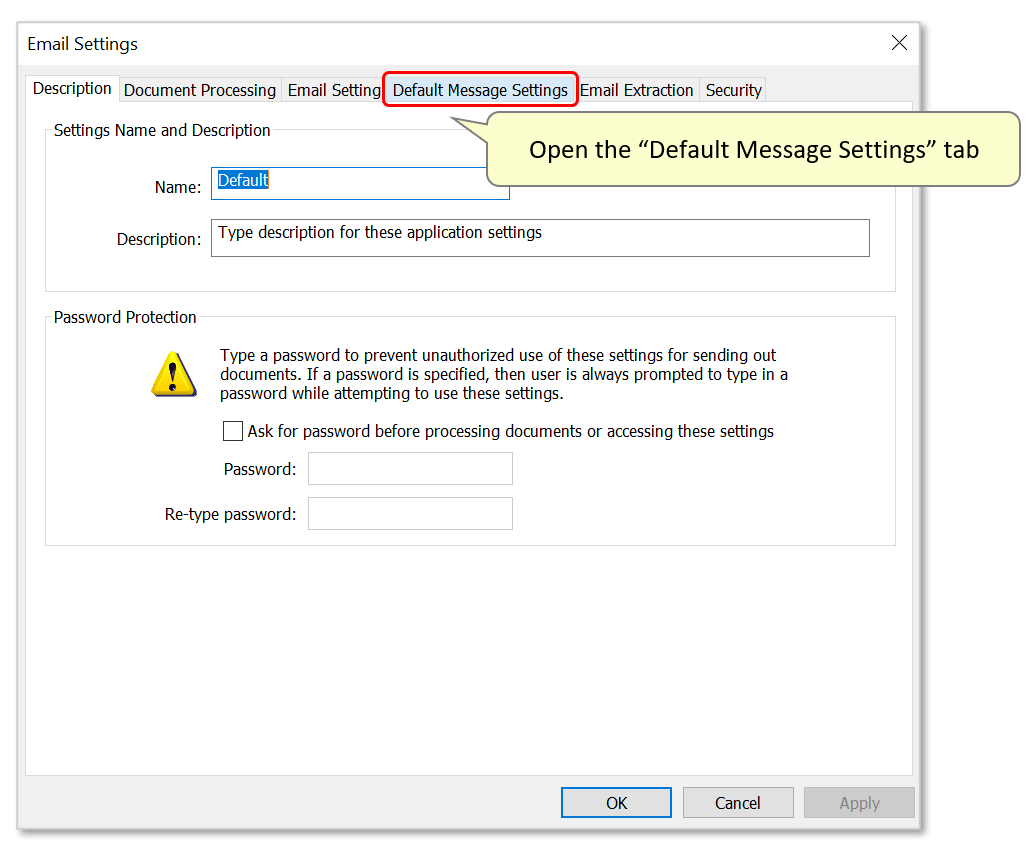
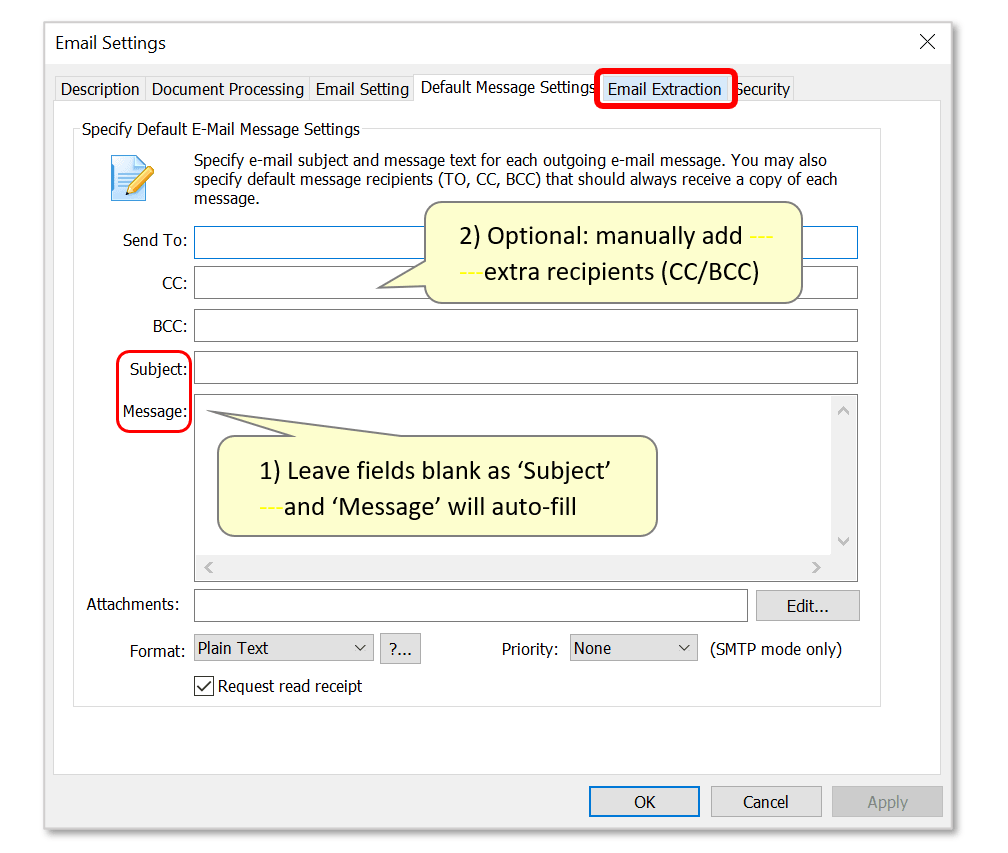
- Now open the "Default Message Settings" tab.
- Step 5 - Clear the "Default Message Settings"
- Ensure that all fields under this settings screen are left blank as relevant text will be auto-filled via the keyword search.
- If necessary, manually specify any TO, CC, or BCC recipients, who should receive a copy of each email (this could also be done using keywords).
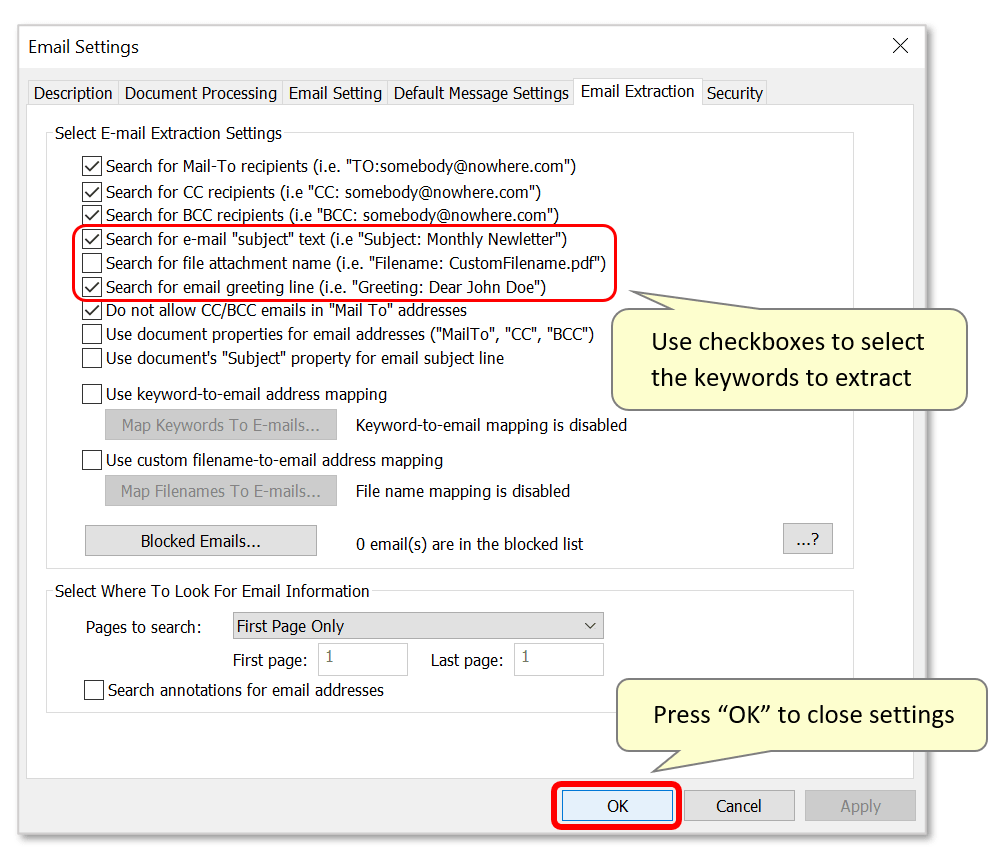
- Now open the "Email Extraction" tab.
- Step 6 - Select Email Extraction Settings
- This advanced settings page lists the available text-recognition features. Use the checkboxes to select options. These instruct the application to recognize and extract information from within the document’s text.
- For example, if you check the “Search for CC recipients” box, you can specify a CC recipient within the text using the keyword “CC:” followed by the email address. For example: if the text “CC: tutorial@evermap.com” is written somewhere in the attached file, a carbon copy of the email will be sent to this recipient. Other supported keywords include “BCC,” “Subject,” Filename,” and “Greeting.”
- The documents used for this sample distribution contain both “Subject:” and “Greeting:” keywords, so these options are both selected.
- Lastly, press "OK" to finish the settings configuration.
- Step 7 - Finish Configuring Settings
- Press “Close” to finish the settings screen and proceed to processing your documents.
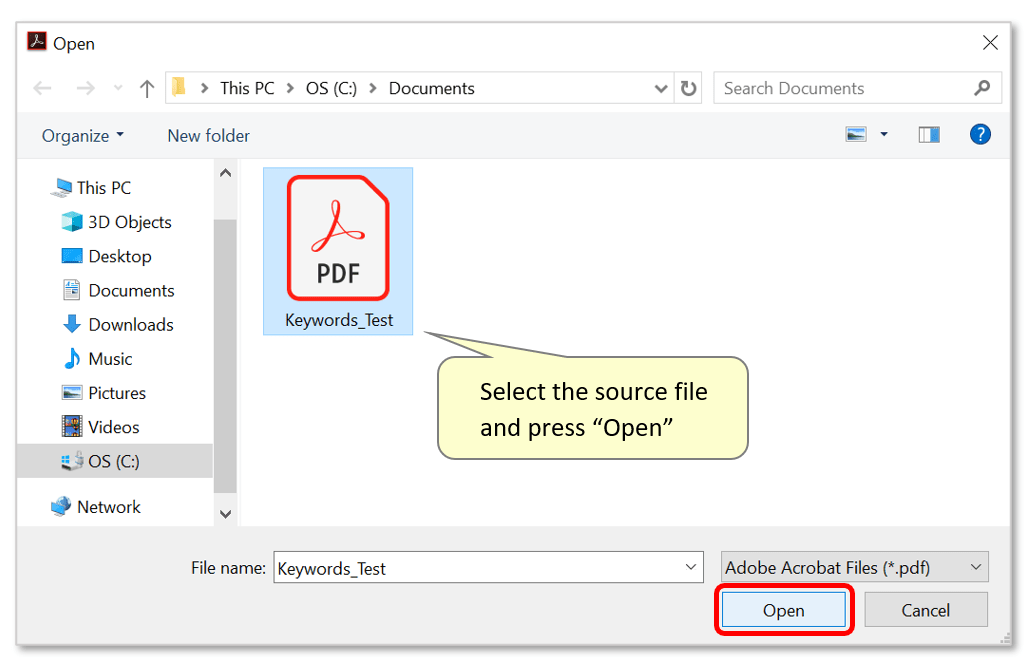
- Step 8 - Select the Source File
- In the "Auto-Email Documents" dialog, press the "Add Files..." button to select the source PDF file(s) that needs to be distributed. In this example, this is the PDF containing multiple pay stubs along with keyword-related text.
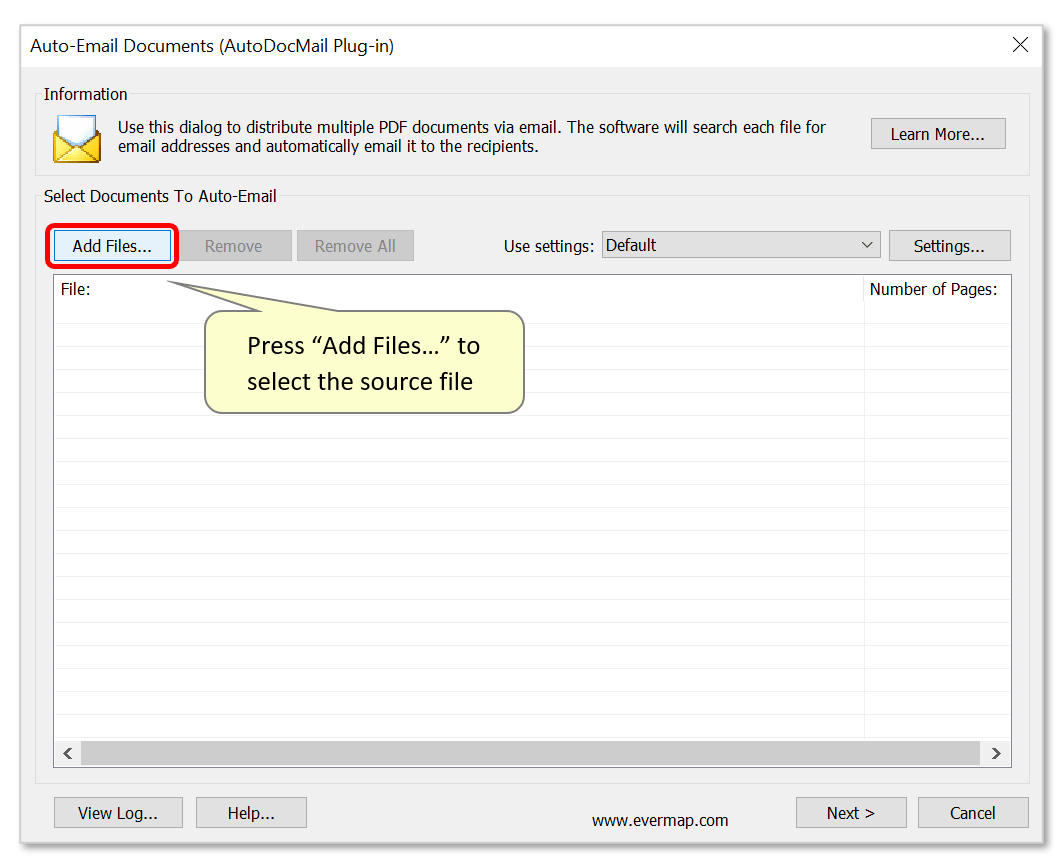
- Locate the file, select it, and press "Open".
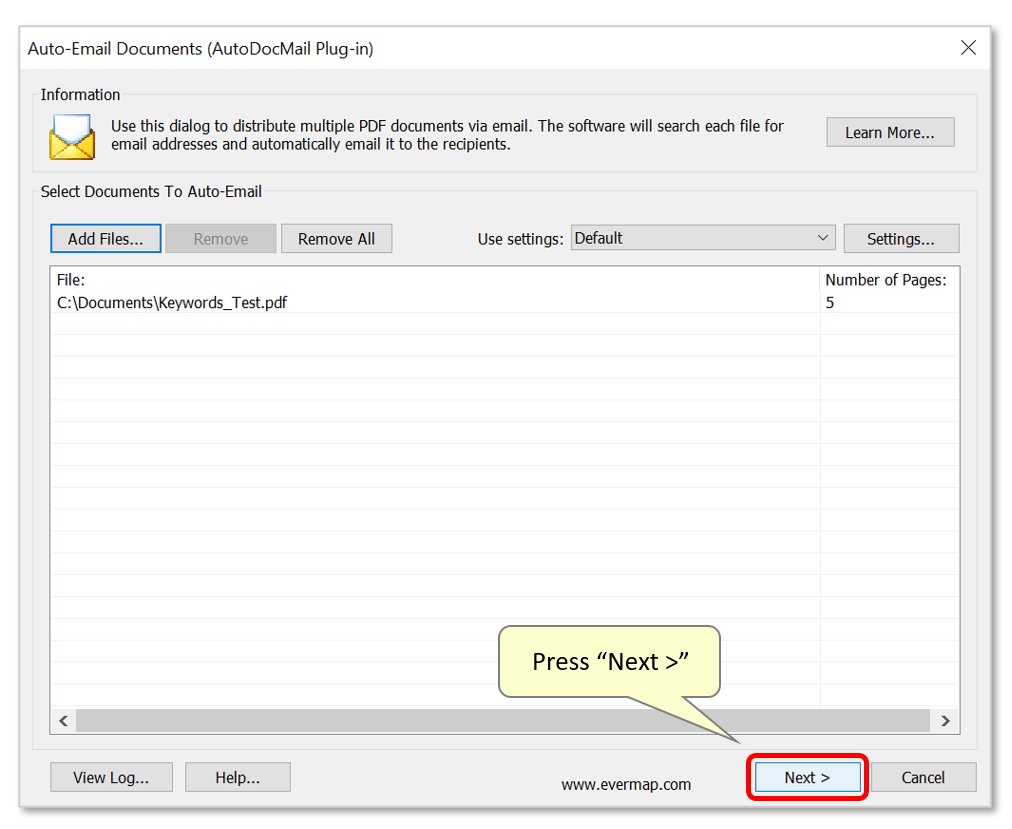
- The input file path and it's number of pages will now be listed in the dialog. Press "Next >" to proceed.
- Step 9 - Review Email Recipients
- Once the document is split and processed, the “Confirm Email Recipients” dialog opens. Double-click on any record in the list to preview the attachment and the e-mail that has been generated by extracting the keyword data.

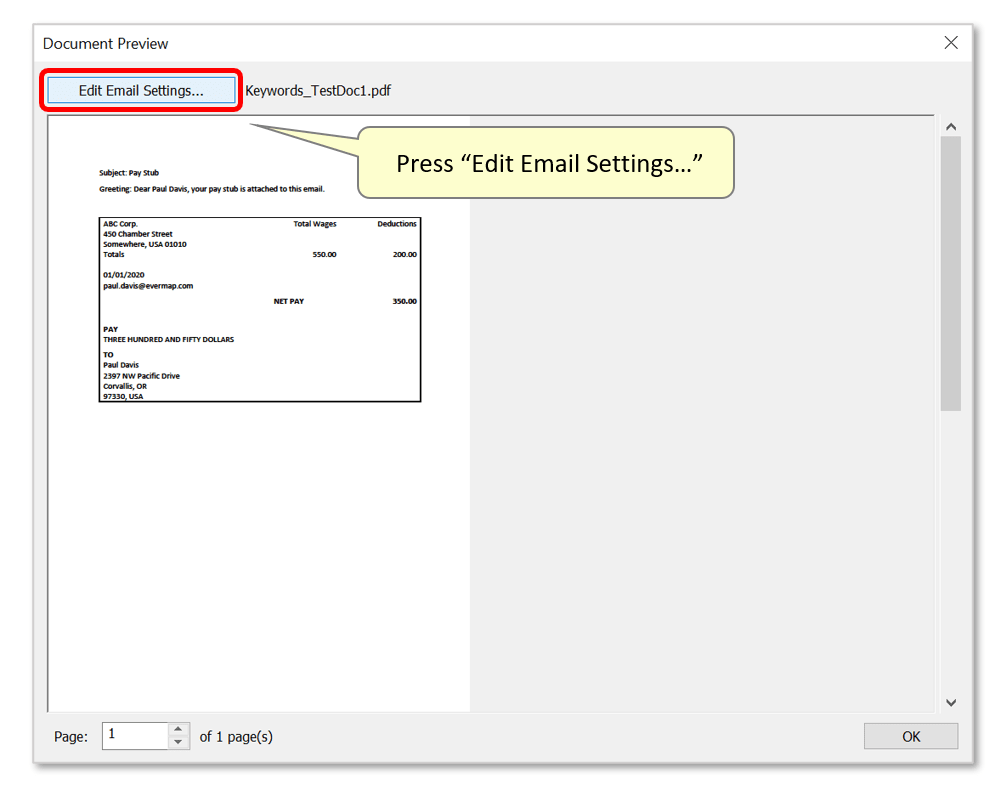
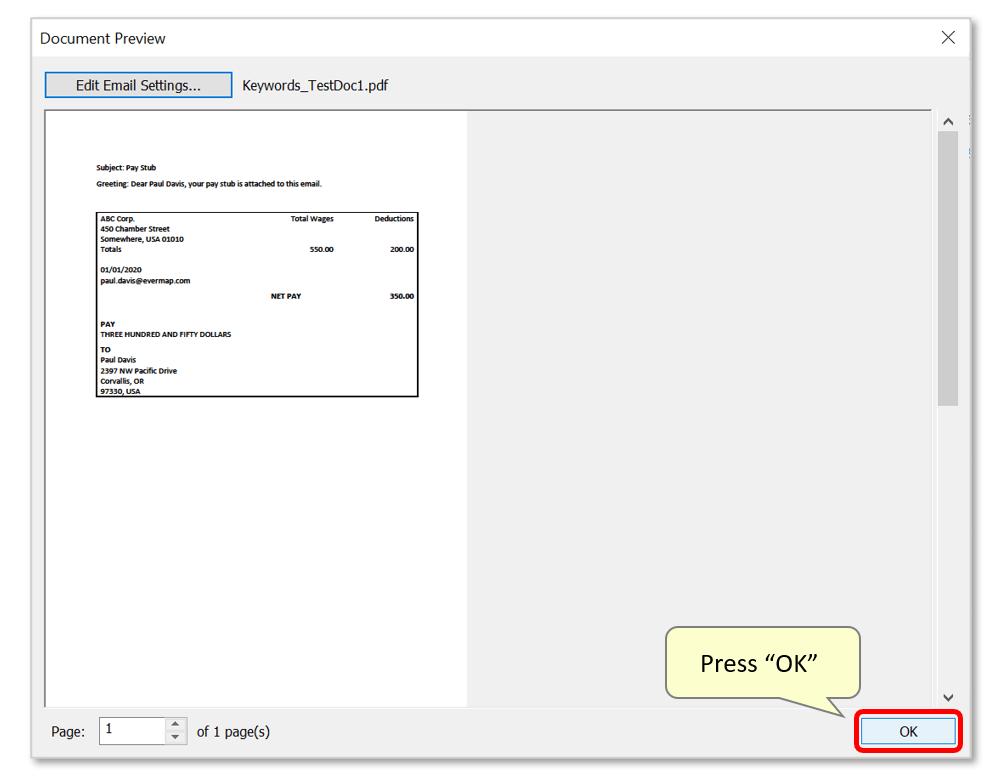
- Step 10 - Preview Attachments (Optional)
- This "Document Preview" window allows you to review the attachment. Now press “Edit Email Settings".
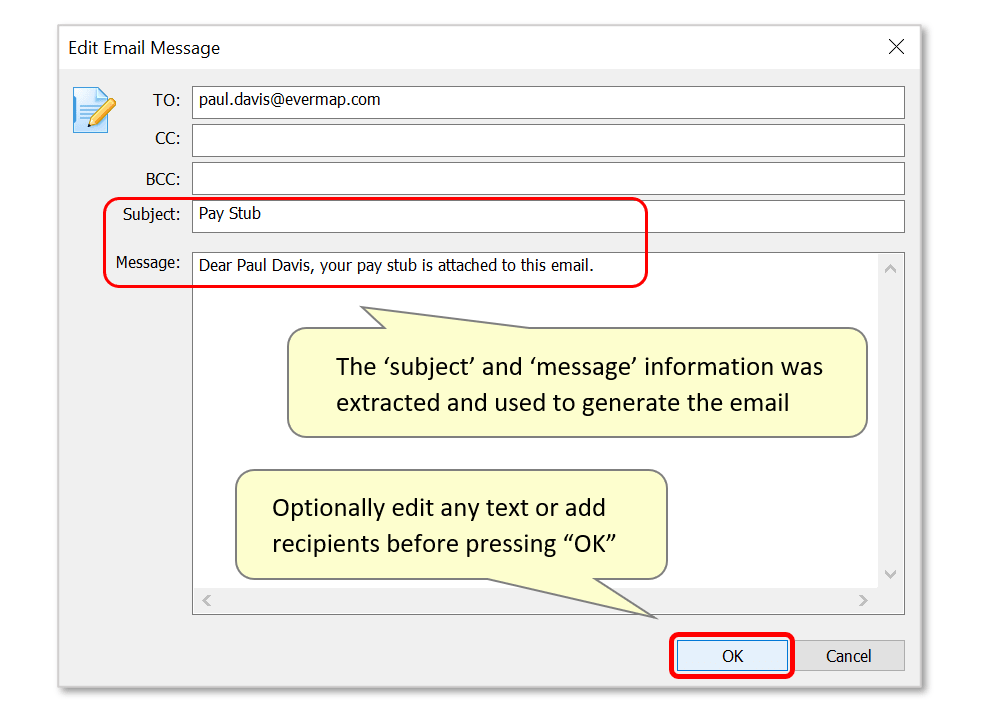
- Step 11 - View the Email (Optional)
- This window shows the email being sent along with the relevant attachment. The 'subject' and 'message' fields have been auto-populated with the data extracted from the attachment via the keywords used. You can manually modify all fields here - to customise each message/subject or to add recipients by typing in the appropriate boxes.
- Click “OK” when finished.
- Now press "OK" to close the "Document Preview" dialog.
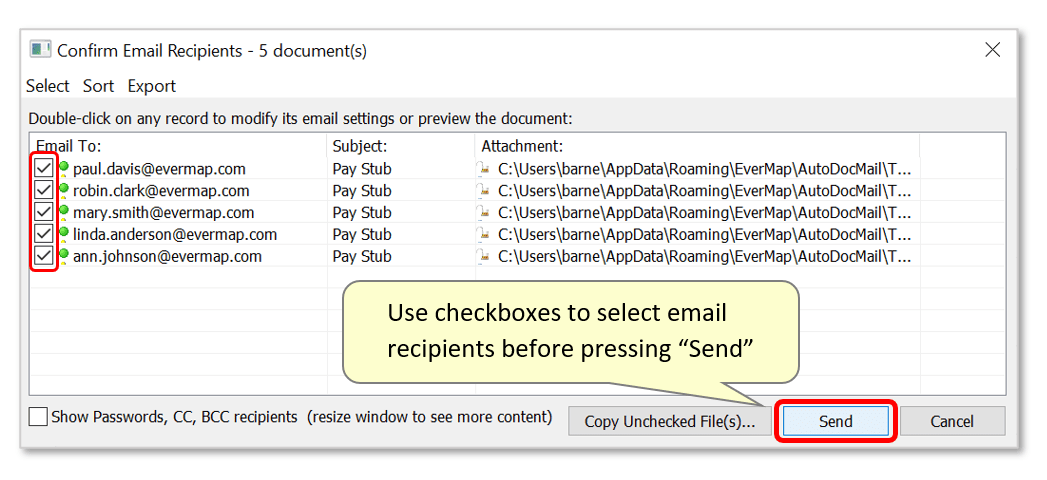
- Step 12 - Confirm Recipients
- Optionally check each generated email by double-clicking on more records and proceeding to the "Edit Email Message" dialog. Each one will have been created using the 'subject' and 'message' keyword information within each attachment.
- Before completing the email distribution, use the checkboxes to control which recipients will receive the emails.
- When ready, press “Send”.
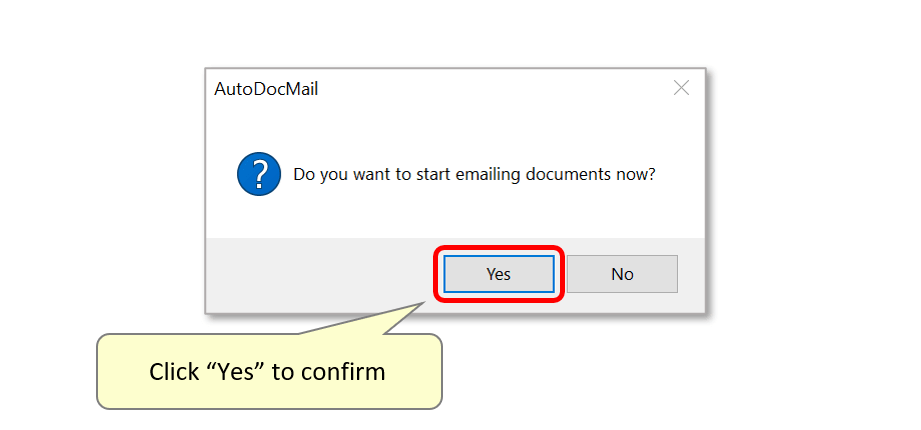
- Step 13 - Confirm the Emailing Process
- A dialog box will appear prompting the user to confirm the procedure. Click “Yes” to start emailing the documents.
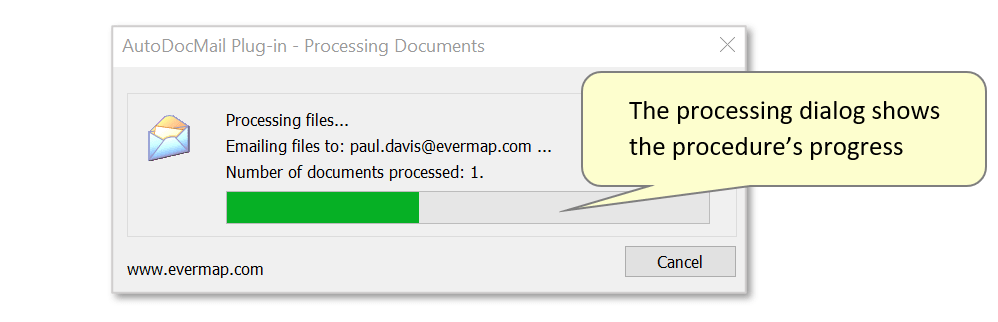
- Step 14 - Processing Emails
- The “AutoDocMail Plug-in - Processing Documents” window opens, displaying the progress of the procedure. This window disappears once mass-distribution of all documents is complete.
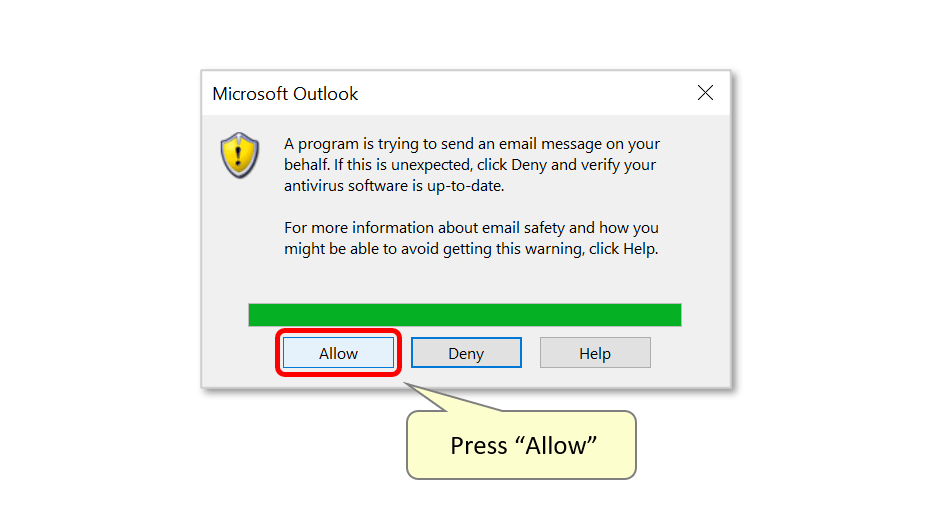
- Unless deactivated under the "Email Settings" tab when configuring the AutoDocMail settings, Outlook (if used) will prompt for confirmation of the sending of each email. When this dialog appears, press "Allow" each time to approve the email being sent. Sending emails and attachments using this method is much faster when this option is unchecked.
- Step 15 - Finish the Procedure
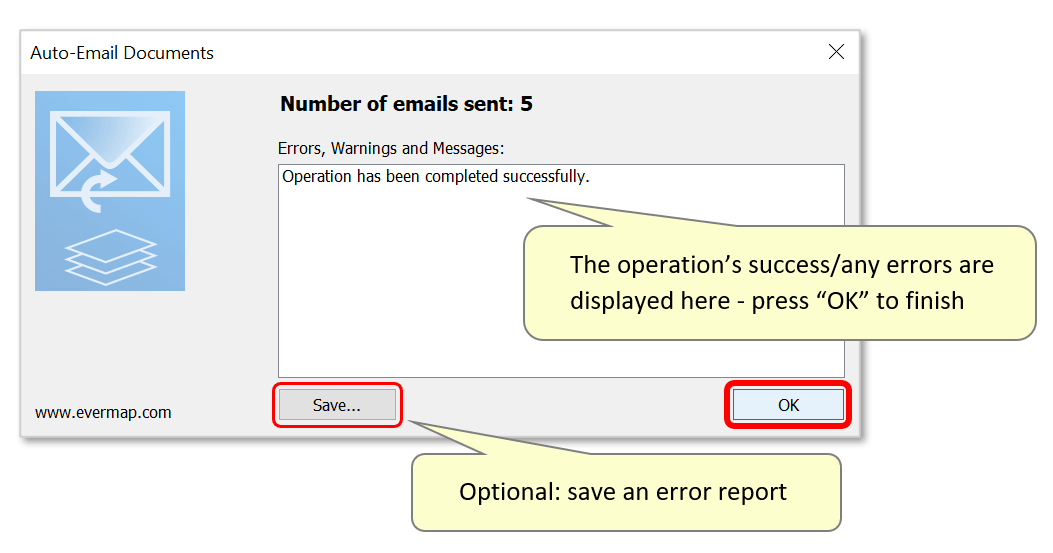
- When processing is completed, the “Auto Email Documents” window opens, informing the user of how many emails were successfully sent and if any errors occurred. If any errors are encountered, optionally press the "Save..." button to save a processing report in *.txt format. This file displays detailed information about emails sent successfully and any errors that occurred.
- Click “OK” to finish.
- Click here for a list of all step-by-step tutorials available.