Creating Custom Multi-line Watermarks
AutoMailMerge plug-in for Adobe® Acrobat®
- Introduction
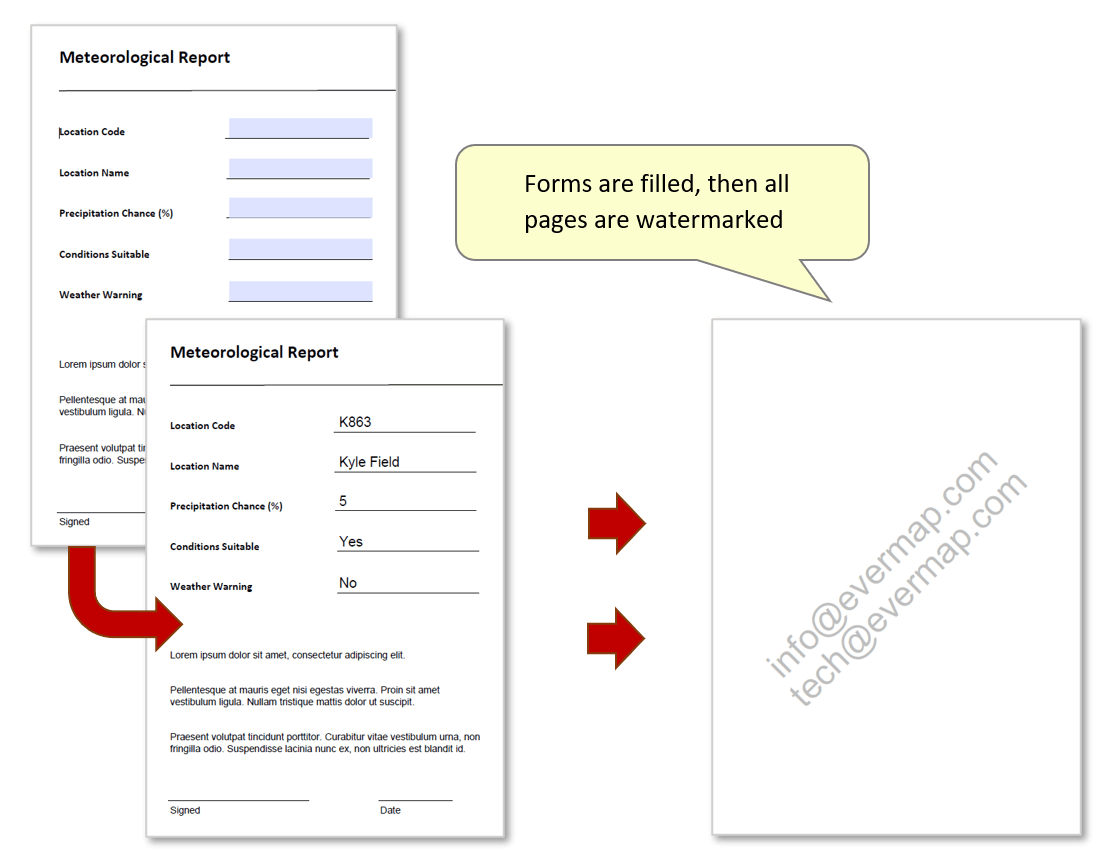
- This tutorial demonstrates a method for executing a mail merge and placing customized multi-line watermarks on output pages. The data used for the watermark text itself must be located within the data source (e.g.: Excel spreadsheet). As multi-line watermarking is not possible with the standard watermarking feature provided with AutoMailMerge™, we achieve this by using JavaScript code. This is executed on the output after the forms are filled, and instructs the plug-in on how to configure the watermarks - the text's location, font, size, colour and angle are all specified within this code. This tutorial can serve as a starting point for creating customized watermarking scripts.
- Input Document Description
- The mail merge procedure carried out in this tutorial uses a basic PDF form to be filled with data from an Excel spreadsheet. See the separate tutorial on how to create interactive PDF forms here.
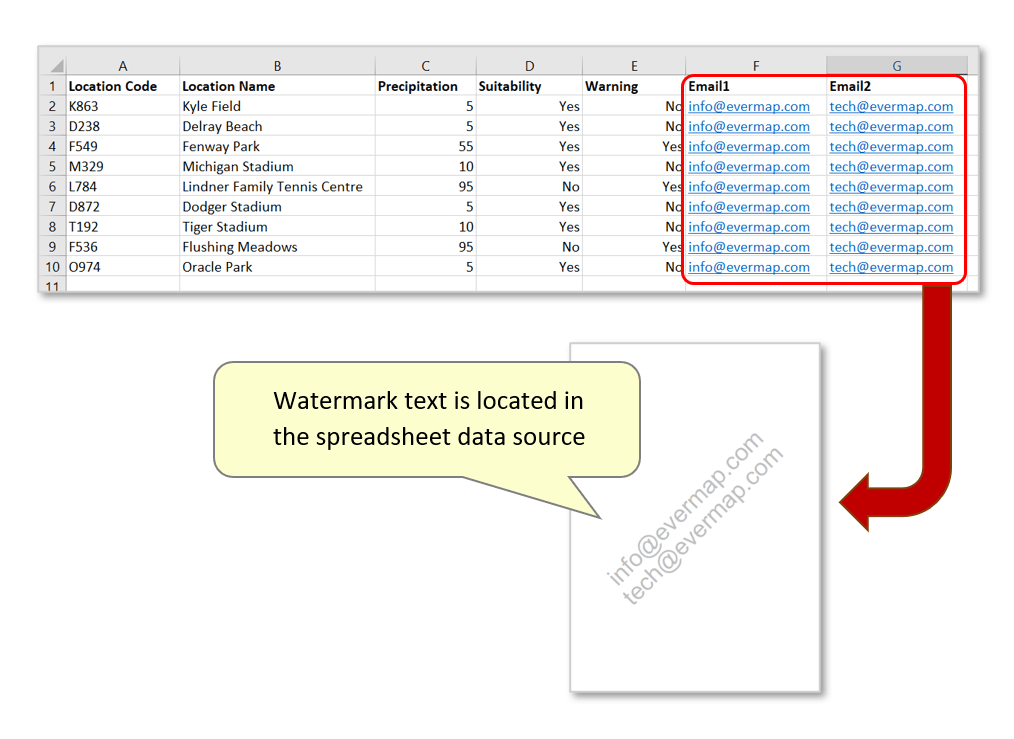
- The JavaScript used for watermarking refers to two data fields in the data source titled b Email 1b and b Email 2b . These fields contain x2 email addresses as sample text to be used for the multi-line watermarks. Each record features the same two email addresses, but different text could be used for each filled form's watermark.
- Prerequisites
- You need a copy of Adobe® Acrobat® along with the AutoMailMerge™ plug-in installed on your computer in order to use this tutorial. Both are available as trial versions.
- Step 1 - Open the "Mail Merge" Dialog
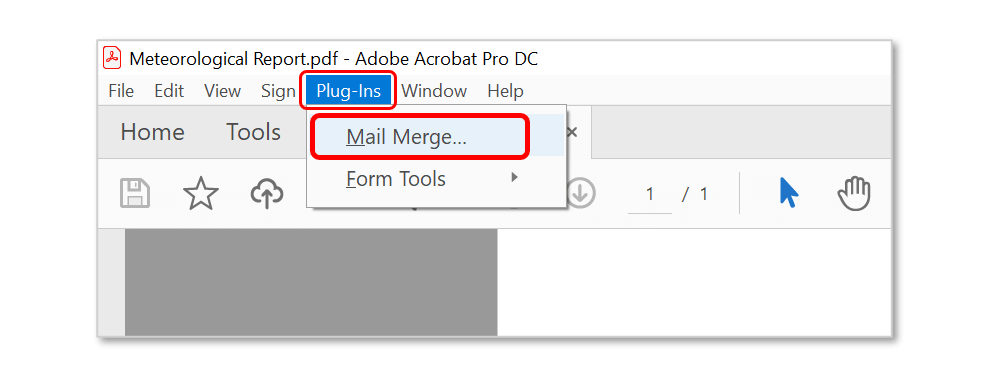
- Select Plugins > Mail Merge… to open the Mail Merge dialog.
- If you are using a new Adobe Acrobat interface, then you can locate Mail Merge menu here:

- Please see the following page for a short video tutorial on how to locate Plugins menu in the new Adobe® Acrobat® interface.
- If you are using a "classic" Adobe Acrobat interface (pre-2022), then you can locate Mail Merge menu here:
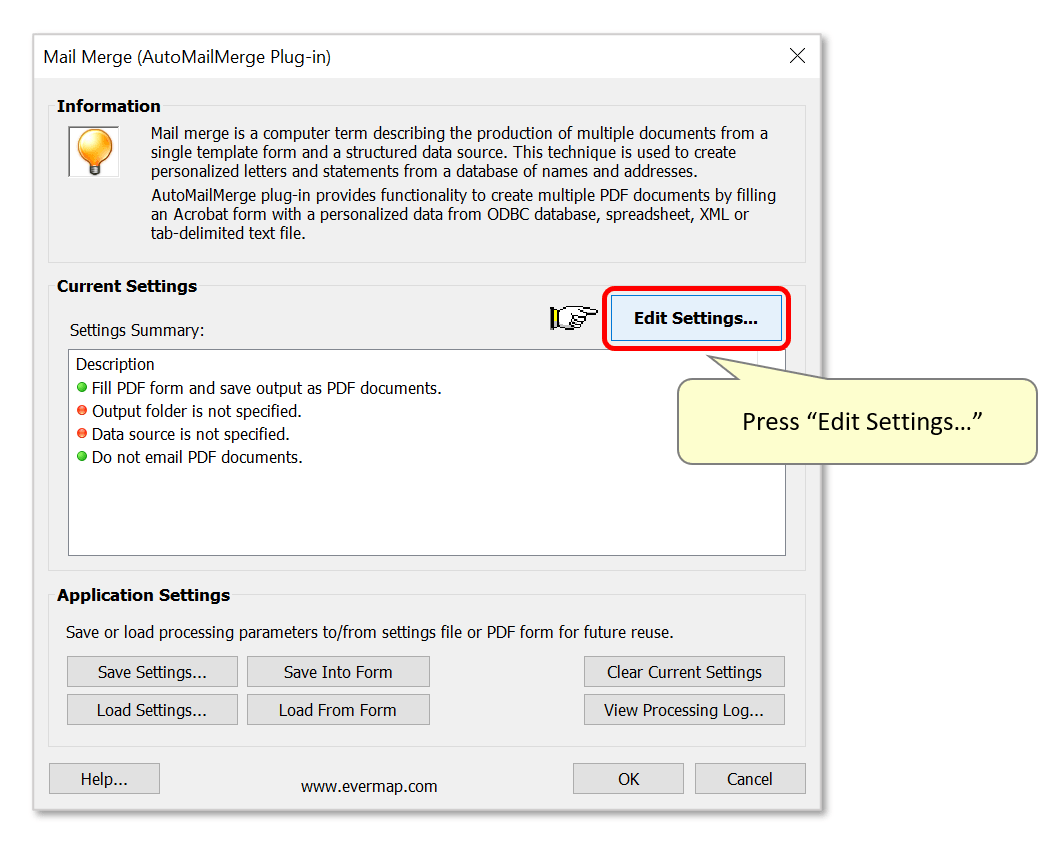
- Step 2 - Edit Mail Merge Settingstings If necessary, clear current settings and then press the "Edit Settings..." button.
- Proceed through the settings screens to configure the desired mail merge: add the data source; map data fields to their corresponding form fields; specify output options etc. Use this this list of mail merge tutorials for detailed help with configuring the mail merge.
- Step 3 - Add JavaScript Code
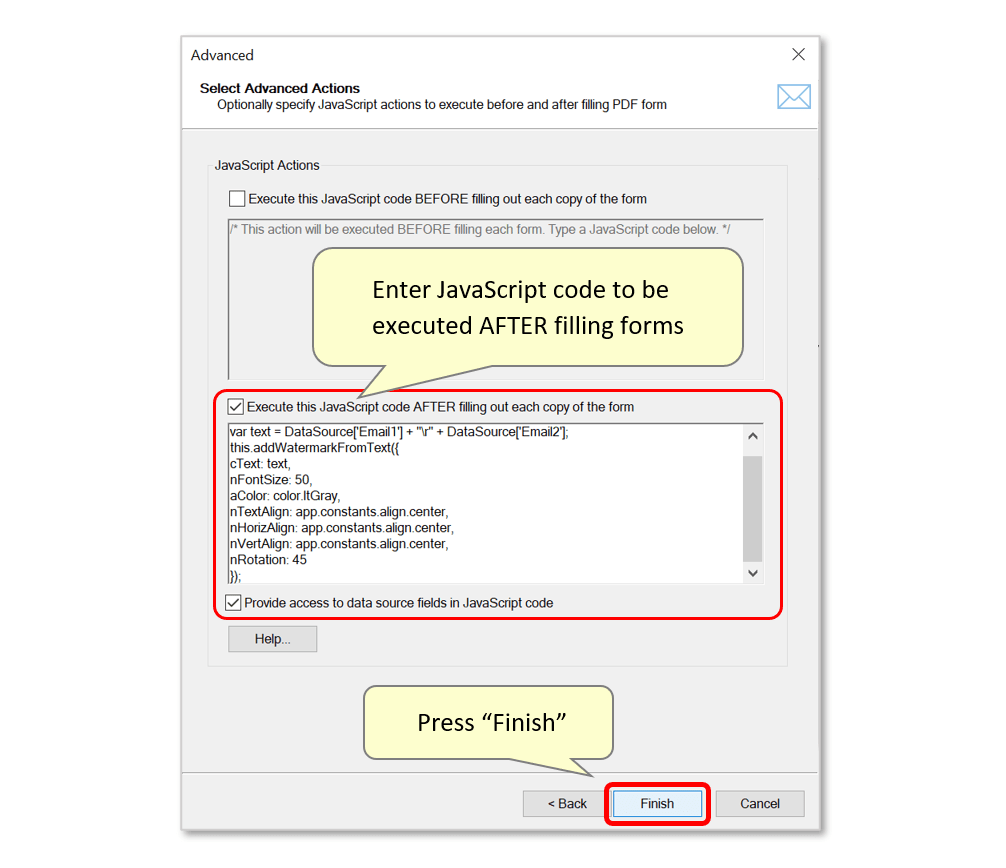
- Continue to the final "Advanced" settings screen. Here, check the "Execute this JavaScript code AFTER filling out each copy of the form" option. Enter the desired code into the box below.
- Here is the entire code used in this example:
-
var text = DataSource['Email1'] + "\r" + DataSource['Email2'];
this.addWatermarkFromText({
cText: text,
nFontSize: 50,
aColor: color.ltGray,
nTextAlign: app.constants.align.center,
nHorizAlign: app.constants.align.center,
nVertAlign: app.constants.align.center,
nRotation: 45
});
- The watermarks created using this script will be positioned in the middle of the page, 50 pt in size, gray, and rotated at a 45 degree angle.
- Download this code as a *.txt file by le by clicking here. This code can then be edited to suit your requirements.
- Ensure that the "Provide access to data source fields in JavaScript code" option is checked if it is necessary to access the data source record directly in the JavaScript. If this option is ON, then a DataSource object is automatically generated and added to the script. For example, if a data source record contains 3 fields: "First Name", "Last Name" and "Email", then the values of these fields can be accessed in the JavaScript code as DataSource['First Name'], DataSource['Last Name'] and DataSource['Email'].
- The maximum allowed text string that is stored in the DataSource field variable is 1024 characters. The maximum allowed name of the field is 128 characters. Longer text strings will be truncated.
- If a data source record has a lot of fields/data, adding a DataSource object to the JavaScript environment may take extra time required for parsing a much longer code. If speed is an issue, turn this option off and use an alternative way to get data source values. The alternative approach is to add a number of hidden form fields to the form and fill them using a regular mail merge approach. This way their values will be available in the script, but not visible on the form.
- Press "Finish" once done.
- Step 4 - Run the Mail Merge
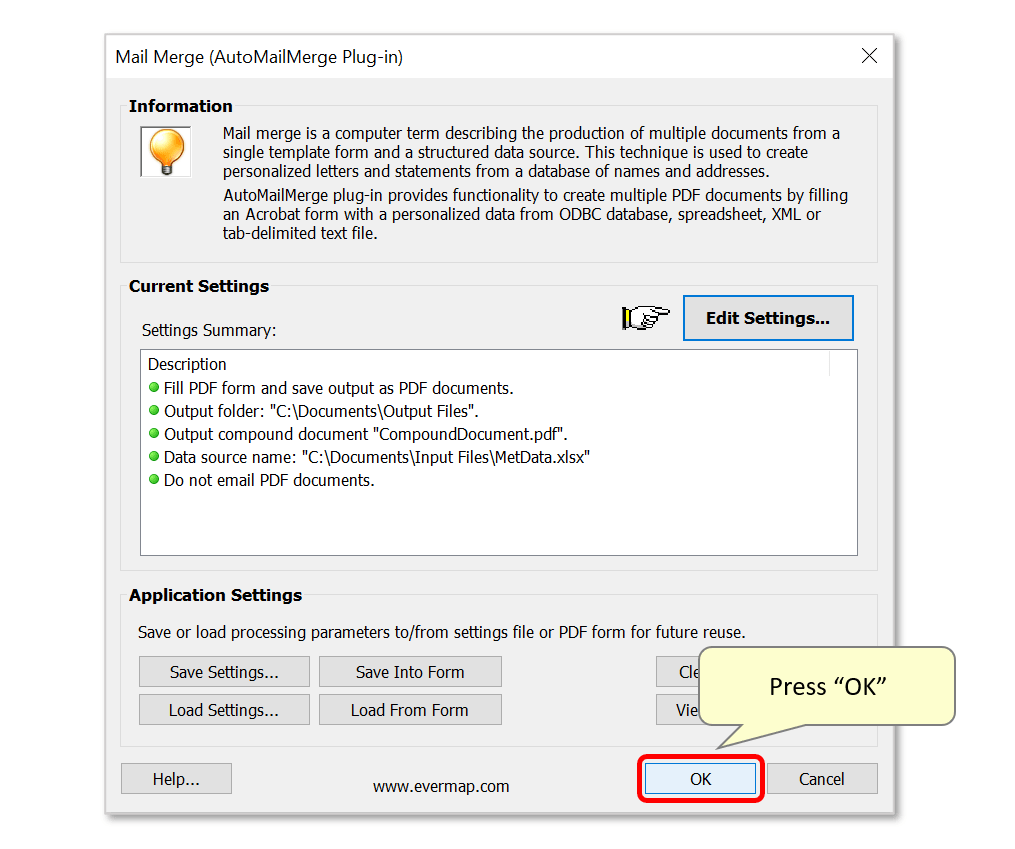
- The confirmed settings summary will now be listed with green circles. Optionally, save the mail merge settings as an *.mms file for later use by pressing the "Save Settings" button - use "Load Settings" to load them.
- Click "OK" to start the mail merge process.
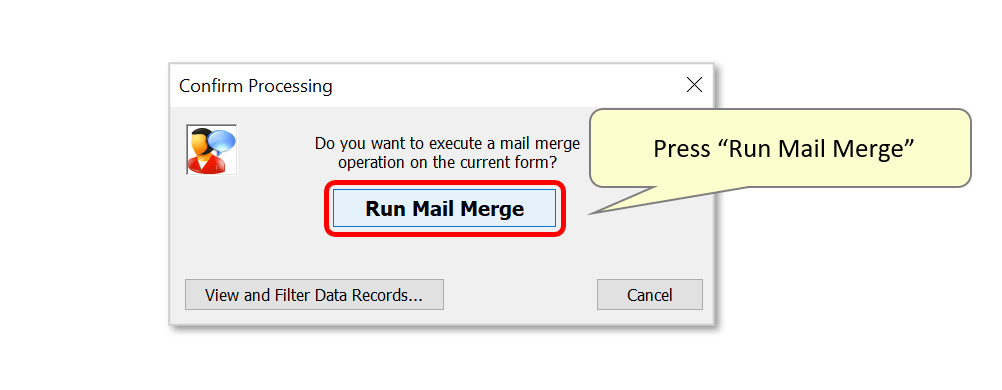
- Press "Run Mail Merge" to confirm.
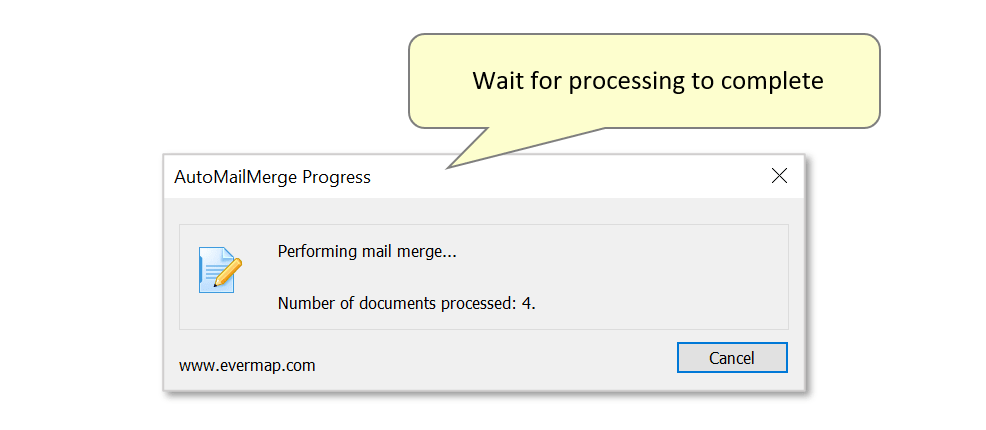
- A processing box opens whilst the mail merge is being executed.
- Step 5 - Open the Output Files
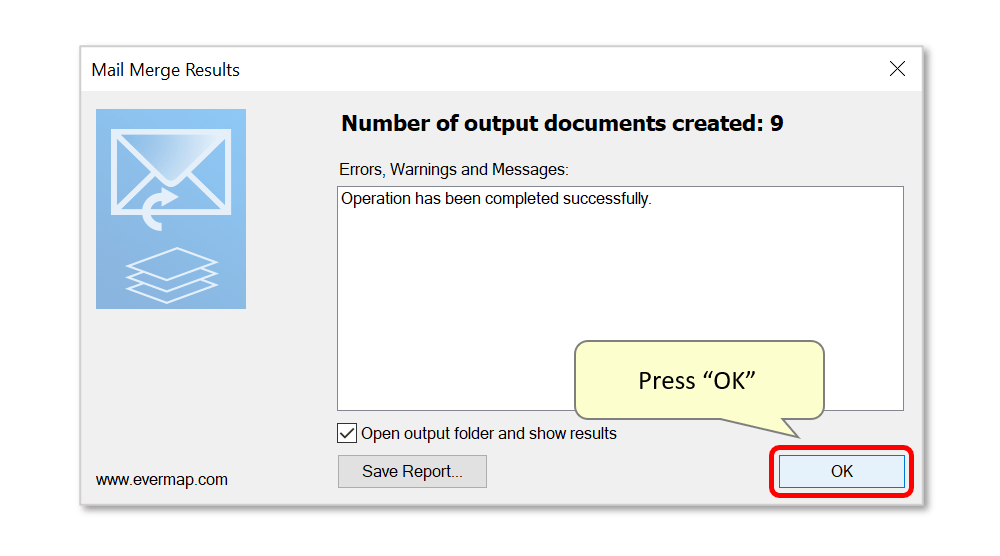
- A results box will confirm the success of the operation. By default, pressing "OK" opens the selected output location.
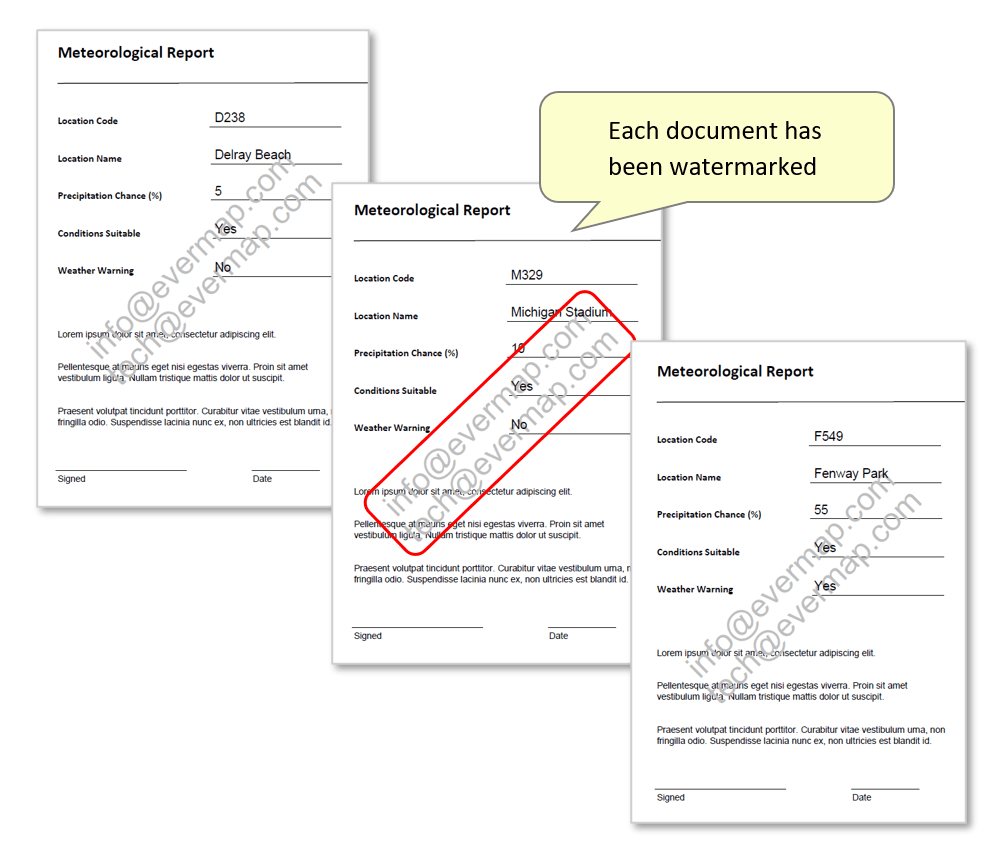
- Open the output files to inspect them. In this example, all filled forms have now been watermarked using the text from the "Email1/Email2" data source fields.
- Click here for a list of all step-by-step tutorials available.