Populating Multi-line PDF Form Fields with Multiple Data Values
AutoMailMerge plug-in for Adobe® Acrobat®
- Introduction
- Sometimes it may be necessary to place data from multiple spreadsheet data fields into a single PDF form field. This tutorial explains how to populate multi-line text fields in a PDF form with multiple data values from a sample Excel spreadsheet. Using composite fields is an effective way to combine values from multiple data fields to create a unique field value. We demonstrate this by creating a custom composite field mapping, and use it to fill a multi-line form field with data from a spreadsheet source.
- Input Document Description
- In this example, we use a blank invoice as a sample PDF form. It features one multi-line text field occupying a large space. It is essential that this field has the "Multi-line" option enabled under the 'Options' tab of the 'Text Field Properties' dialog. See the separate "Creating Interactive PDF forms" tutorial that explains how to create form fields and enable the multi-line functionality. We will then use a sample Excel Worksheet to transfer values from multiple data fields into this form field using the AutoMailMerge plug-in.

- Prerequisites
- You need a copy of Adobe® Acrobat® along with the AutoMailMerge™ plug-in installed on your computer in order to use this tutorial. Both are available as trial versions.
Step-by-Step Tutorial
- Step 1 - Open the "Mail Merge" Dialog
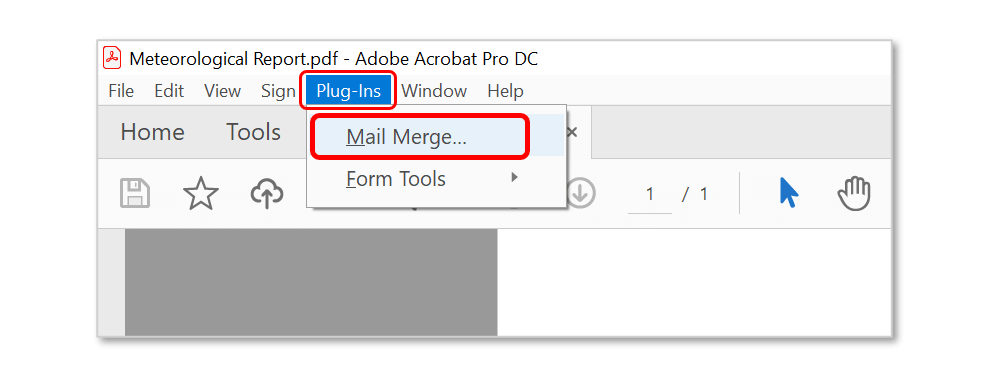
- Select Plugins > Mail Merge… to open the Mail Merge dialog.
- If you are using a new Adobe Acrobat interface, then you can locate Mail Merge menu here:

- Please see the following page for a short video tutorial on how to locate Plugins menu in the new Adobe® Acrobat® interface.
- If you are using a "classic" Adobe Acrobat interface (pre-2022), then you can locate Mail Merge menu here:
- Step 2 - Edit Mail Merge Settings
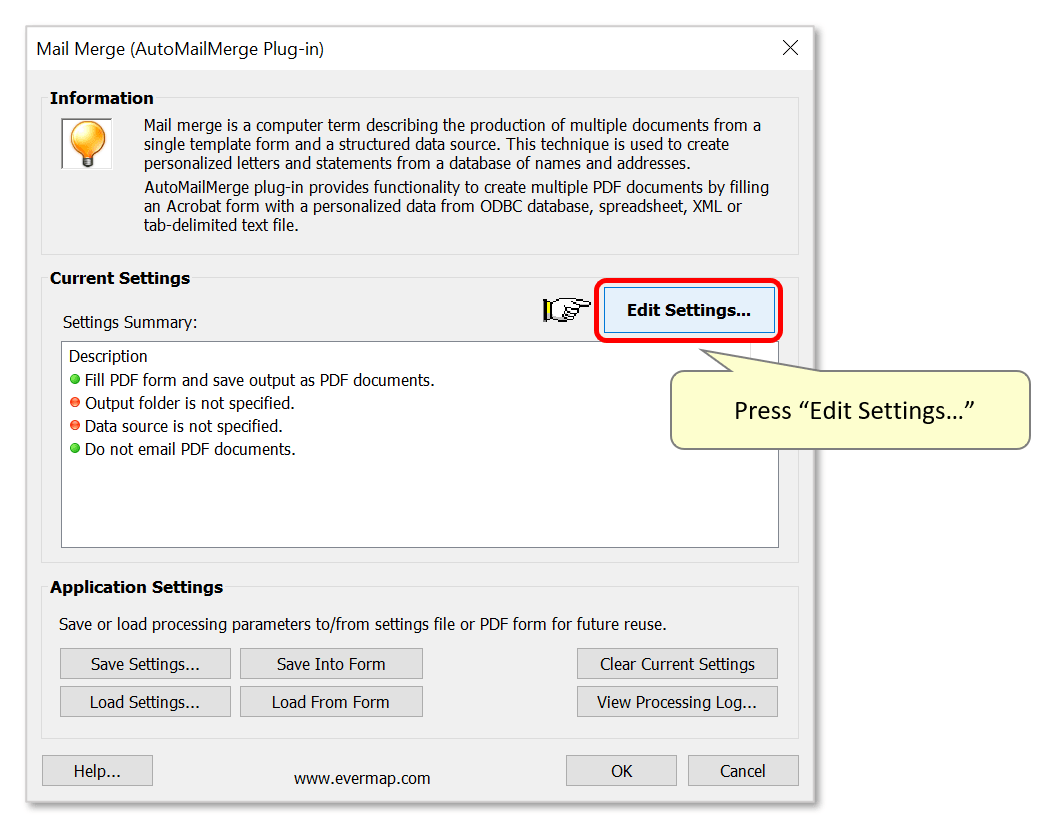
- If necessary, clear current settings and then press the "Edit Settings…" button.
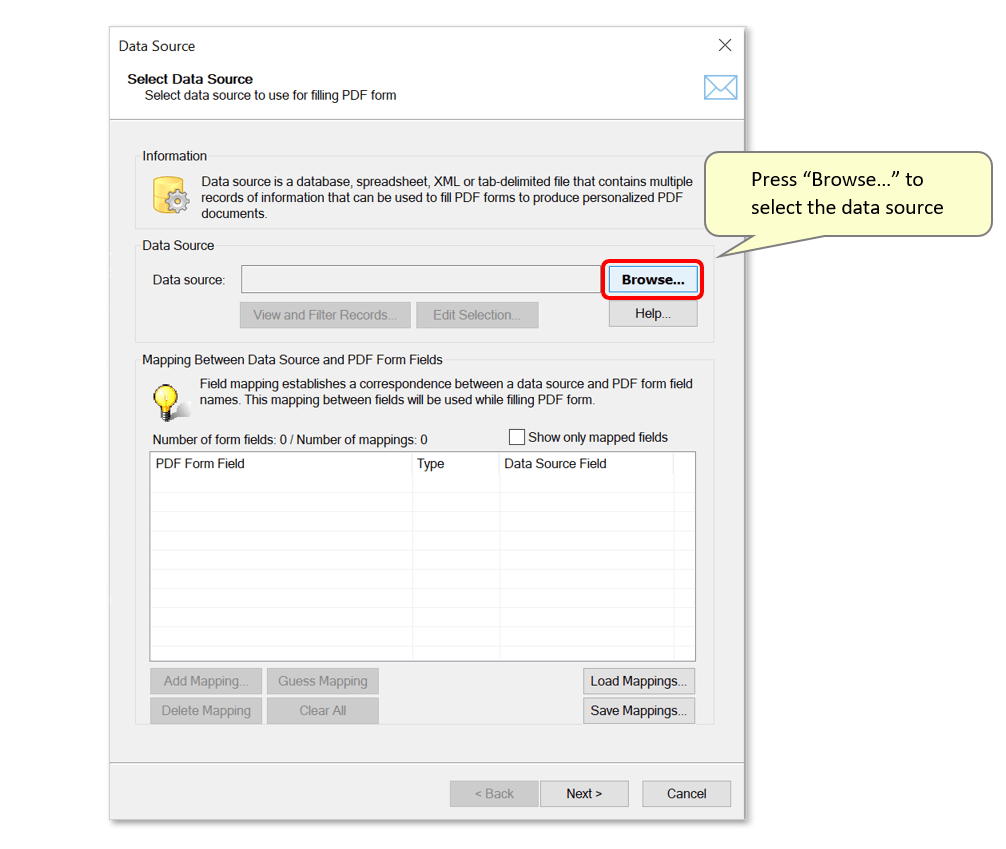
- Press the "Browse…" button in the "Data Source" dialog to select the input data file.
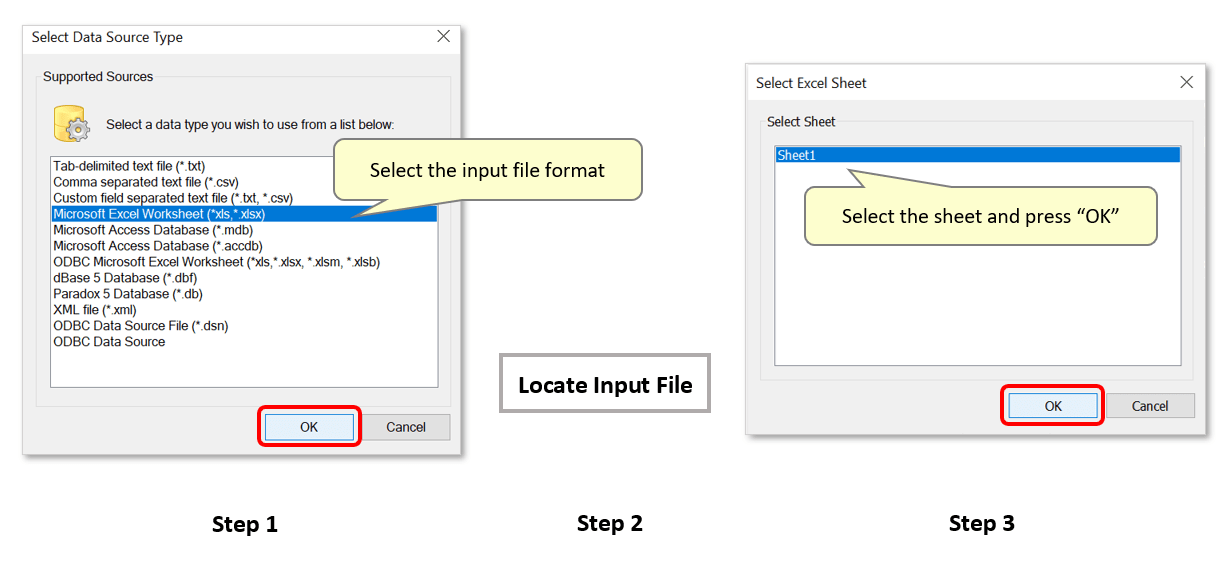
- Select a data type to use from the list (e.g.: Microsoft Excel Worksheet), then press "OK". Use the dialog that opens to locate and select the source file, then select the worksheet in the final dialog that opens.
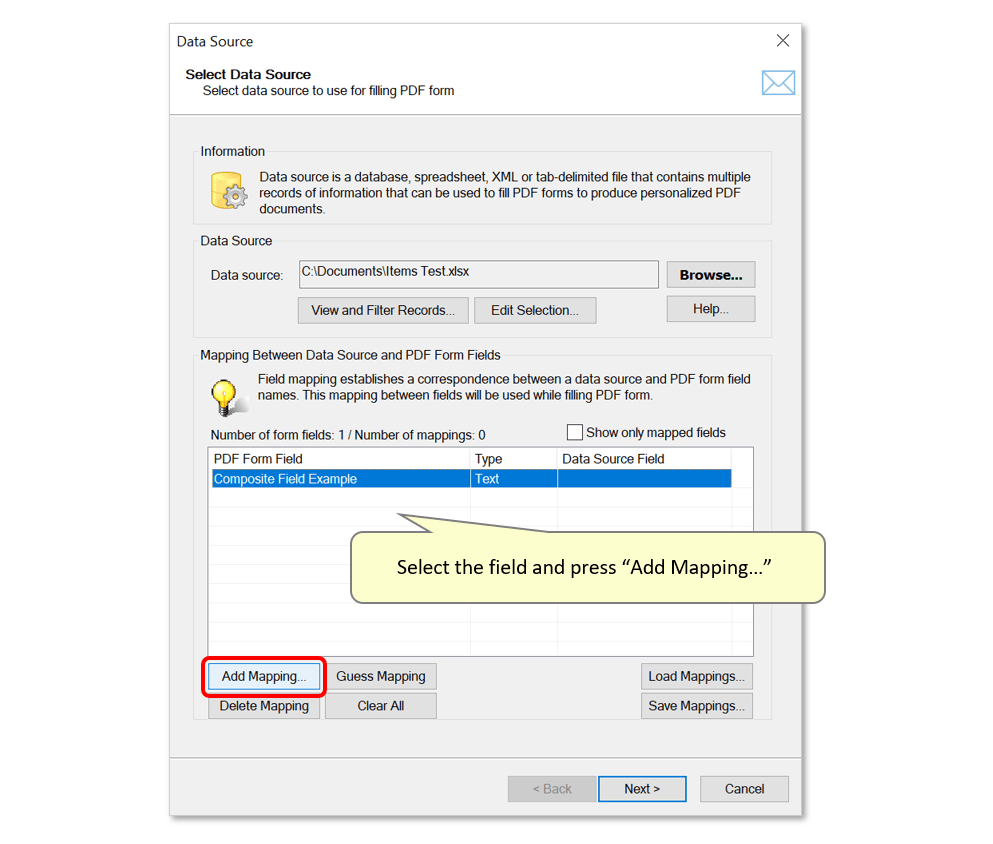
- Step 3 - Add the Field Mapping
- Any fields in the source PDF form will now be listed here. Select the desired field, then press "Add Mapping...".
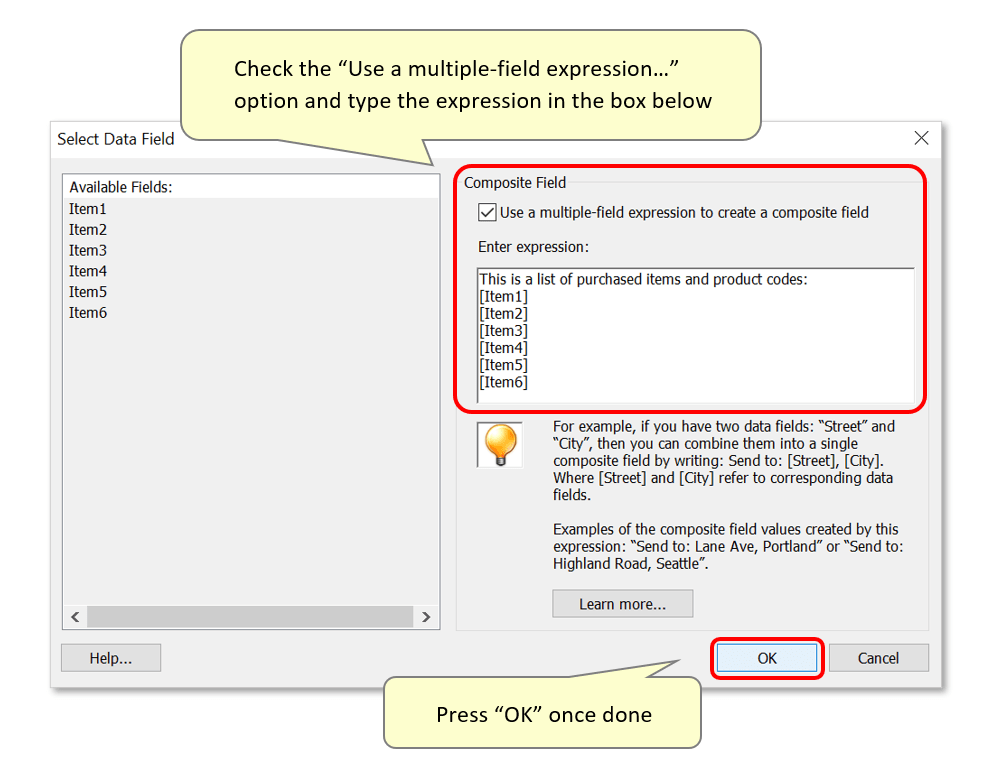
- Now check the “Use a multiple-field expression to create a composite field” option.
- Type the expression into the entry box provided. Use [Field Name] syntax to refer to an existing data source field. You can mix static text with data field references as any text that is NOT enclosed within square brackets will appear as it's written here. In this example, we’ve entered the text “This is a list of purchased items and product codes:” followed by a series of text fields to be used, one-per-line.
- IMPORTANT: The multi-line option must be enabled for this form field for this to work - otherwise all data will be shown on a single line.
- Press “OK” once done.
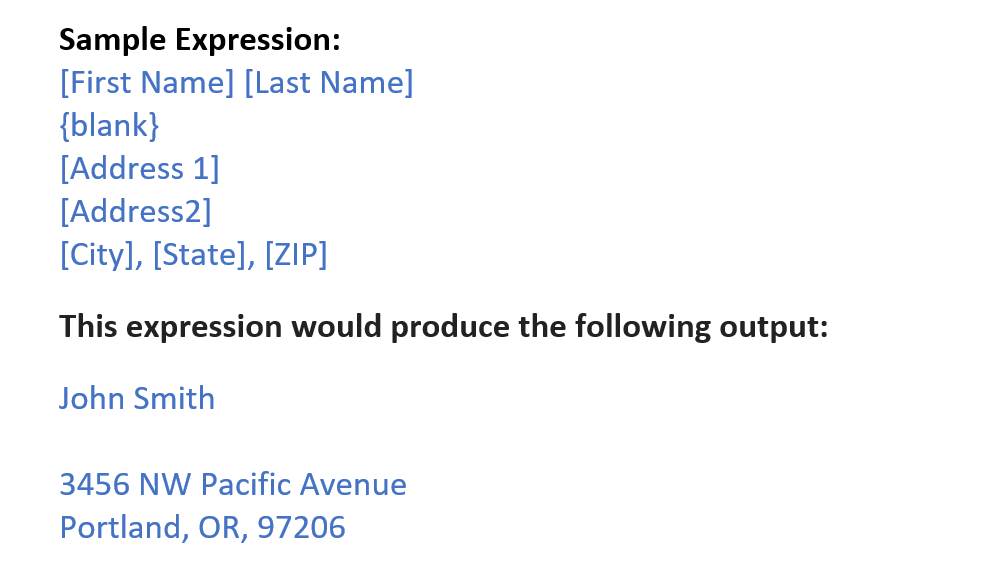
- Note that blank lines entered here are automatically removed from multi-line expressions. This means that addresses can be entered into the form field without any blank lines, if any data fields used for the merge have been left blank. If it’s necessary to create a blank line in the field’s content, do this by using the “{blank}” keyword entered within brackets. See the example below showing the result of using this method. The “Address2” field contained no data, but does not produce a blank line - however the use of “{blank}” does.
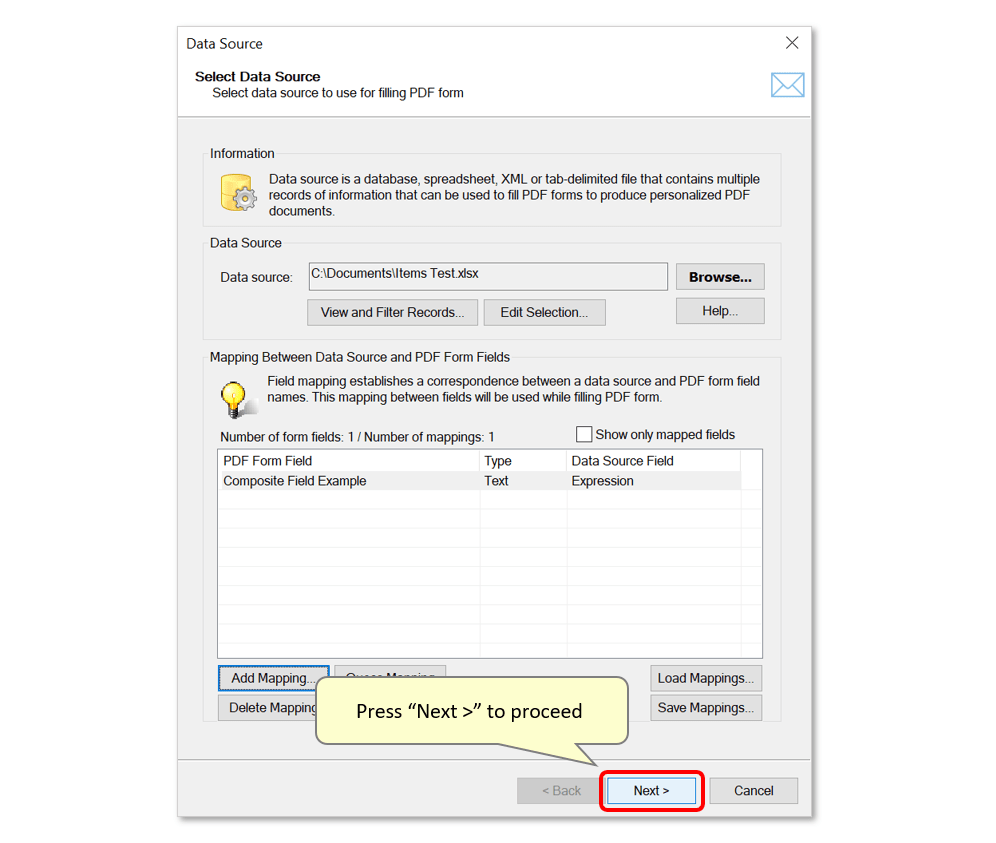
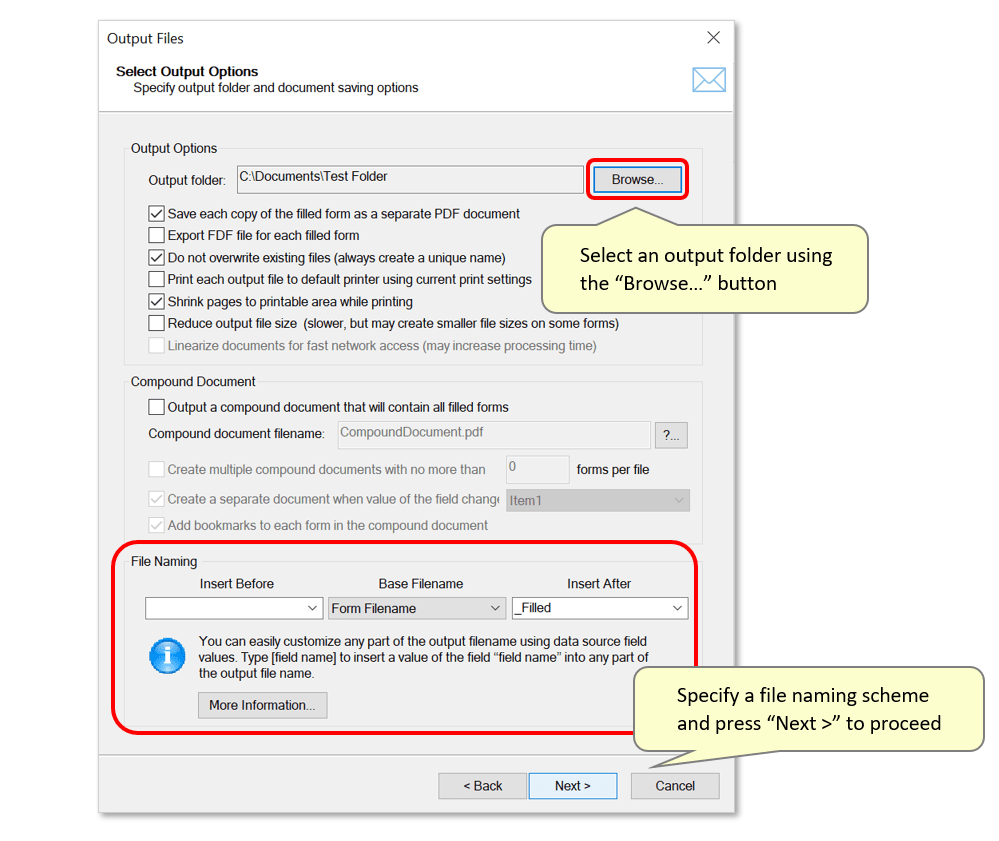
- Step 4 - Select an Output Folder
- Press "Next >" to proceed to the next settings screens.
- Select an output folder using the "Browse..." button.
- Optional: use the 'File Naming' section below to create a file naming scheme for the processed files. Enter text before/after a base filename - in this example, the output file will have "_Filled" appended to the end of the original filename.
- Press "Next >" to proceed through the final settings screens.
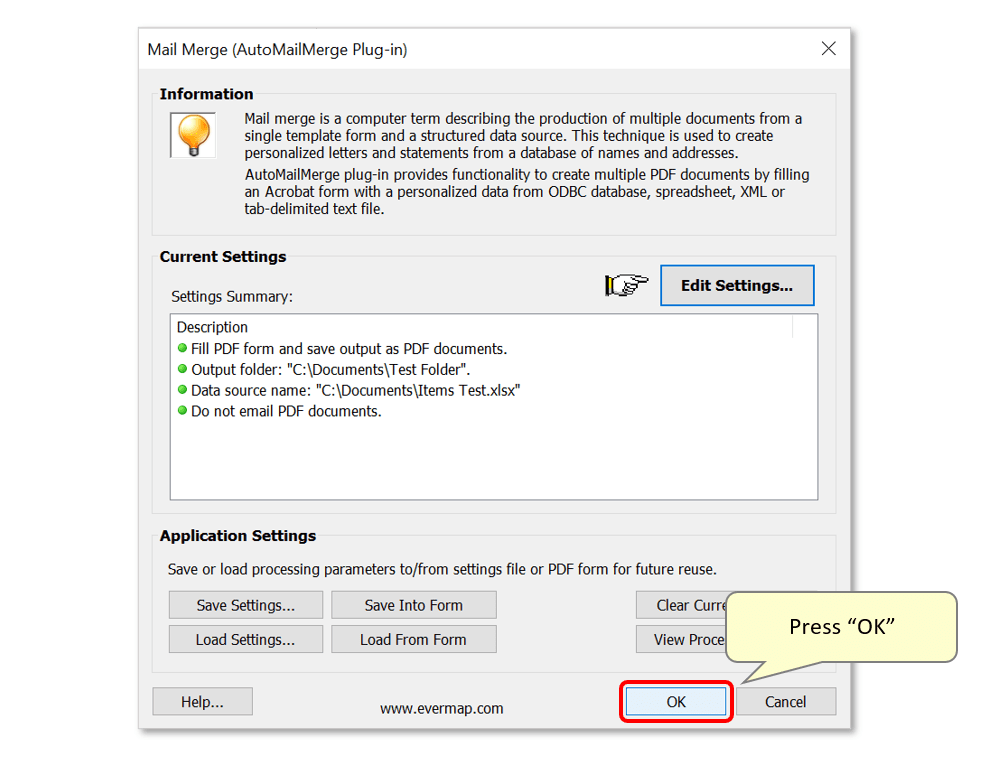
- Step 5 - Run the Mail Merge
- The confirmed settings summary will now be listed with green circles. Optionally, save the mail merge settings as an *.mms file for a later use by pressing "Save Settings". Use "Load Settings" to load previously saved settings.
- Click "OK" to start the mail merge process.
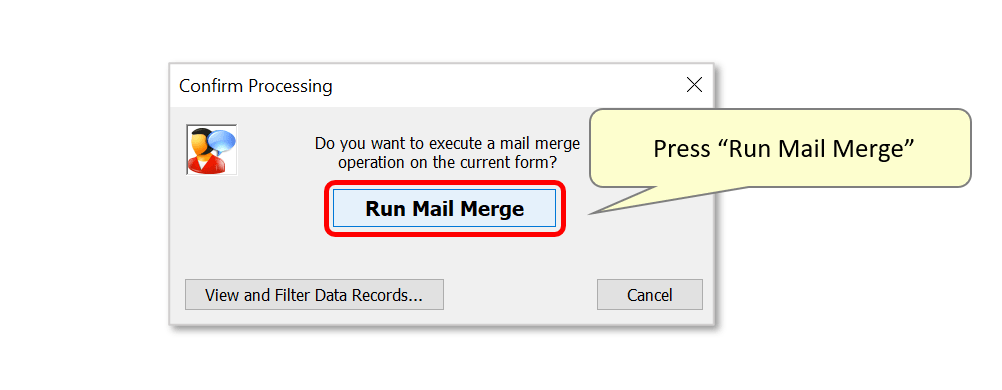
- Press "Run Mail Merge" to confirm.
- Step 6 - Open the Output File
- A results box will confirm the success of the operation. By default, pressing "OK" will open the selected output location.
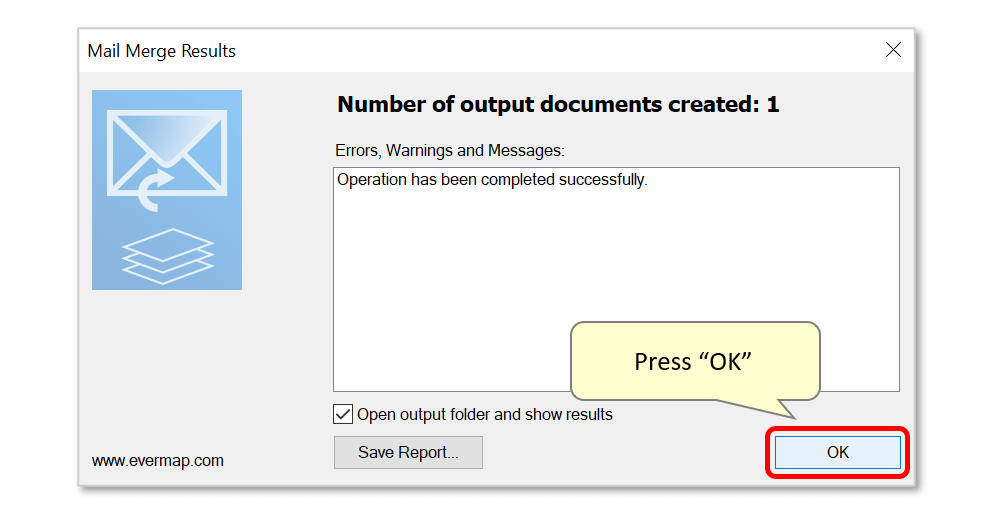
- Open the file to inspect it.

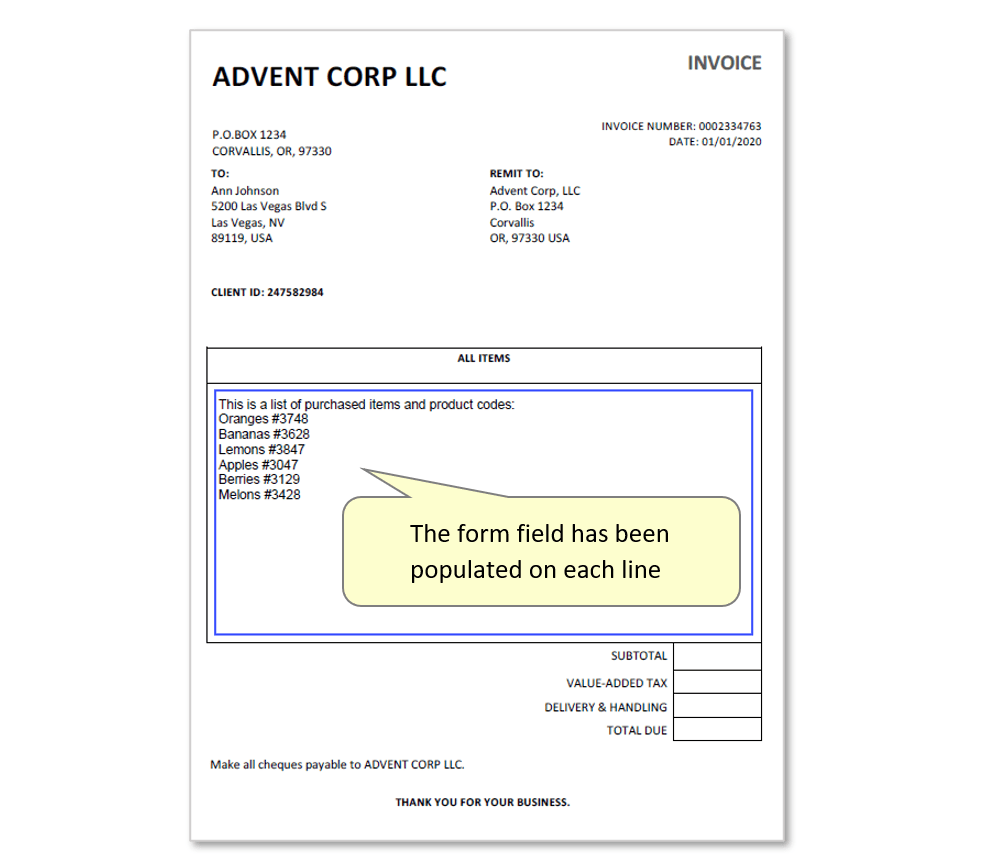
- Step 7 - Inspect the Results
- Inspect the file(s) to check that all text from the relevant data fields has been entered into the form field. The example below shows the static line of text ("This is a list of purchased items and product codes") entered in step 3 along with all corresponding data on the following lines.

- Click here for a list of all step-by-step tutorials available.