Configuring PDF Conversion Settings in Acrobat
- Introduction
- This tutorial shows you how to edit file conversion settings in Adobe® Acrobat®, to be used along with the AutoPortfolio™ plug-in when converting PDF Portfolio files into regular PDF format. The plug-in uses existing document conversion functions that are available in the standard Adobe® Acrobat® software. All conversion from non-PDF formats into PDF documents is performed according to the default Acrobat preferences. It is important to review these settings and make adjustments in order to get the conversion results that conform to your project requirements.
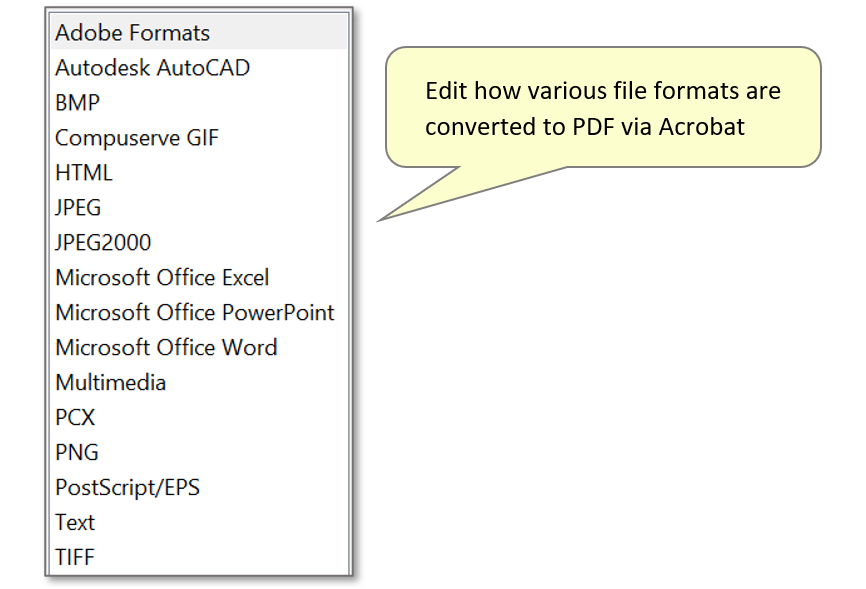
- This settings menu can be used to configure how various document formats are configured into PDF. For example, when converting a PDF Portfolio of emails with attachments into one “flat” PDF document containing all messages, followed by their corresponding attachments in the same document.
- Why Change These Settings?
- Most conversion settings do not require any adjustment and can be used with the default configurations. However, for example when converting a Microsoft Excel spreadsheet document, only a first worksheet would be converted into PDF format. It’s therefore necessary to adjust the Acrobat conversion settings to allow the conversion of multiple worksheets.
- Step 1 - Open 'Preferences'
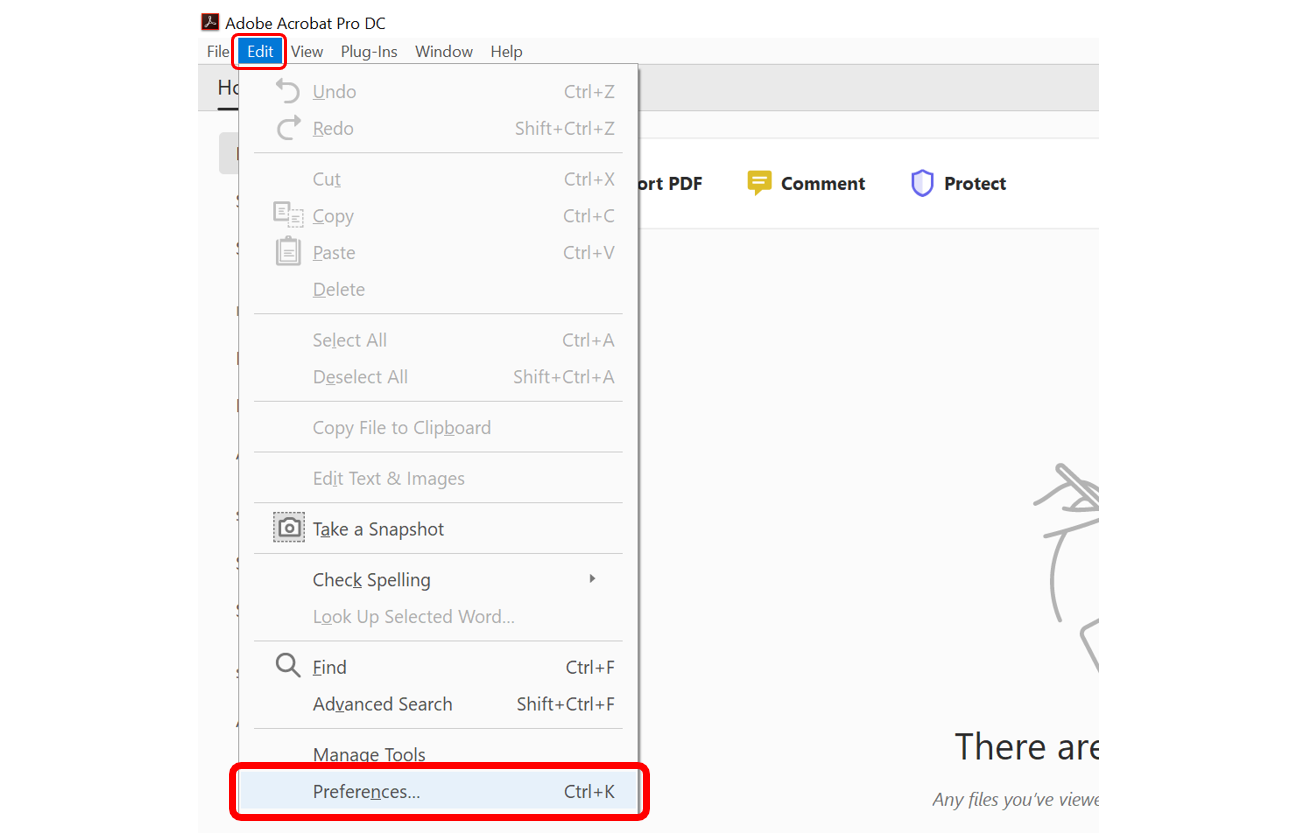
- Start Adobe® Acrobat® and select "Edit > Preferences..." from the main menu to open the preferences dialog.
- Step 2 - Access 'Convert to PDF' Settings
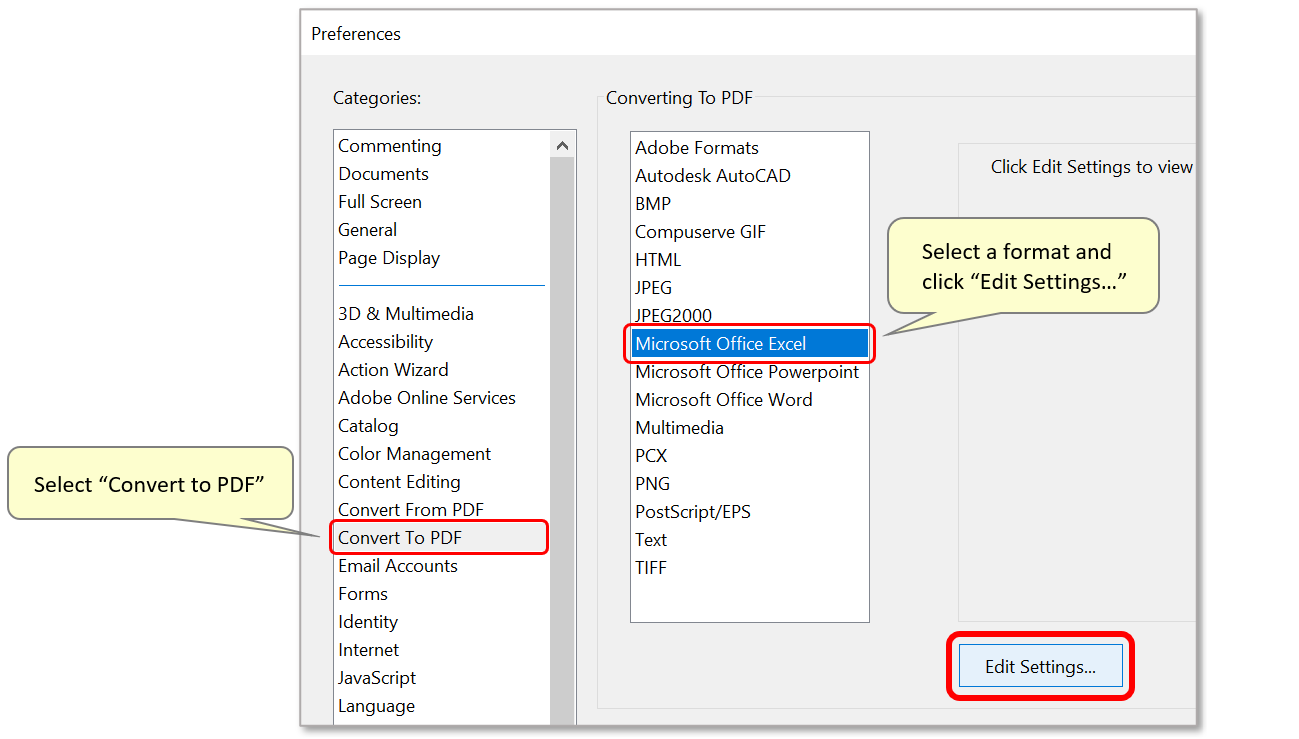
- Select the "Convert to PDF" category from the list on the left in order to see all of the supported file formats. In this example, we'll change settings so that multiple MS Excel worksheets can be converted to PDF. To do this, select the “Microsoft Office Excel” format from the list and click “Edit Settings” in order to adjust the conversion preferences.
- Step 3 - Configure MS Excel Conversion Settings
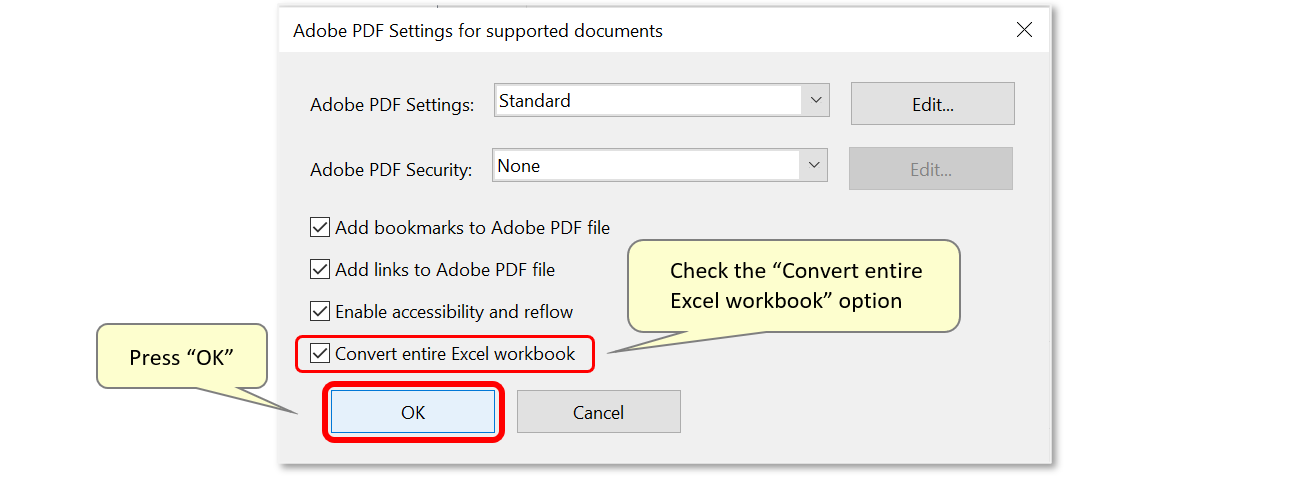
- In the settings dialog that opens, ensure that “Convert entire Excel workbook” is checked (unless this option is not desirable for your specific project). Press “OK” to save settings.
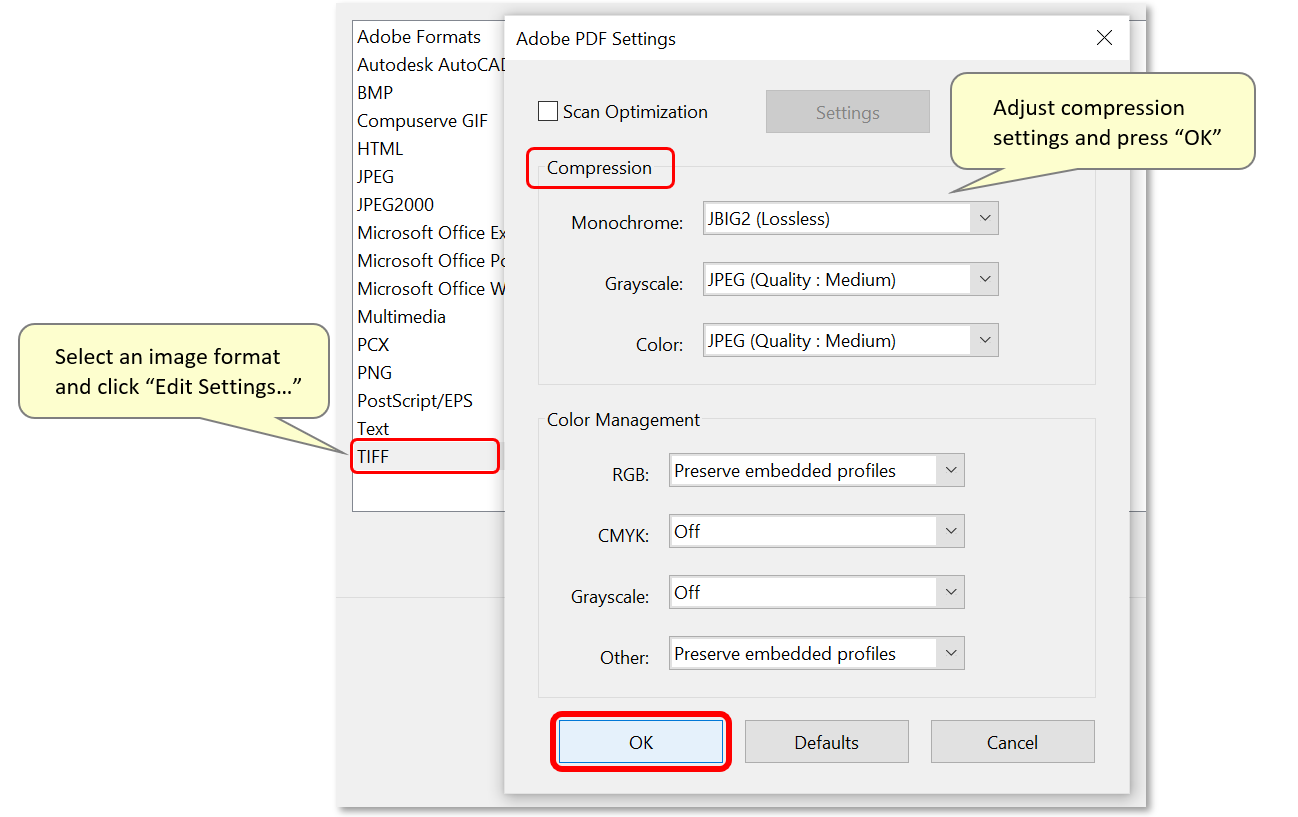
- Step 4 - Optional: Edit Image Conversion Settings
- Optionally edit compression settings for converted images using the ‘Preferences’ dialog. This may be useful when using the AutoPortfolio™ plug-in to export a PDF Portfolio into a ‘TIFF and Text format’ to import data into litigation support systems such as Concordance, or Summation.
- Select an image format such as “TIFF” and/or “BMP” from the preferences settings categories, and click the “Edit Settings” button. Here you can adjust compression settings according to your requirements. Press "OK" to save them.
- Further Help
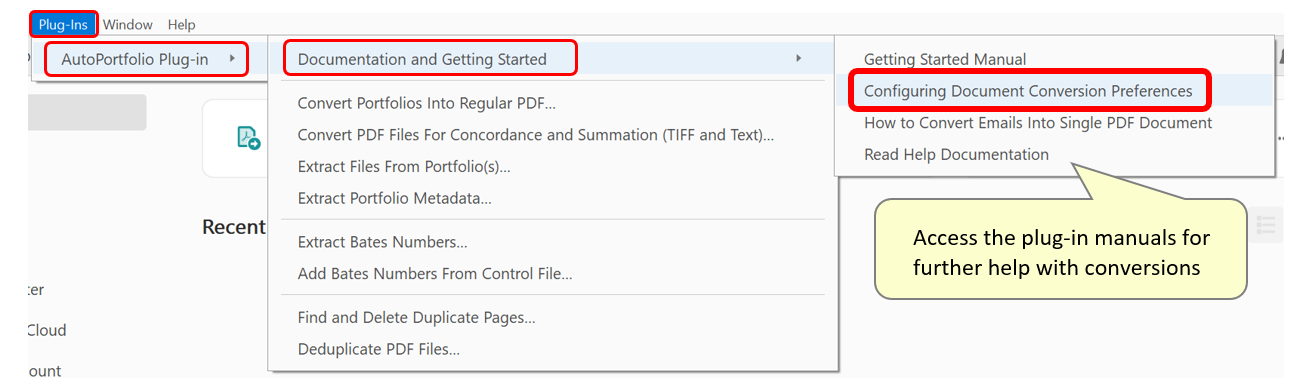
- Use "Plug-ins > AutoPortfolio Plug-in > Documentation and Getting Started > Configuring Document Conversion Preferences" in Adobe® Acrobat® to read more detailed instructions on adjusting other Excel-to-PDF conversion preferences.
- You can find more AutoPortfolio™ tutorials here.