Combine Files with Matching File Names
AutoSplit for Adobe® Acrobat®
- Introduction
- It is often necessary to combine multiple documents into a single PDF file based on filename similarity. This workflow is critical across legal, financial, and CRM operations—such as merging separate case files by matter number, consolidating monthly statements for a customer based on their account number, or grouping assets mapped to a Salesforce 18-character Record ID. Under this process, all files that share the exact same number of leading characters are automatically grouped and merged into their own unique PDF file. AutoSplit provides an easy-to-use operation for this exact purpose, allowing you to configure the process in just a few seconds. Simply specify the number of matching characters, select your files, and choose an output folder. In addition to PDF files, this operation supports merging PNG, TIFF, and Microsoft Office documents — like Word and Excel — directly into the final PDFs. While AutoSplit offers advanced methods for matching a variable number of characters, this tutorial covers the basic setup for files sharing a fixed-length prefix.
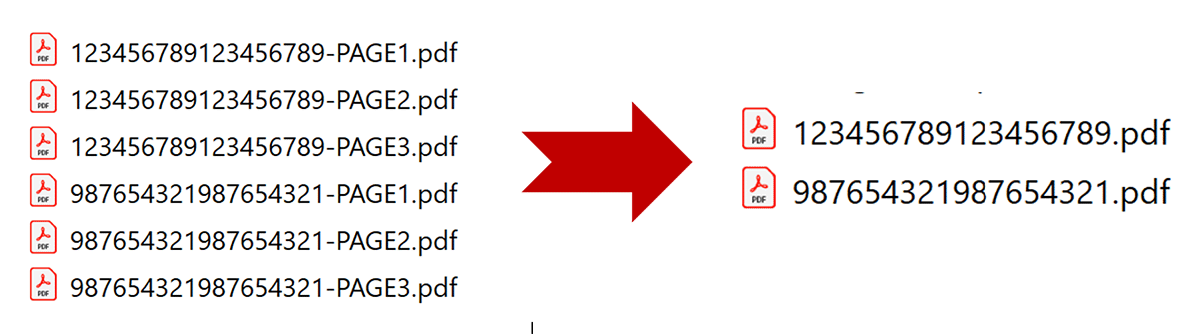
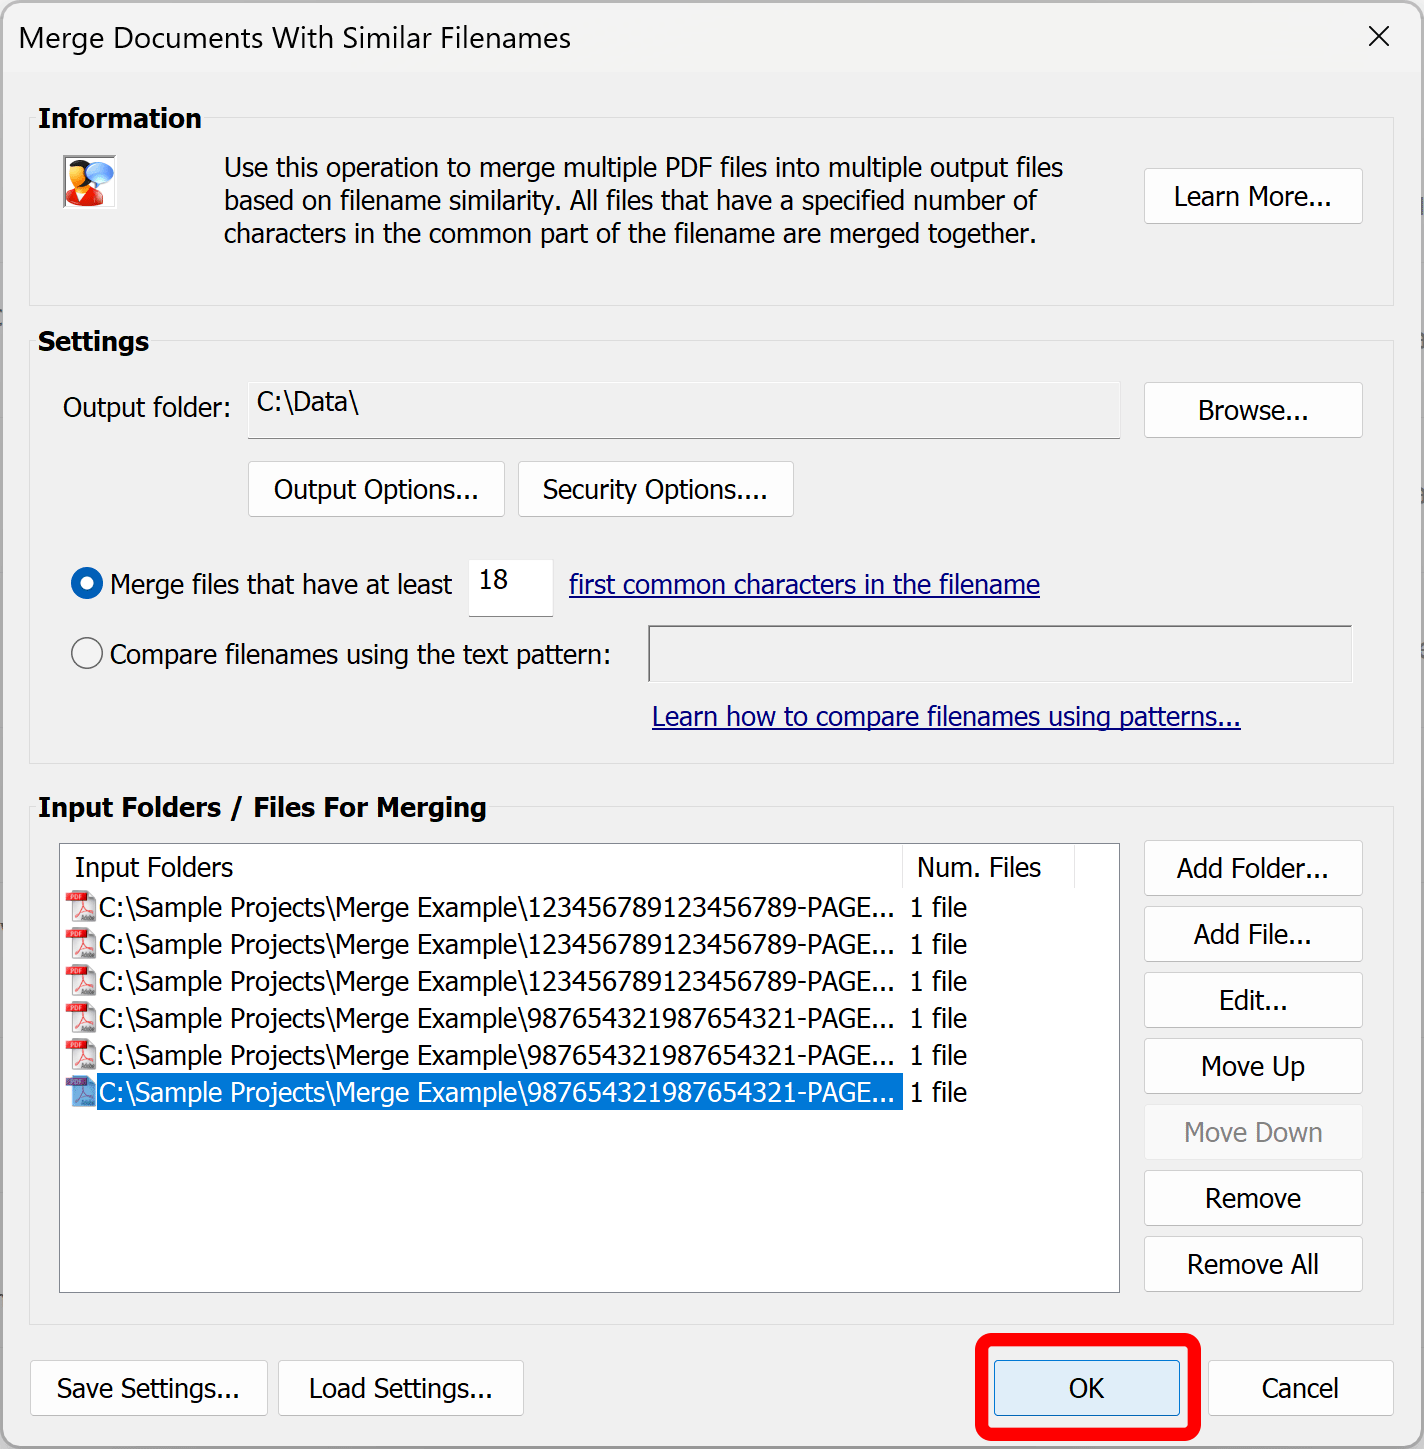
- In this specific example, we have a set of 6 files that need to be merged into two separate PDF files based on the first 18 characters of their filenames. This setup will generate 2 output files, each combining 3 of the input documents. Each resulting PDF is automatically named using the unique 18-character common prefix that was used to combine the files.
- Step-by-Step Tutorial
- Select Tool in Adobe Acrobat
- Select Plugins >
Merge Documents > Merge Documents with Similar Filenames... from the Adobe Acrobat menu.
[⚡ How to locate Plugins menu in Adobe® Acrobat® ⚡] - Select Output Folder
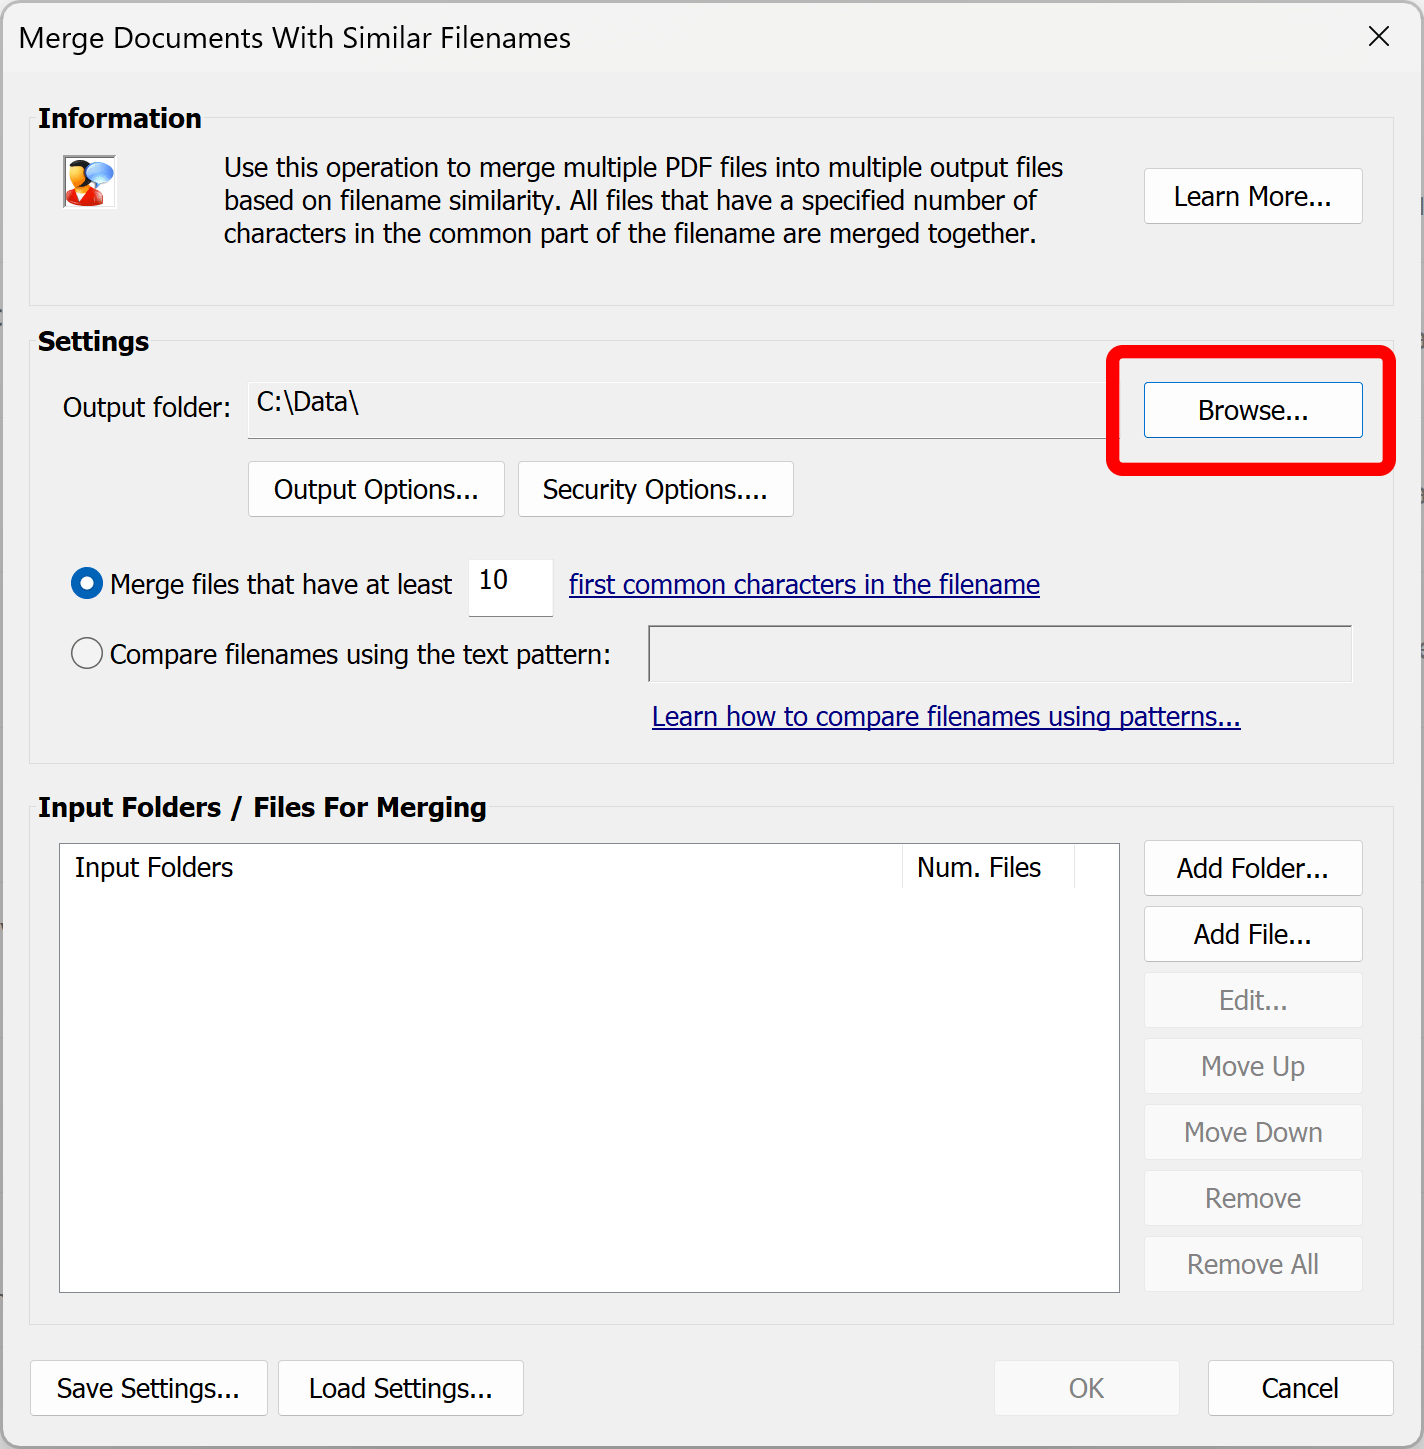
- Press Browse... button and select desired output folder for saving merged files.
- Select Number of Matching Characters
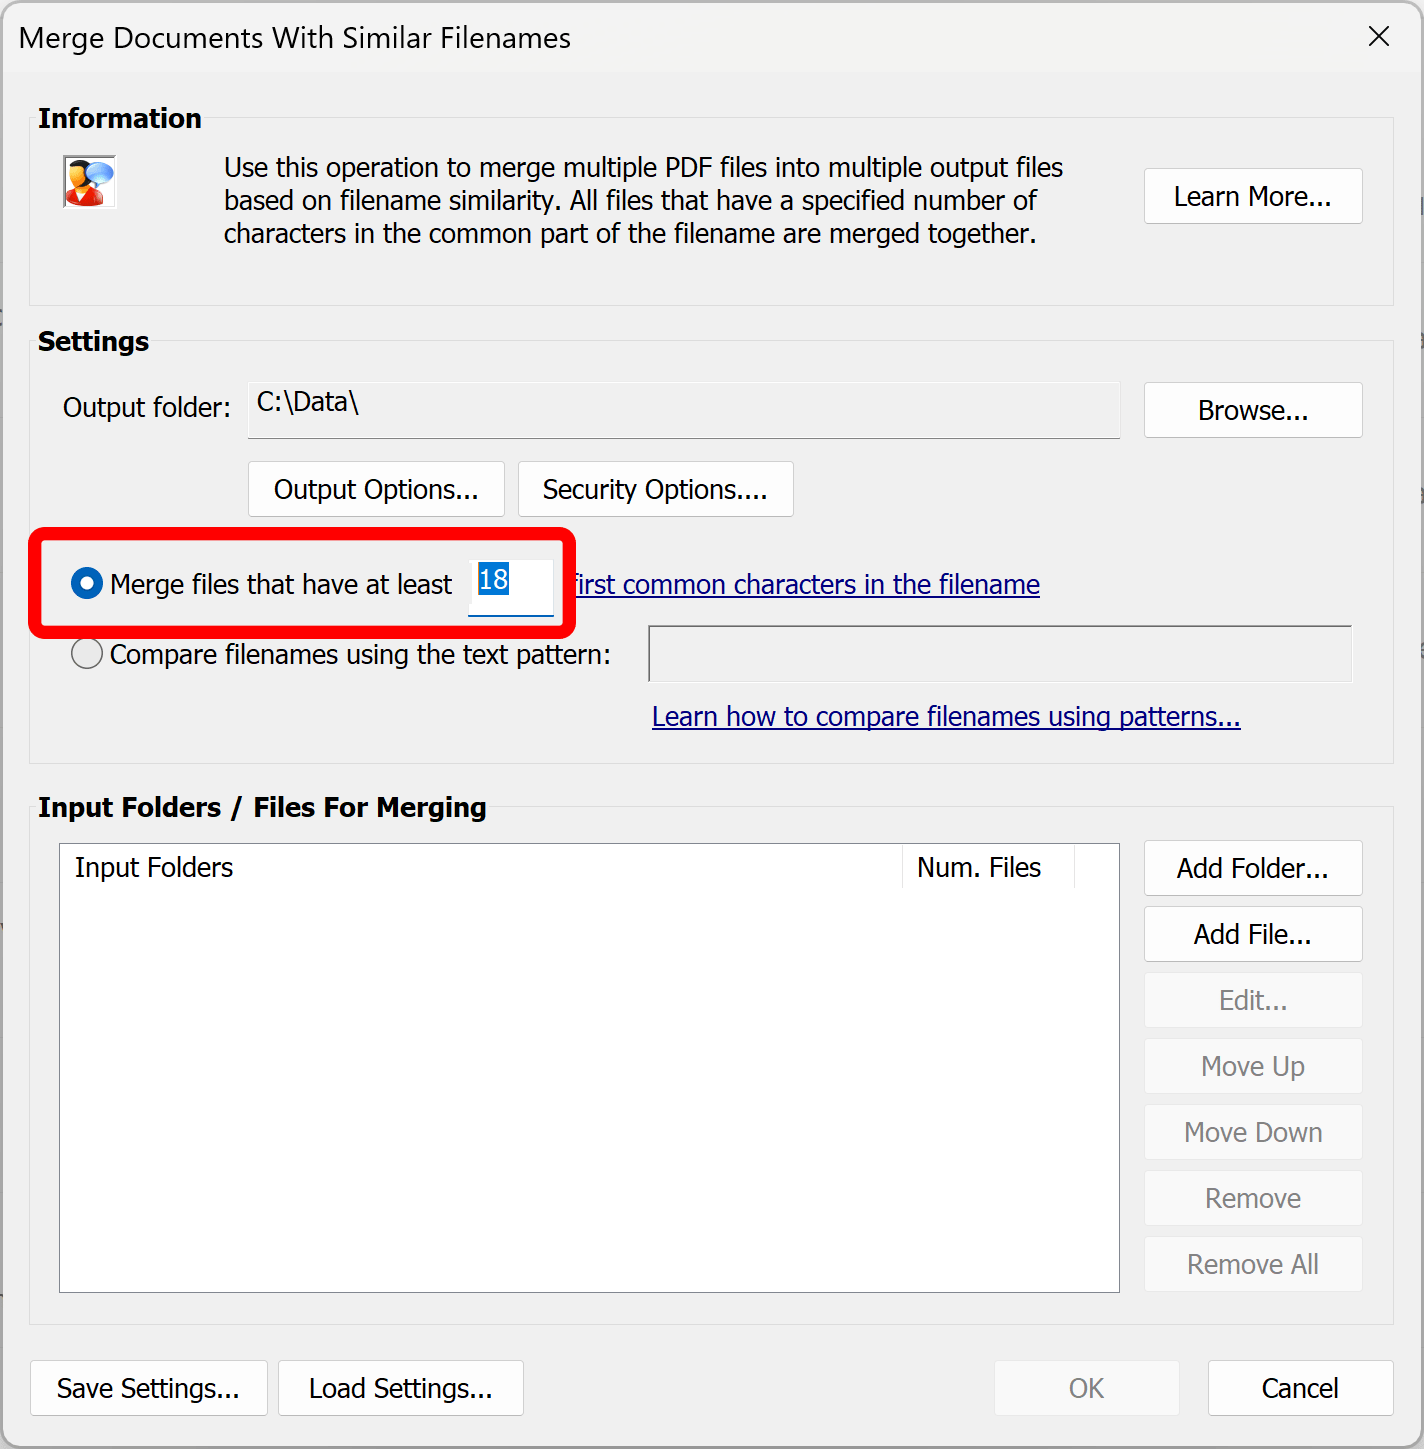
- Specify number of matching leading characters. In our example, it is 18. All files that share the exact same number of leading characters are automatically grouped into a single output file.
- Select Input Files
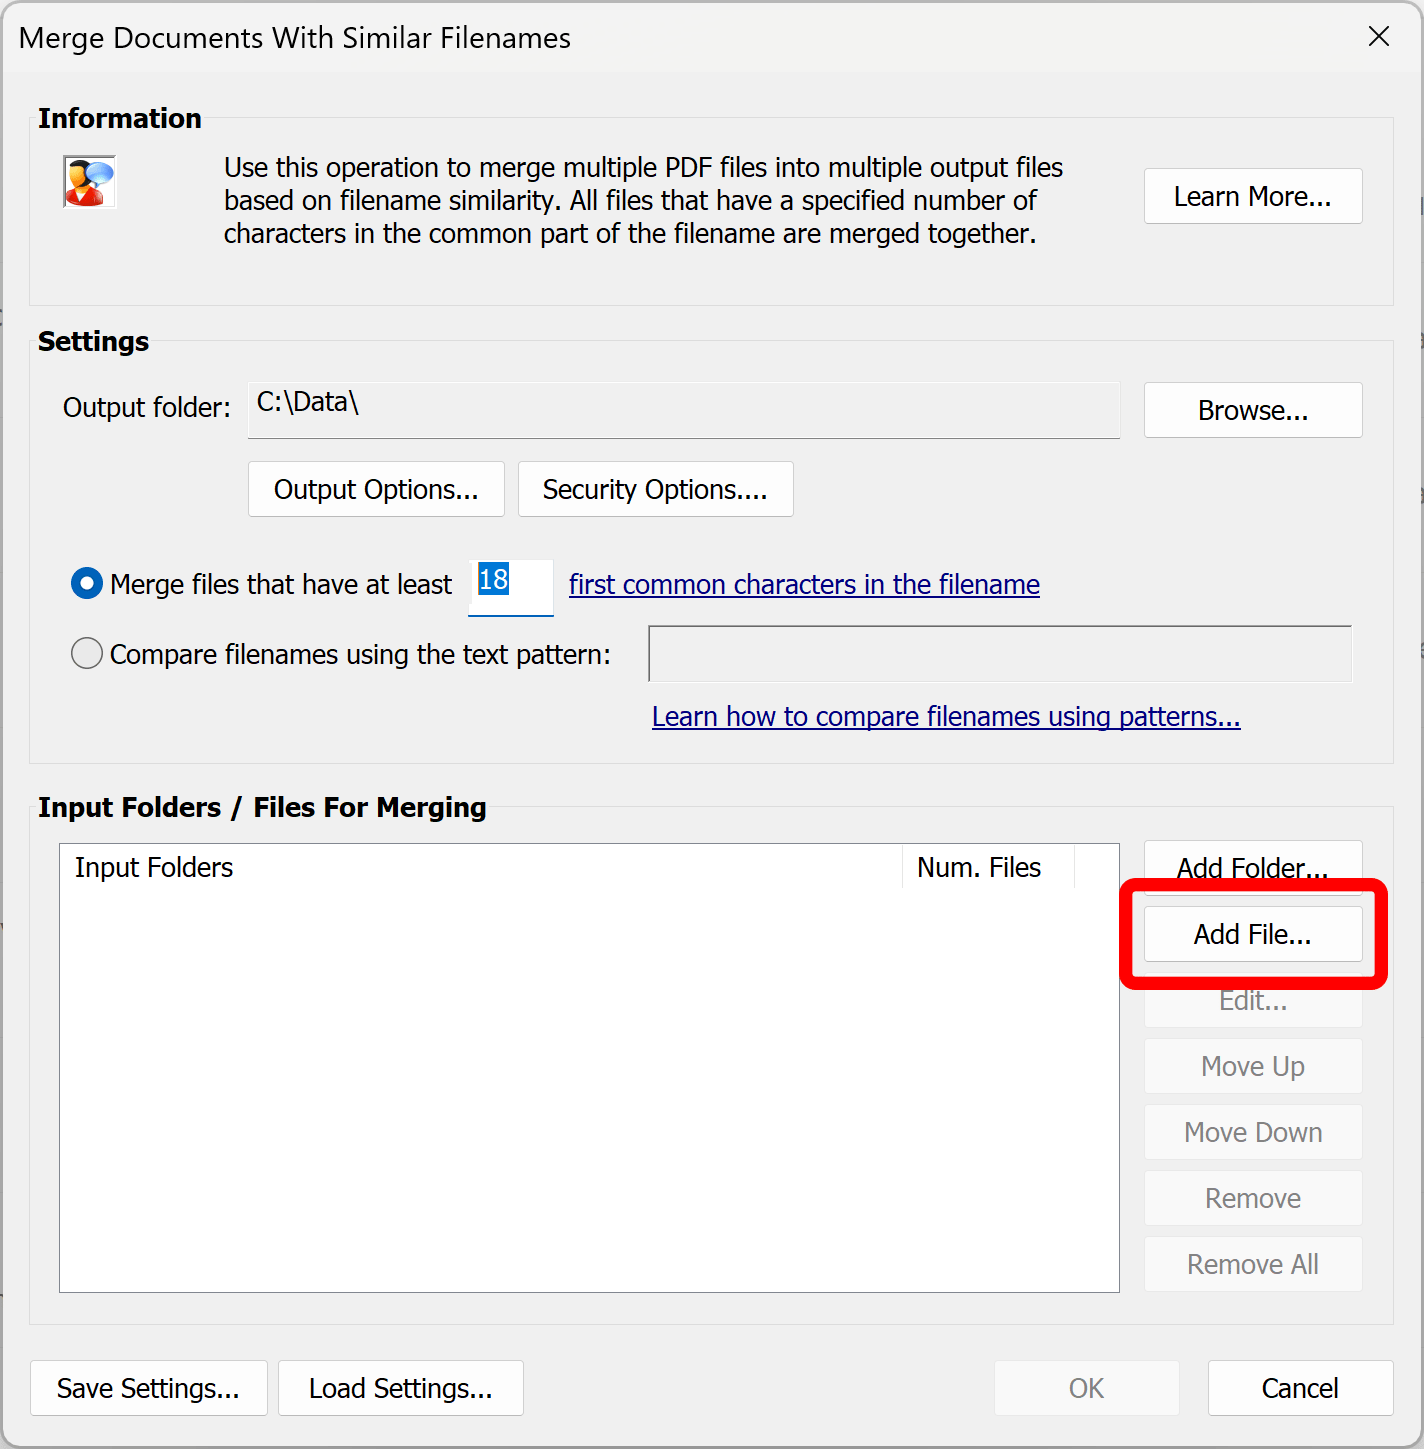
- Press Add File... or Add Folder... buttons to select input files.
- Run Processing
- Press OK button to start merging files.
- Review Results
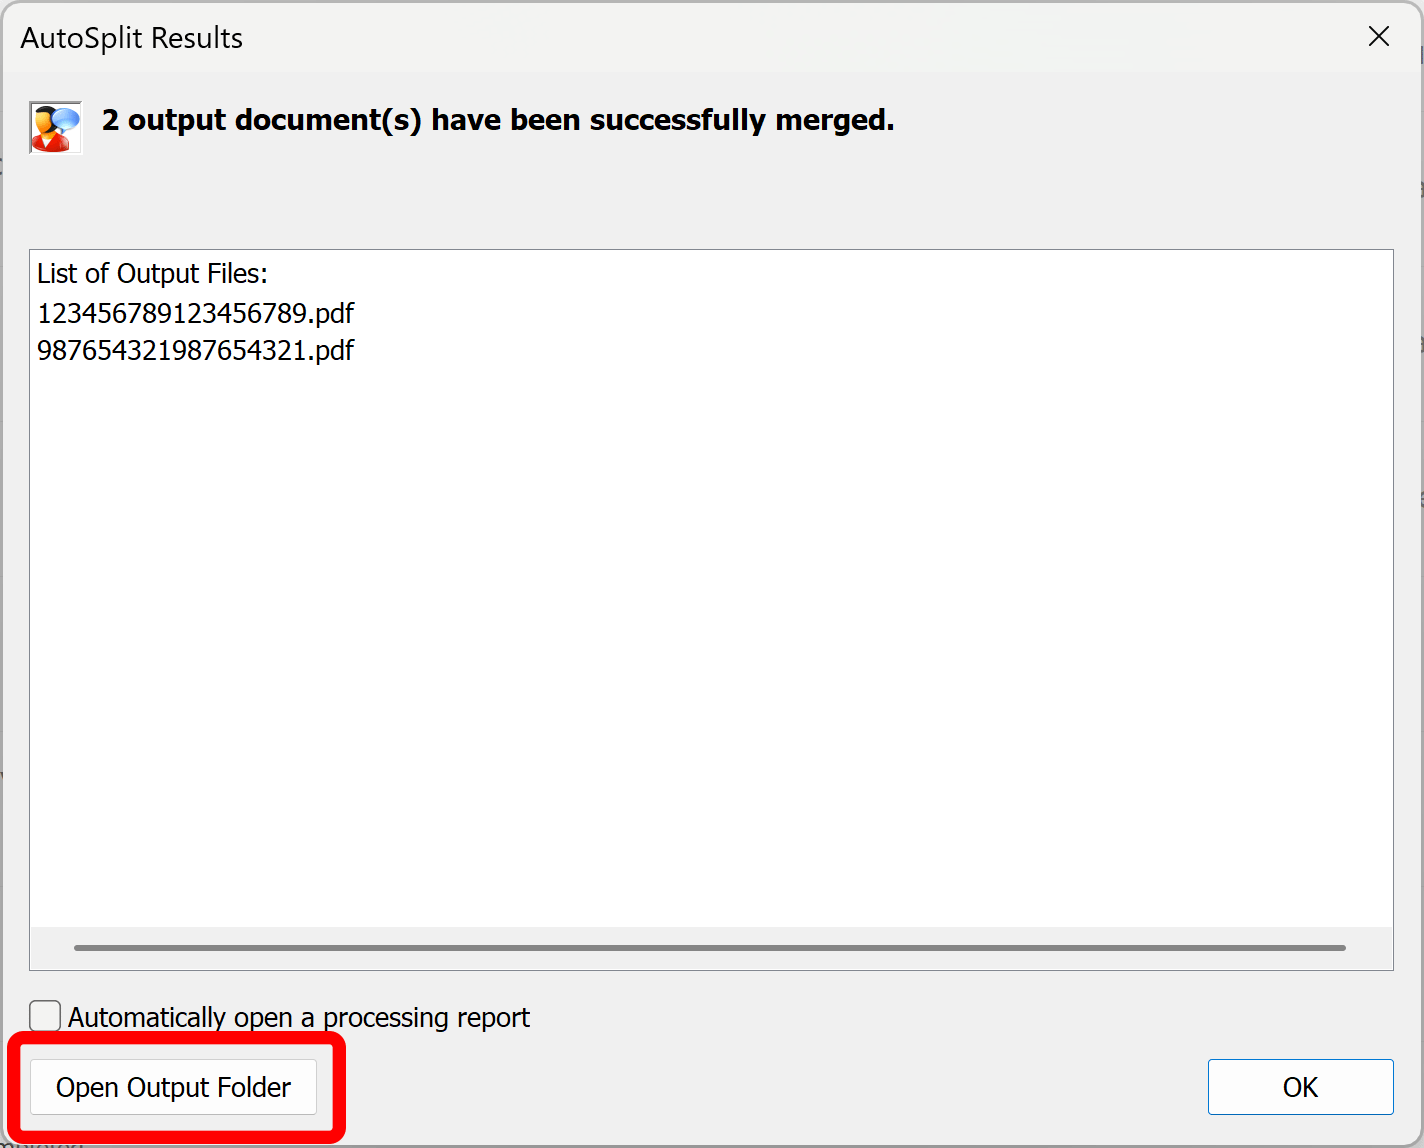
- Review the results. The total number of output files and their filenames are displayed in the Results dialog. Optionally, press Open Output Folder button to open output folder in Windows File Explorer to check the files. Output folder contains ReportFile.htm file with detailed description of the merging job.
- Inspect Processing Report
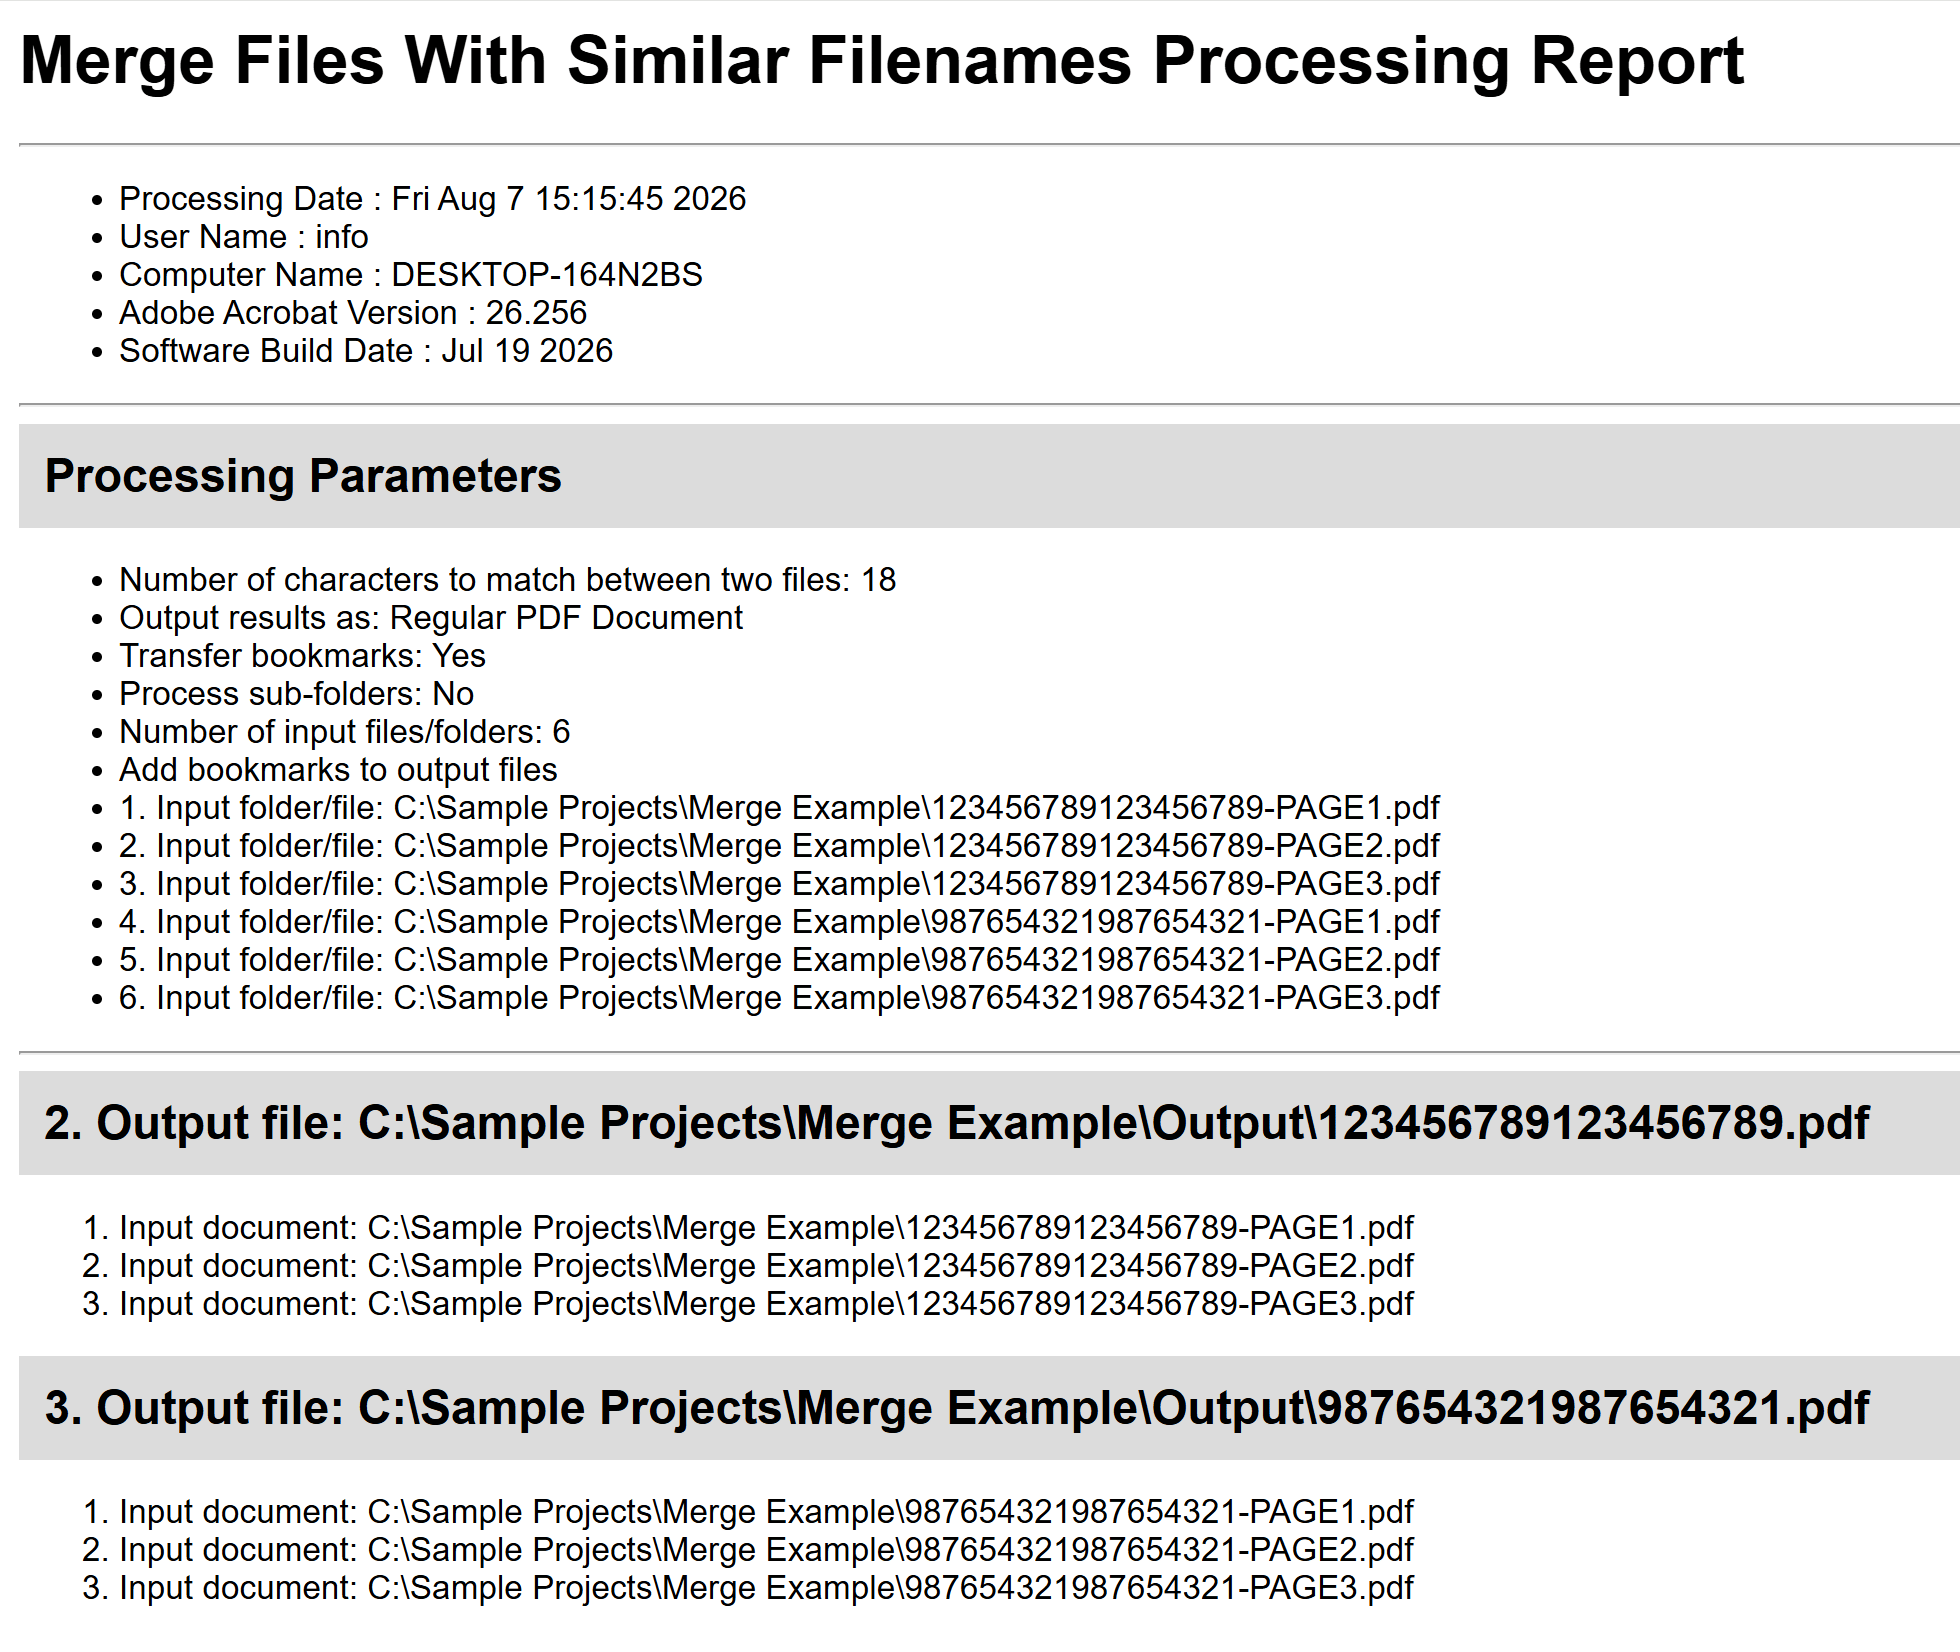
- Optionally, inspect the ReportFile.htm file located in the output folder. It contains a detailed description of the files combined to generate each output PDF, along with the processing settings used.
- Related Tutorials
- See the following link for more AutoSplit document merging tutorials.