Adding Custom Text Anywhere in a Filename
AutoSplit for Adobe® Acrobat®
- Introduction
- A frequently asked question about AutoSplit’s Auto-Rename operation is how to add custom text to a filename. Custom text can be inserted at the beginning, at the end, or anywhere within the original filename, giving you more flexibility when creating consistent file names. For example, a law firm may add “Executed - ” before a contract filename or “ - Confidential” after it, while a healthcare organization may add “Patient Record - ” before a file or “ - Medical Records” after it. Custom text can also be combined with other Auto-Rename methods that extract information from PDF pages, such as a case number, client name, patient name, medical record number, or document date, and use that information as part of the filename. It can also be used by itself when you simply want to add specific text to every filename.
- In this tutorial, we’ll show you how to insert custom text anywhere in the original filename, including before or after the existing filename.
- Step-by-Step Tutorial
- Select Tool in Adobe Acrobat
- Select Plugins >
Auto-Rename PDF Files... from the Adobe Acrobat menu.
[⚡ How to locate Plugins menu in Adobe® Acrobat® ⚡] - Filenaming Components
- We are going to construct a file renaming scheme by adding different filename components. Each component represents a piece of information that will be inserted into the filename at the corresponding position. AutoSplit provides several types of components, including the original filename, custom text, and document metadata. You can also add text extracted from a specific location on a page, or use text found by searching the document for a specific pattern—for example, an account number, invoice number, case number, or other identifier. By combining these components in the desired order, you can build a filename that contains exactly the information you need.
- Add Custom Text Before Filename
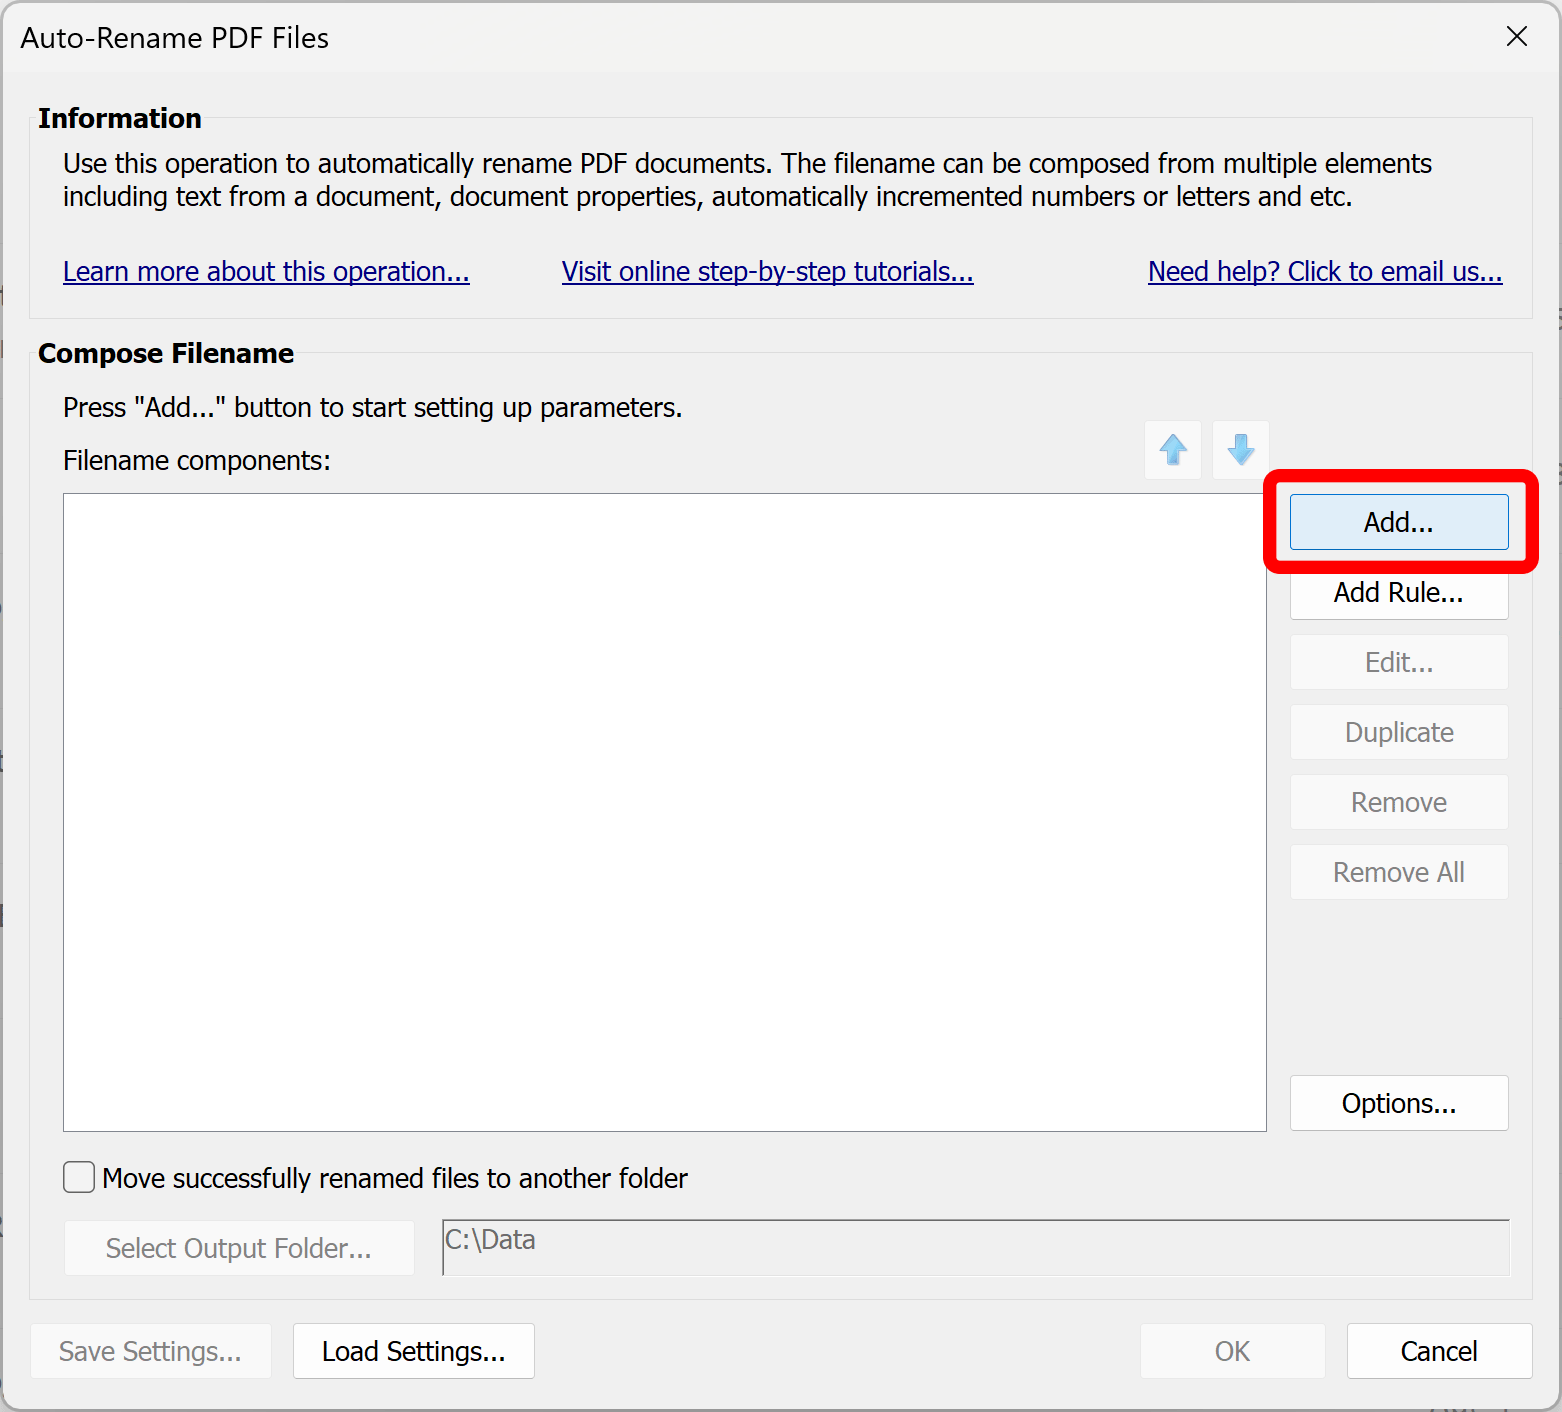
- We are going to construct file renaming scheme by adding filenaming components. Press Add... button to add a first filenaming component.
- Select Custom Text Component Option
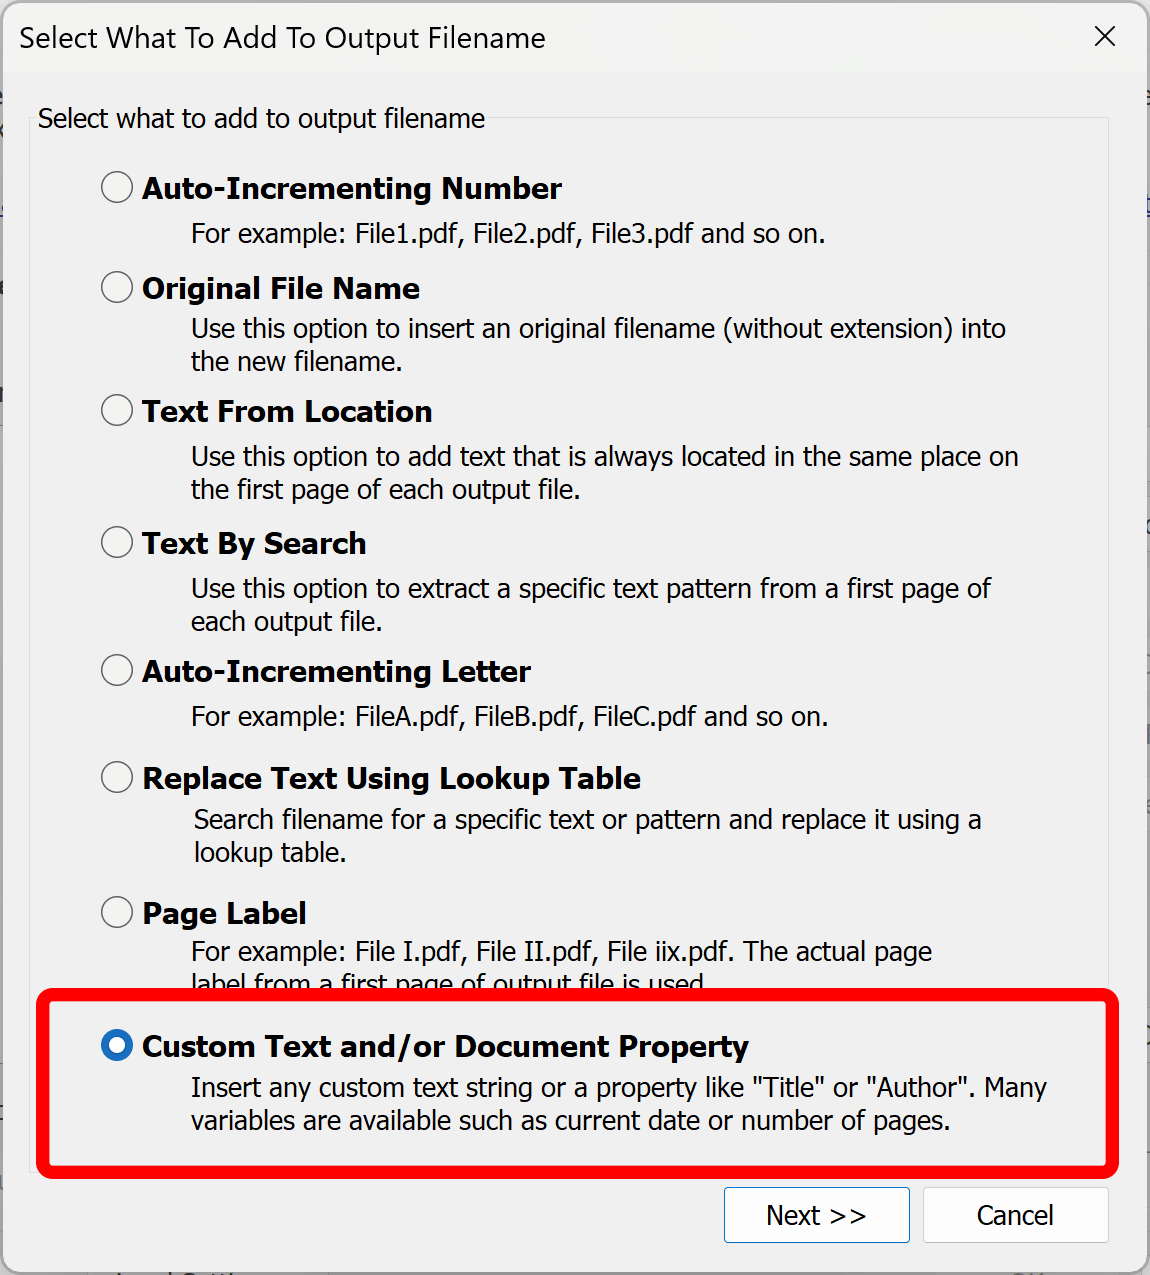
- Select a custom text option:
- Enter Custom Text
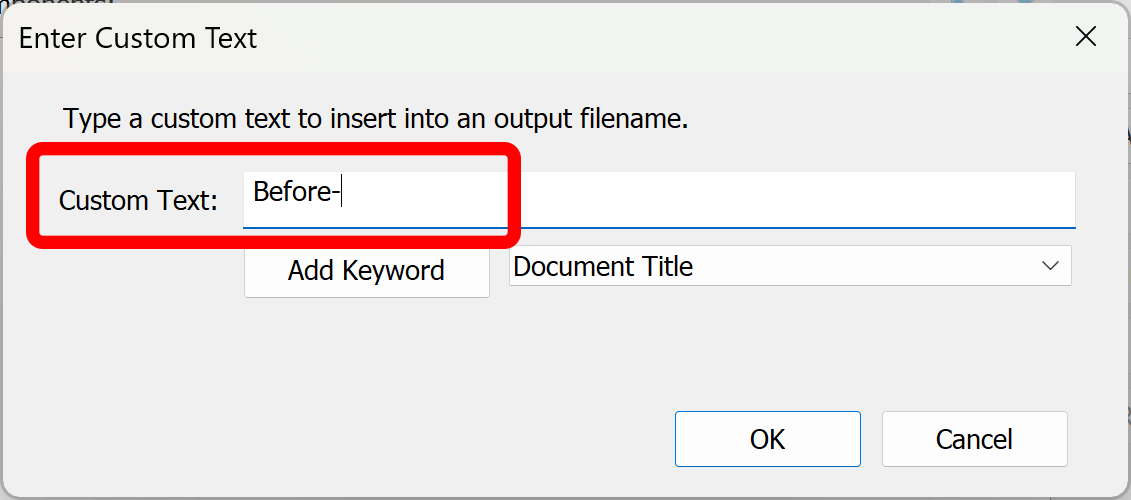
- Type any text that needs to go in front of the original filename.
- Add Original Filename
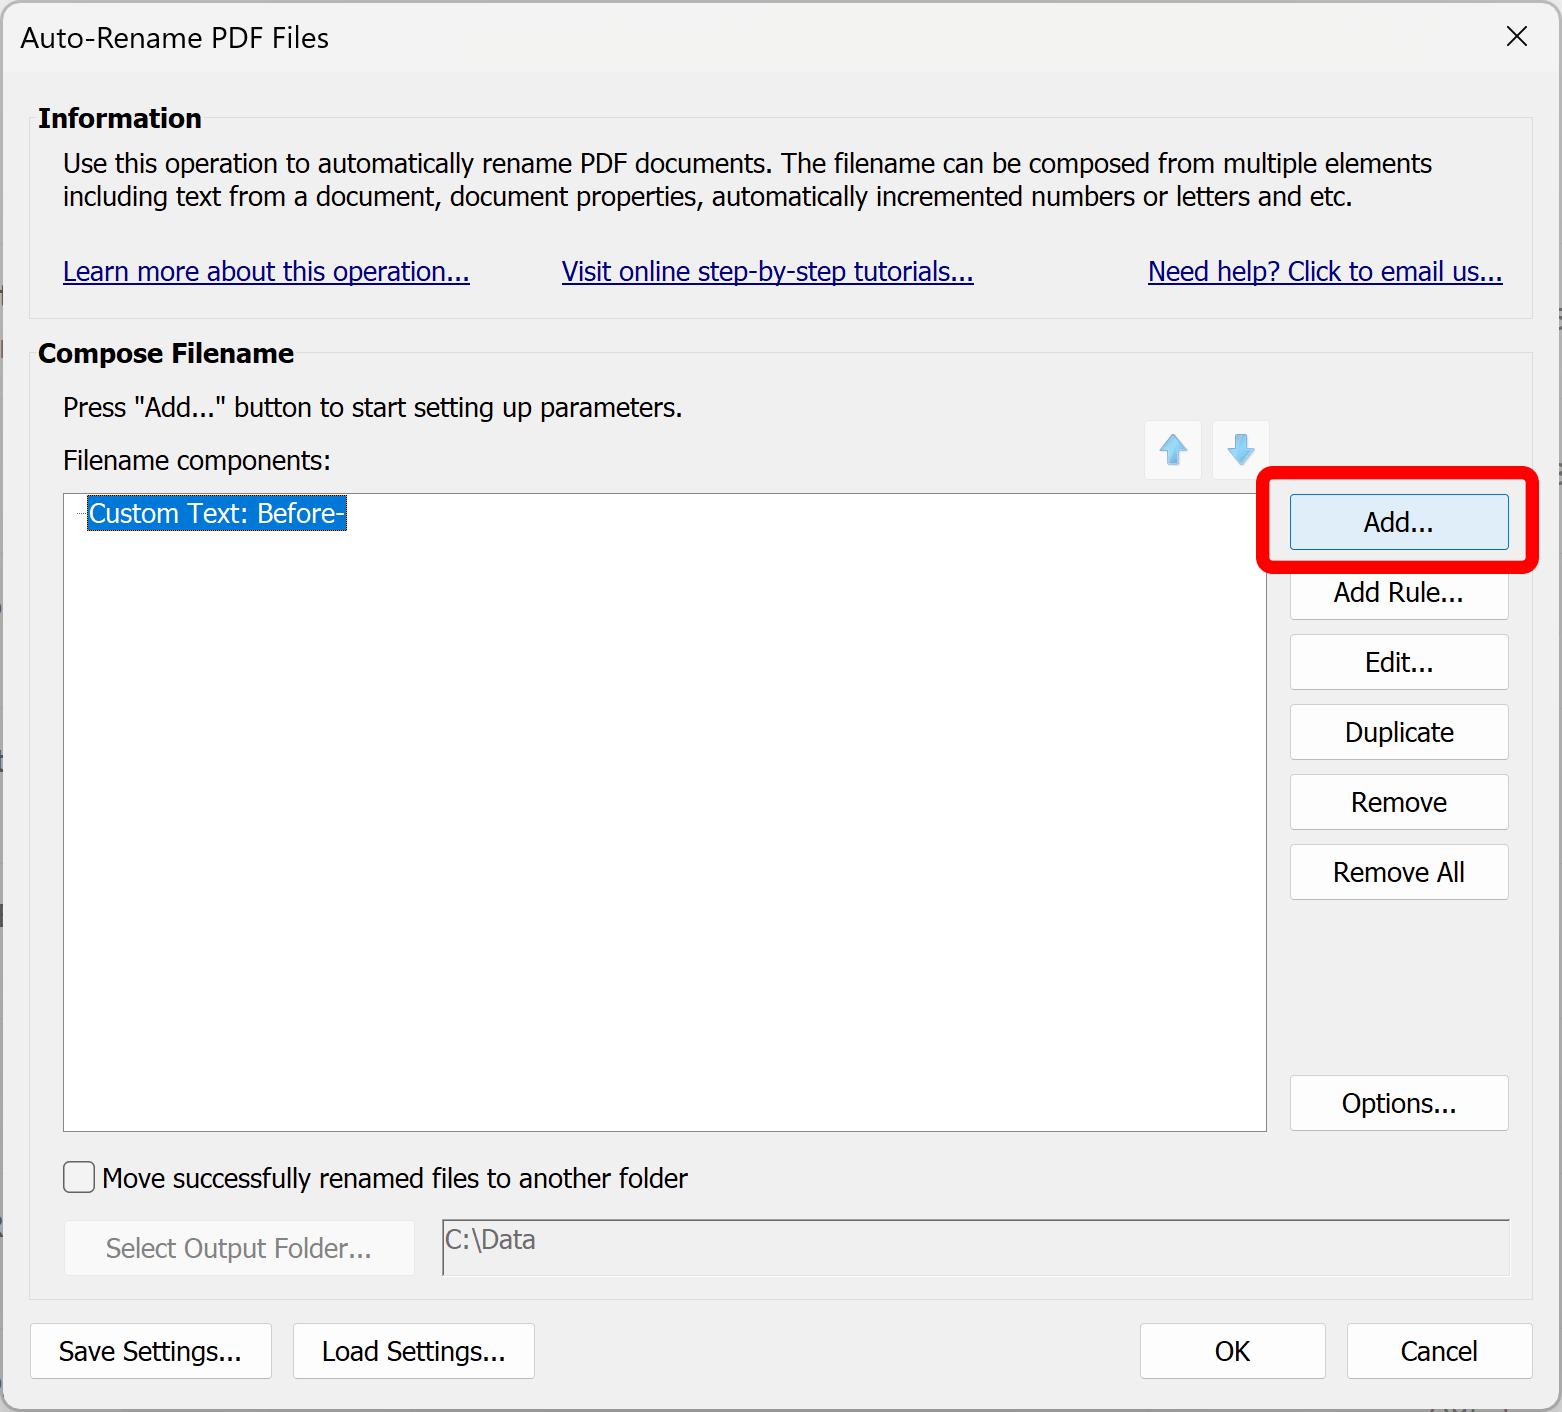
- Press Add... button again to add a second component. This time we will insert an original filename.
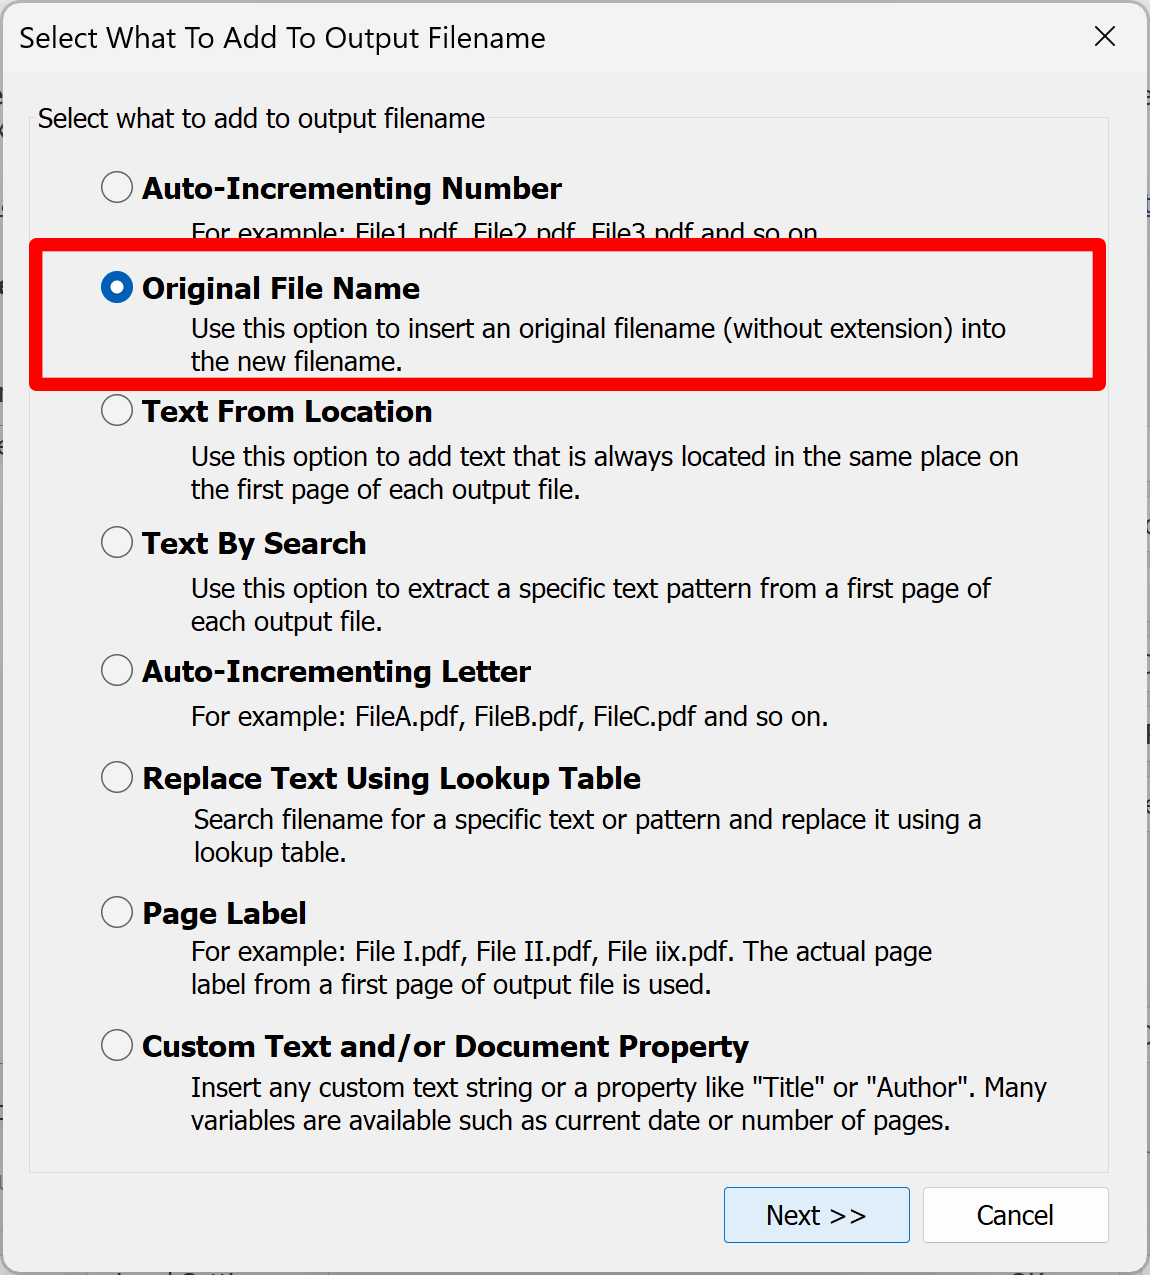
- Select Original Filename Option
- Select Original Filename filenaming component.
- Add Custom Text After Filename
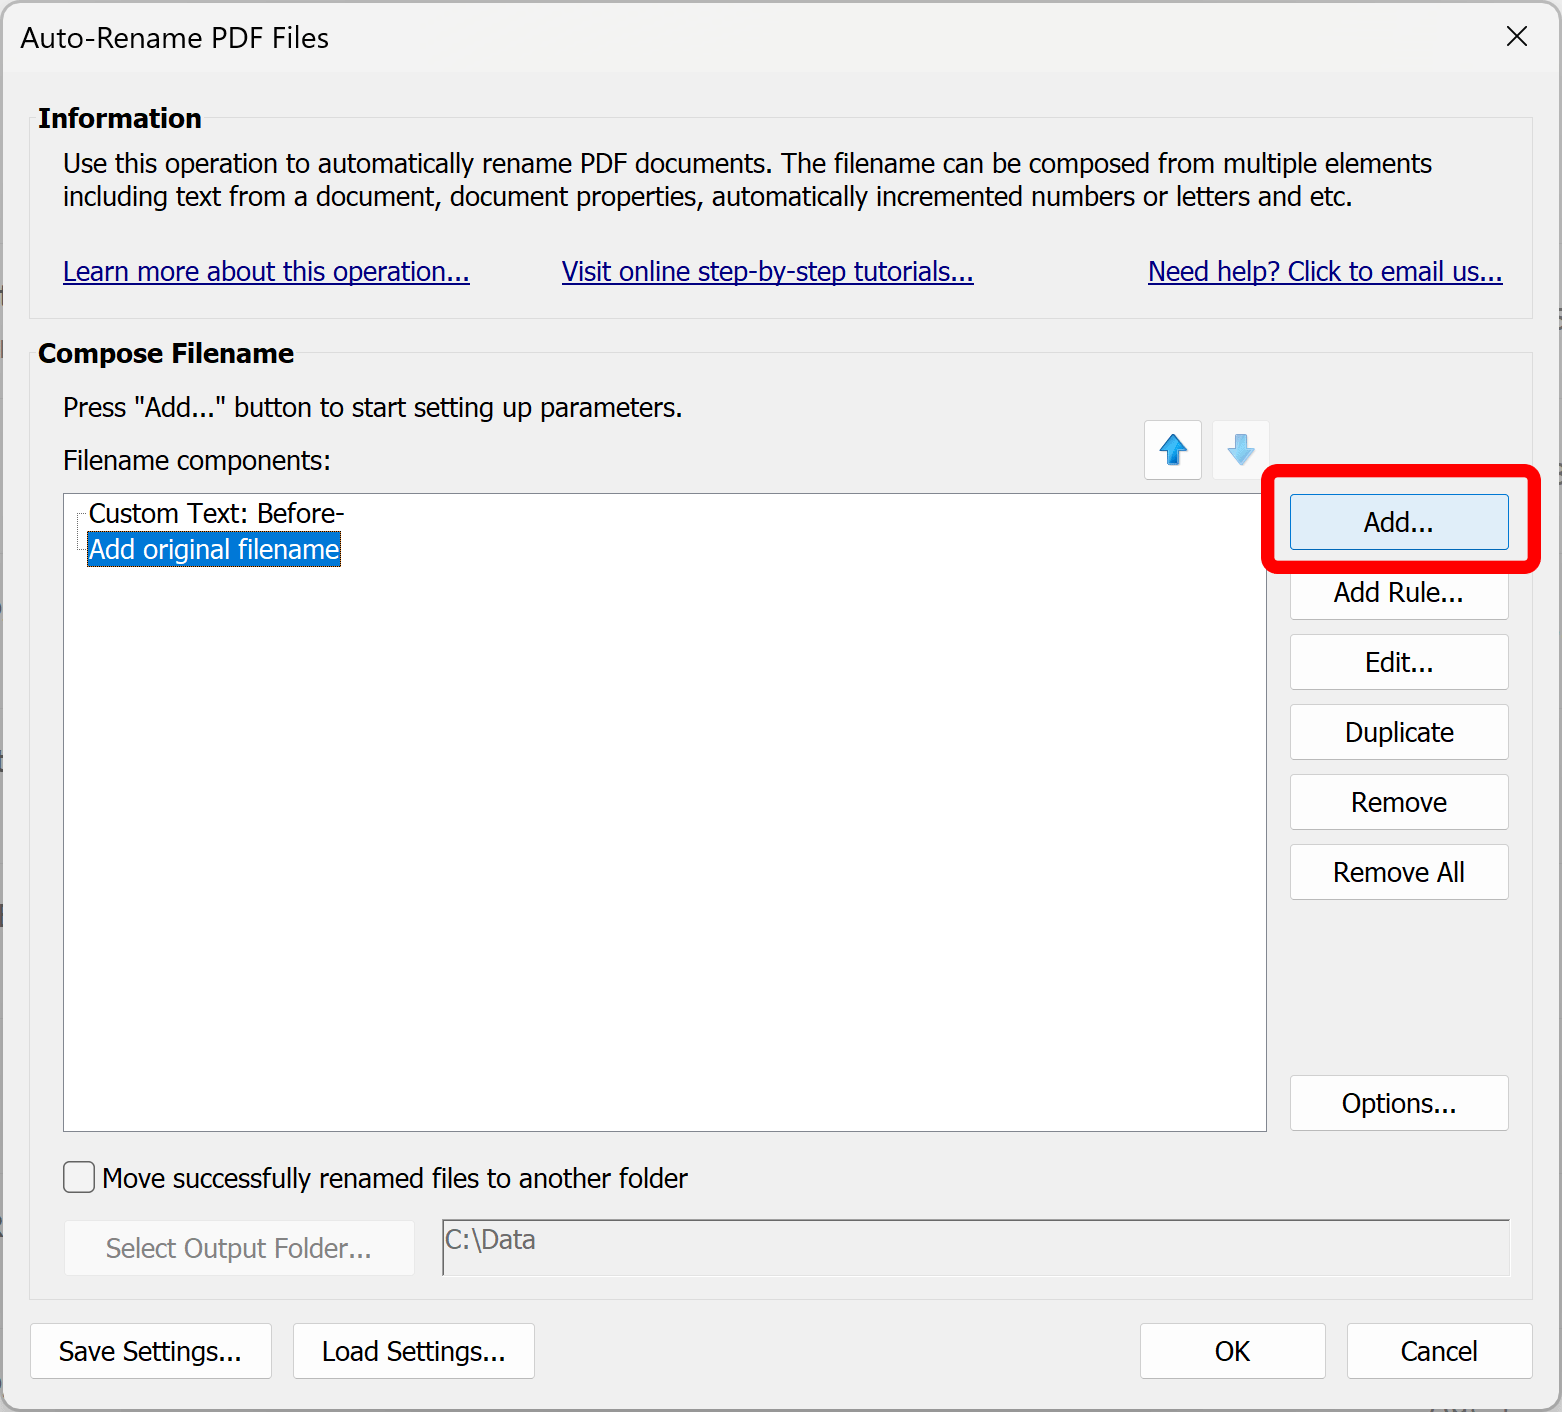
- Press Add... button third time. Now we are going to add a custom text again. It will be inserted after the original filename.
- Select Custom Text Component Option
- Select a custom text option:
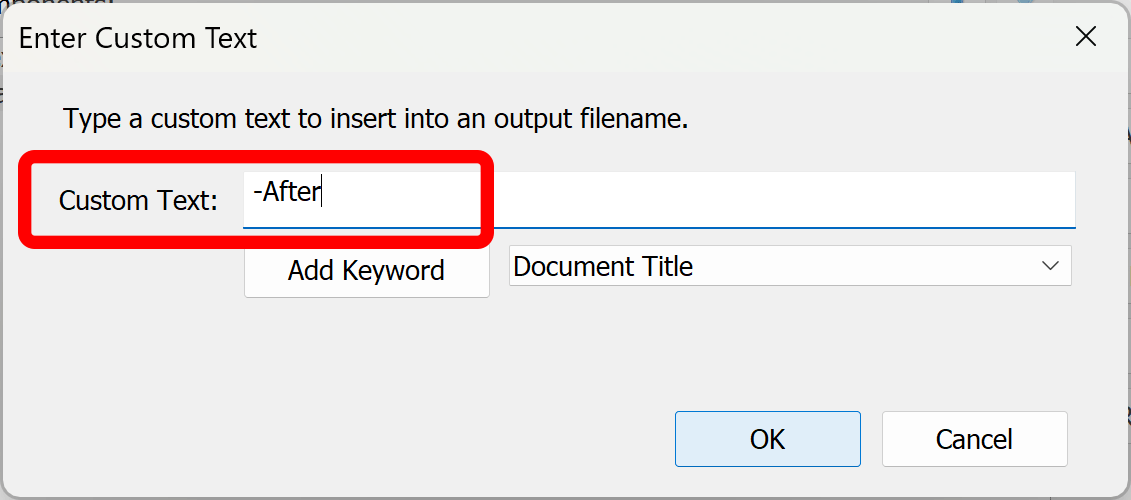
- Enter Custom Text
- Type any text that needs to go after the original filename.
- Start Processing
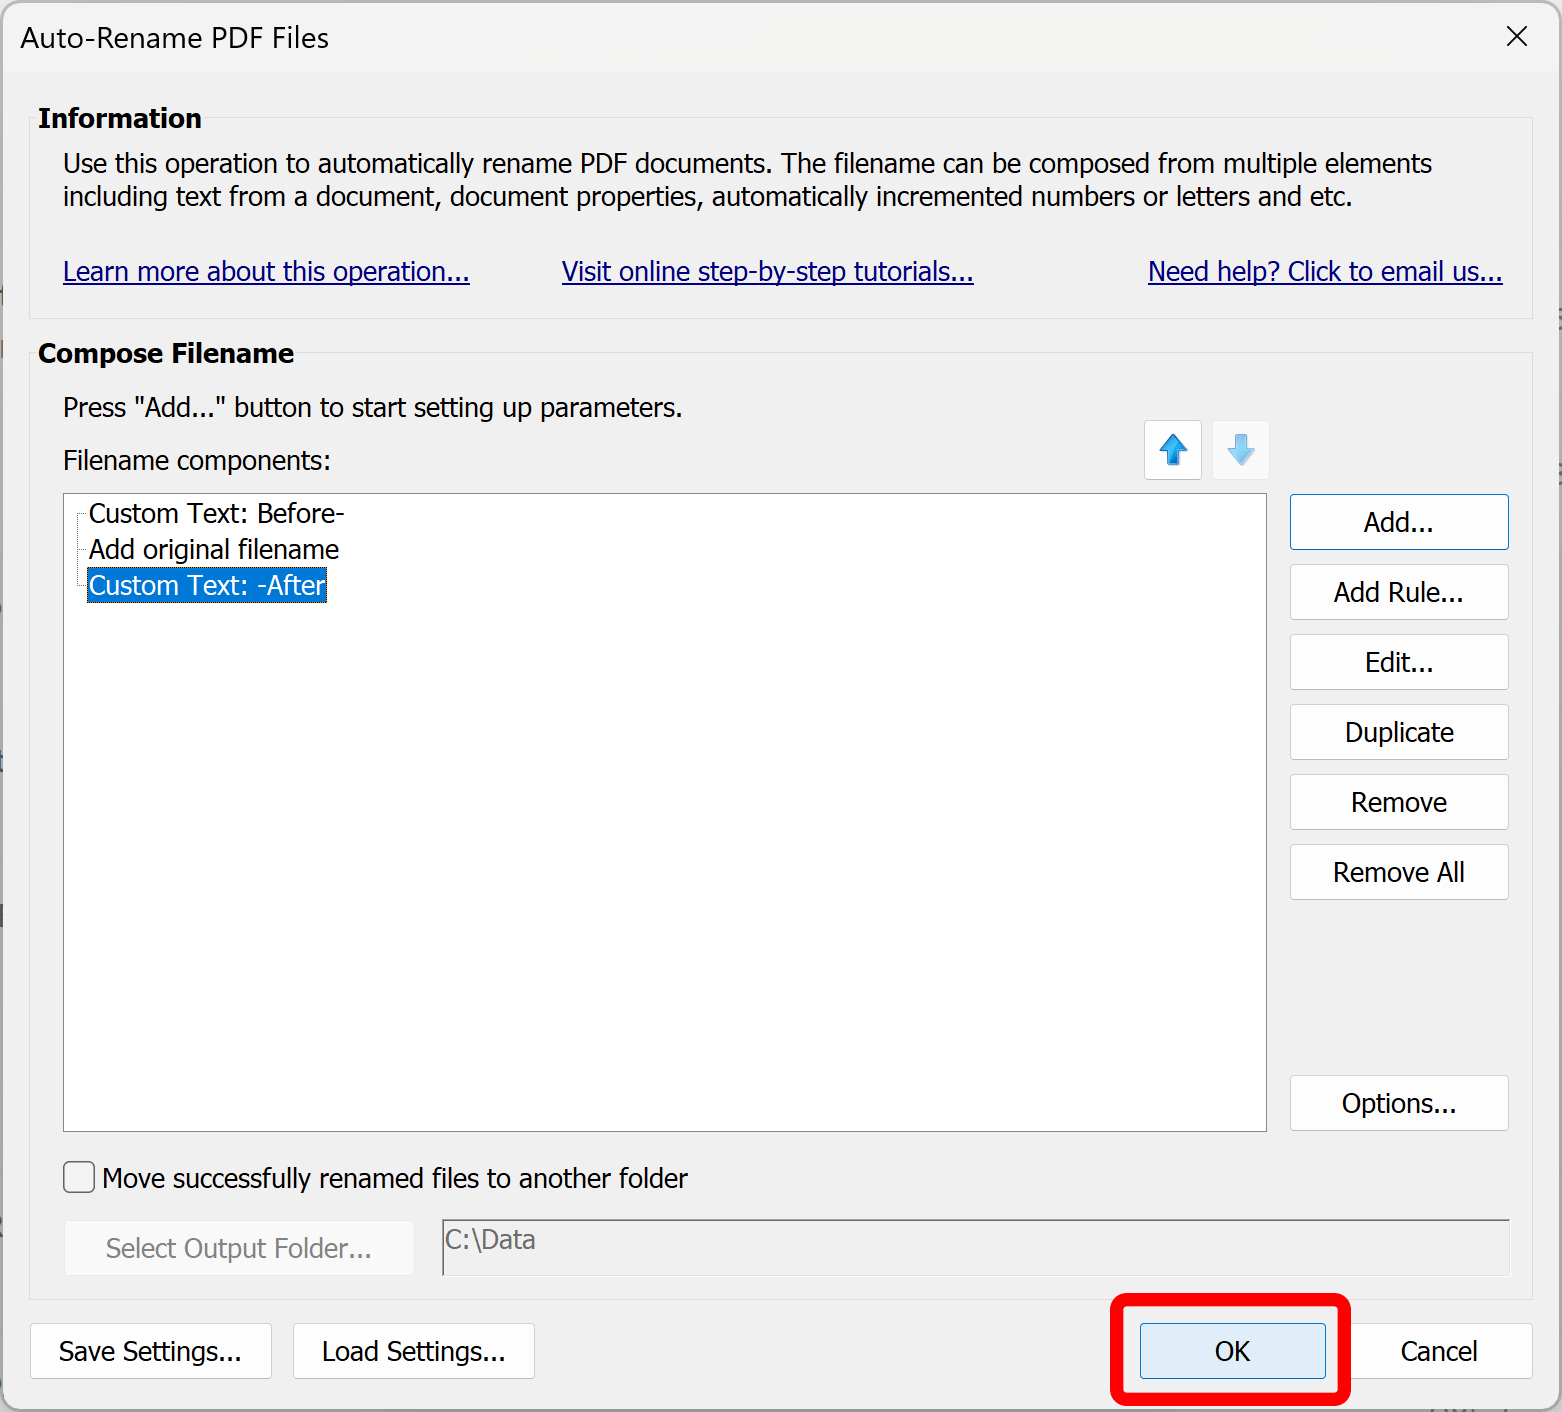
- Press OK button to start processing files.
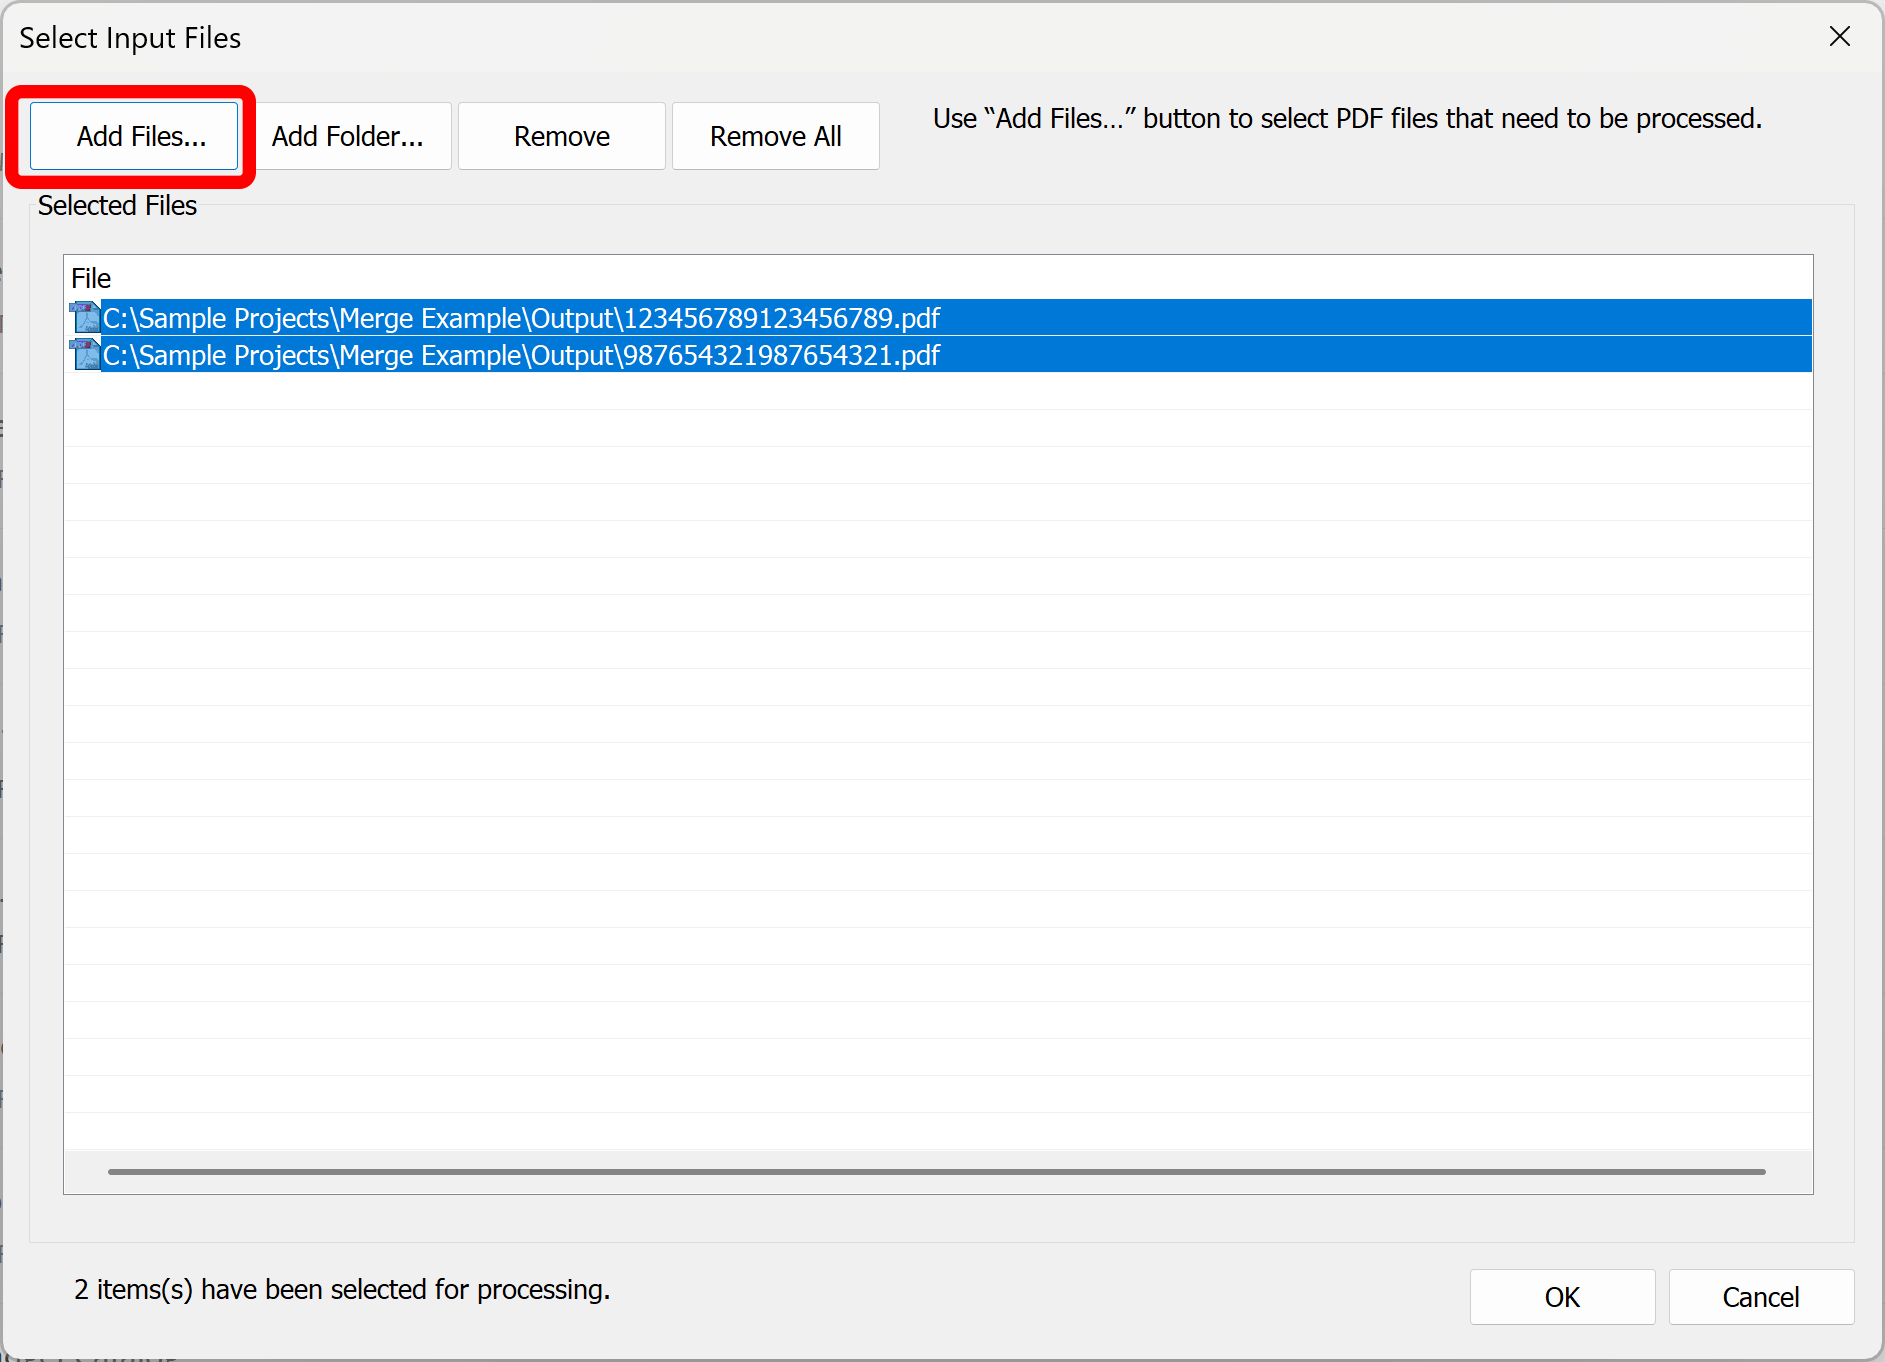
- Select Input Files
- Press Add Files... button to select PDF files for renaming. Press Next... button when done selecting files. Please note that the files will not be renamed at this step. The proposed filenames will be presented for review, and you will have an opportunity to confirm the changes before the files are actually renamed in the next step.
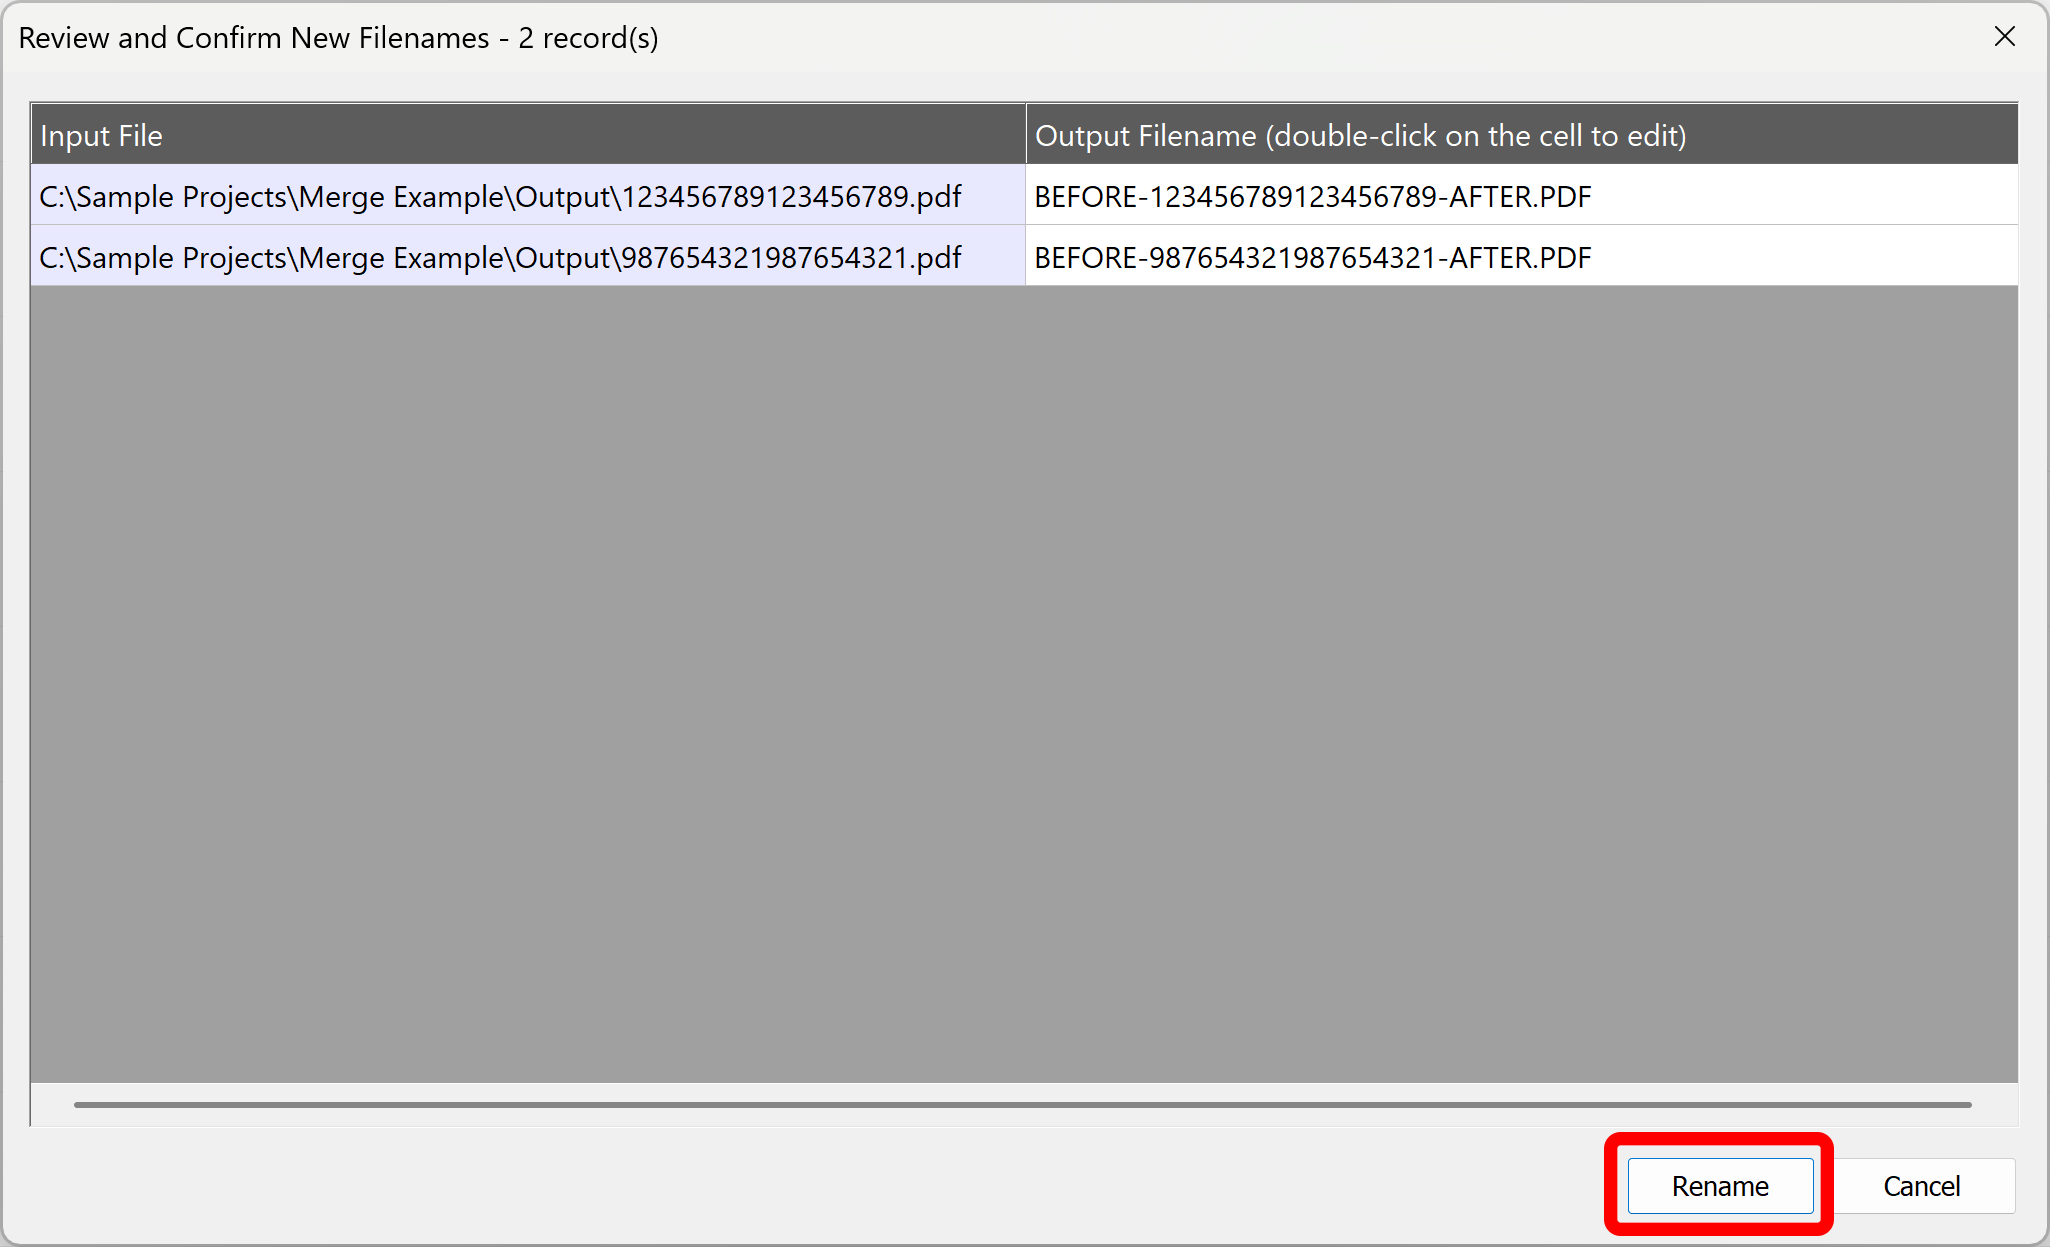
- Review and Confirm Renaming
- Review the proposed filenames and press Rename button to actually rename files. Press Cancel to exit this screen without renaming files.
- Related Tutorials
- See the following link for more AutoSplit auto-renaming tutorials.