Automatically Distribute Email Attachments with AutoDocMail Via Action Wizard
- Introduction
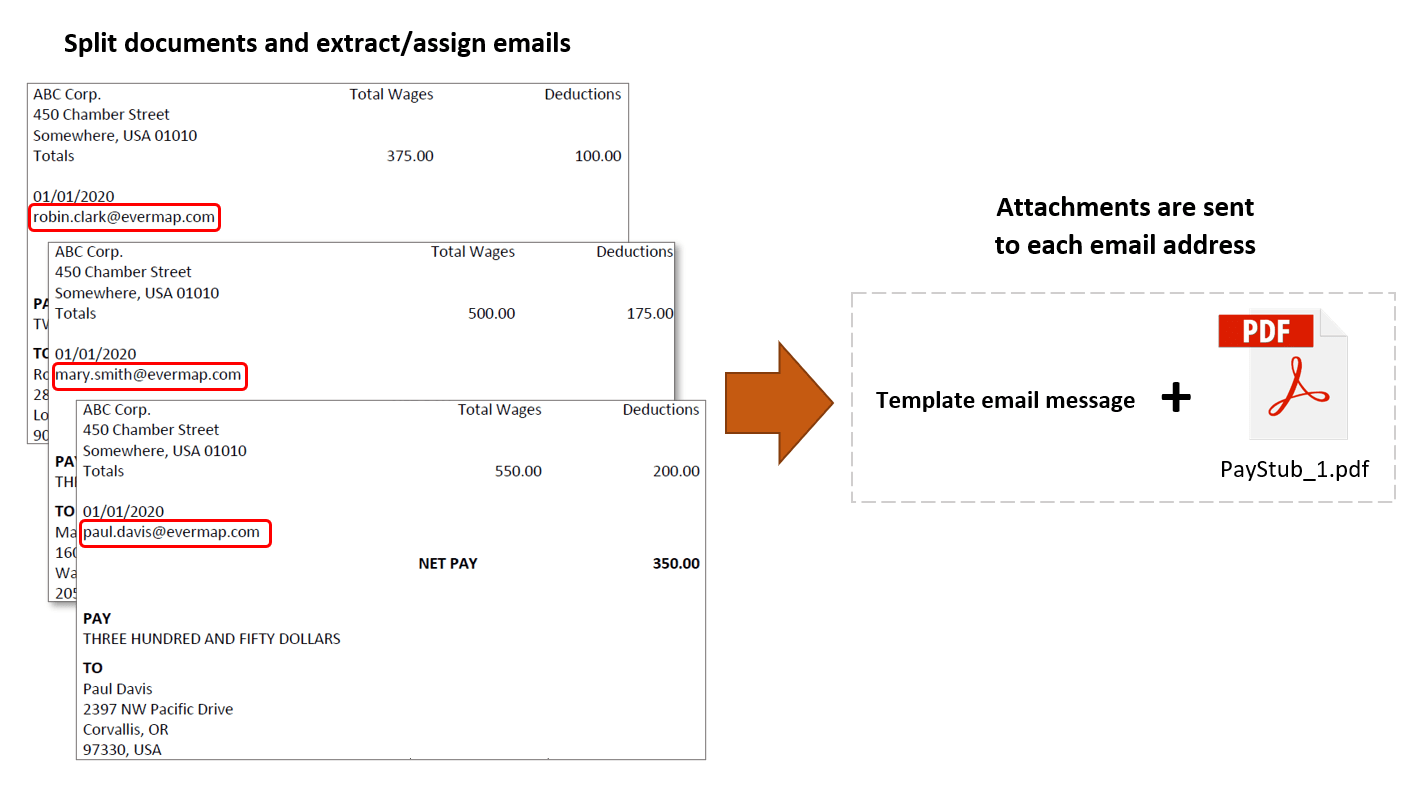
- This tutorial demonstrates how to use Action Wizard to automate sending emails via the AutoDocMail plug-in. Here, we use it to configure a unique settings profile used to split/send multiple business documents to various email addresses with a single click.
- This method uses the 'Action Wizard' tool (known as "Batch Processing" in earlier Acrobat versions) to automate this task. It allows you to create a series of PDF processing commands called "actions" with user-specific settings. "Actions" can be executed on multiple files at once, or on the contents of an entire folder. Once an action is created, it can be executed either manually from the Adobe® Acrobat® Pro toolbar, or from a command-line batch file using the AutoBatch™ plug-in.
- In this example, we specify an input folder - the Action Wizard 'action' is then exececuted on any files located here. Using these settings, we will split one source file containing multiple combined pay stubs. Each one features the email address for the recipient somewhere on the page. The plug-in is used to extract the necessary email addresses, and send the correct files to them. This means that the correct recipient only receives the necessary document, delivered as an email attachment.
- Prerequisites
- You need a copy of Adobe® Acrobat® along with the AutoDocMail™ plug-in installed on your computer in order to use this tutorial. Both are available as trial versions.
- Step 1 - Open Action Wizard
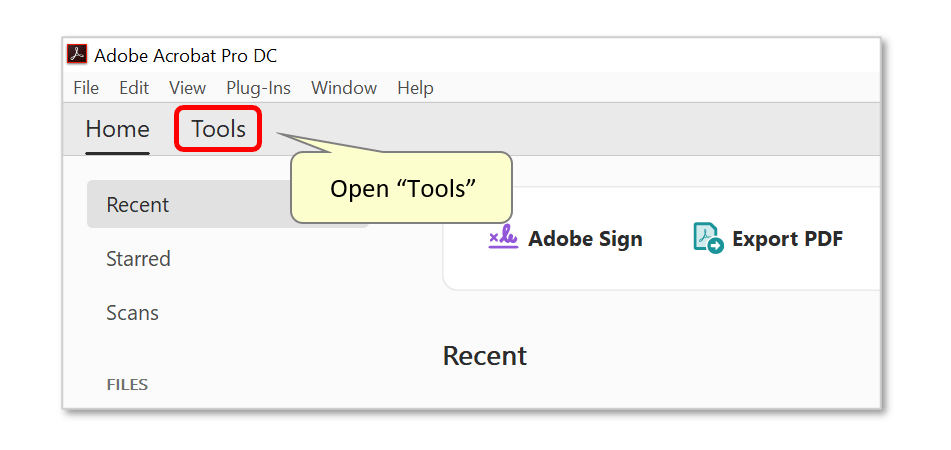
- Open the "Tools" panel.
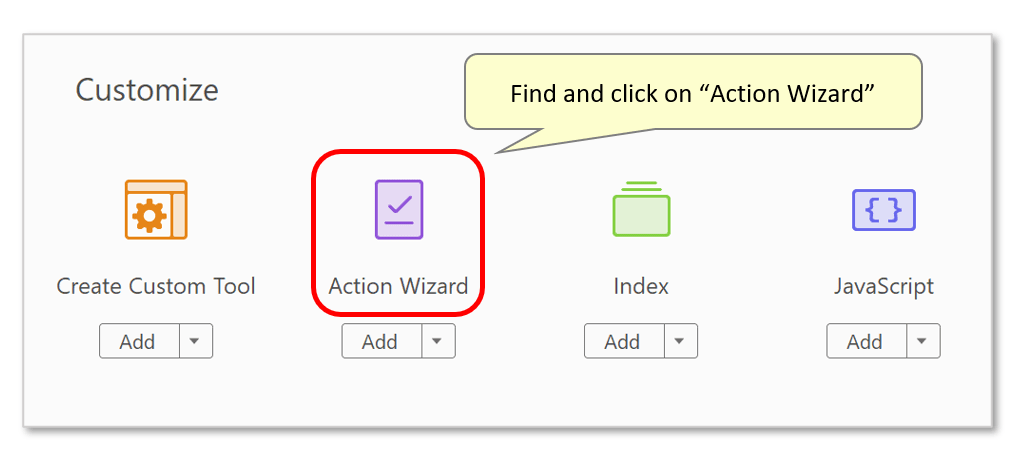
- Find and click on the "Action Wizard" tool icon.
- Step 2 - Create a New 'Action'
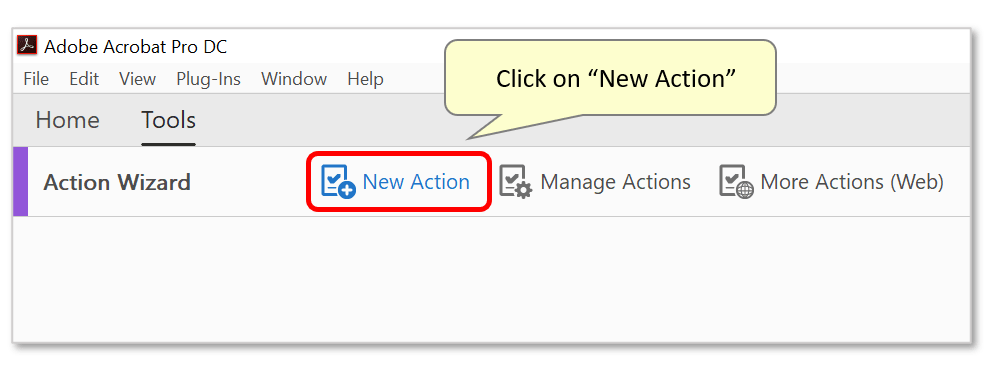
- Click on the "New Action" icon.
- Step 3 - Add the "Auto-Email Document" Command to the Action Steps
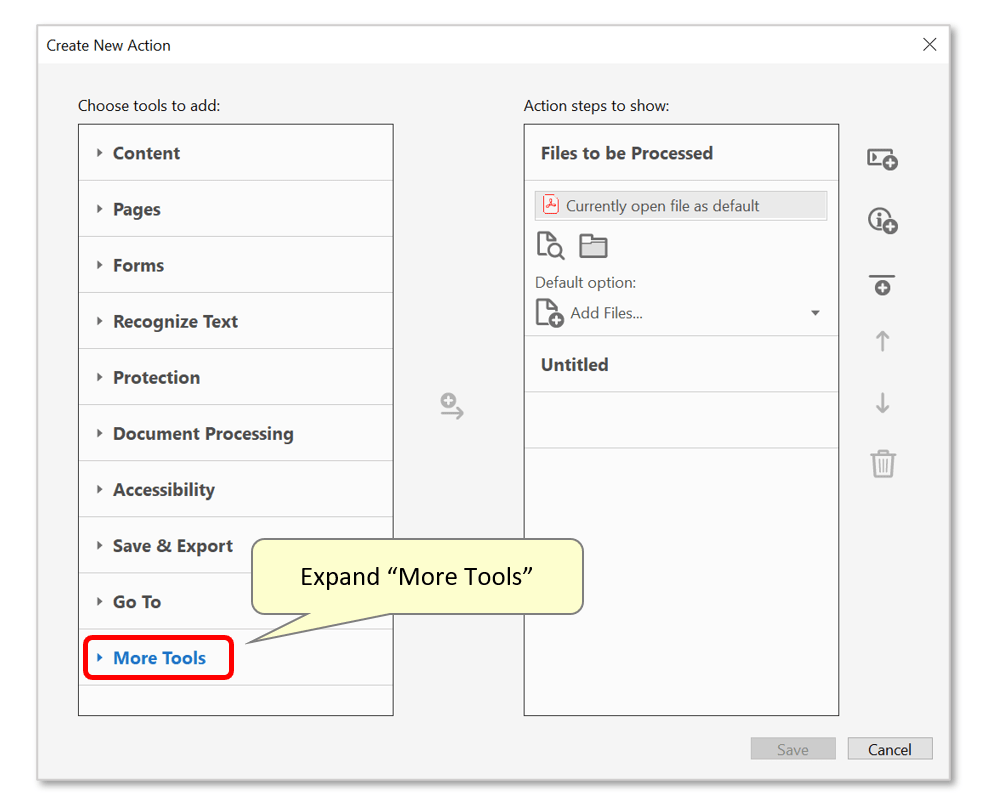
- Click on the "More Tools" category to expand the list of available commands.
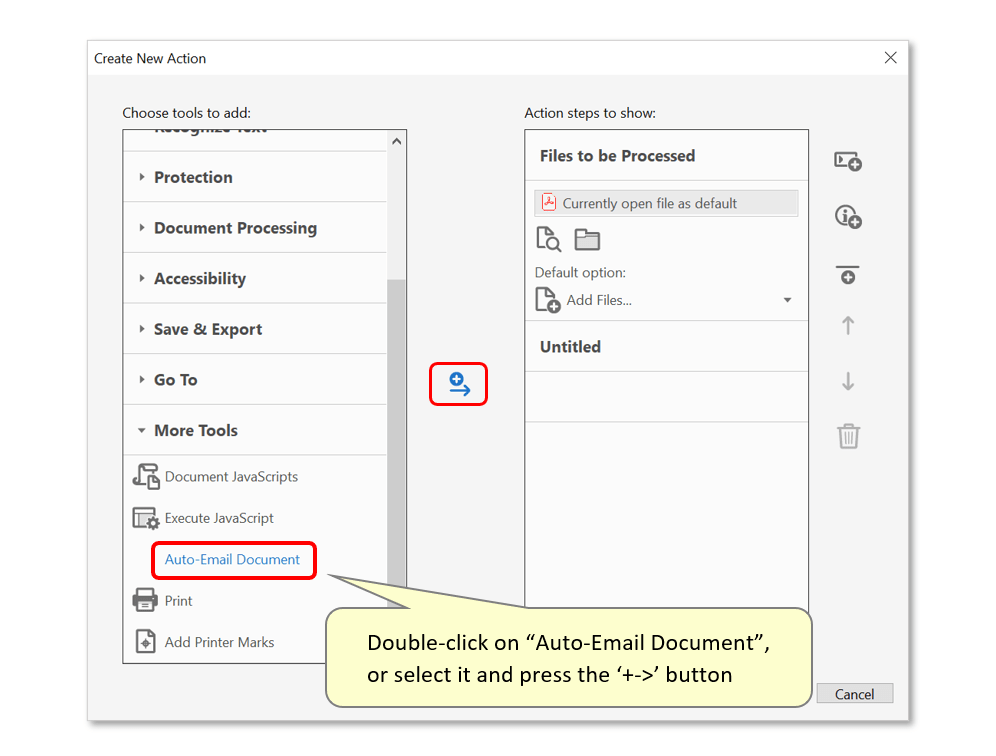
- Find and double-click on the "Auto-Email Document" command - or select it and press the "+->" button.
- Step 4 - Open the Emailing Settings
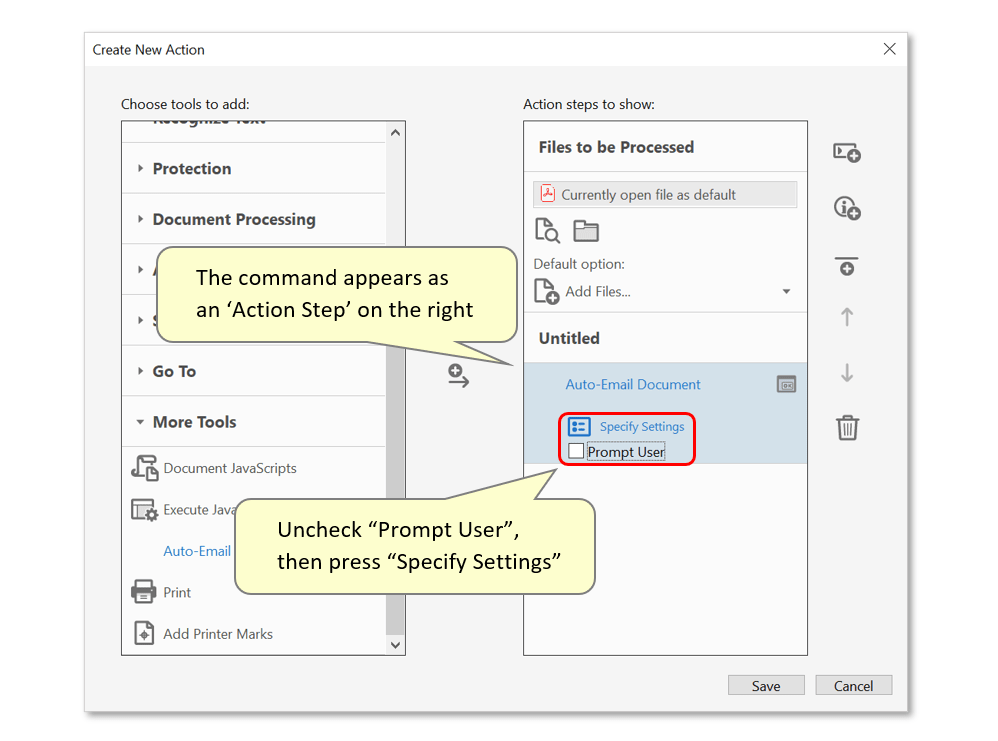
- The "Auto-Email Document" command will appear in the "Action steps to show:" list. Uncheck the "Prompt User" checkbox - otherwise the program would always prompt for the user to modify settings when this action is executed. Then press the "Specify Settings" button to open the standard AutoDocMail settings configuration dialog.
- Step 5 - Configure Emailing Settings
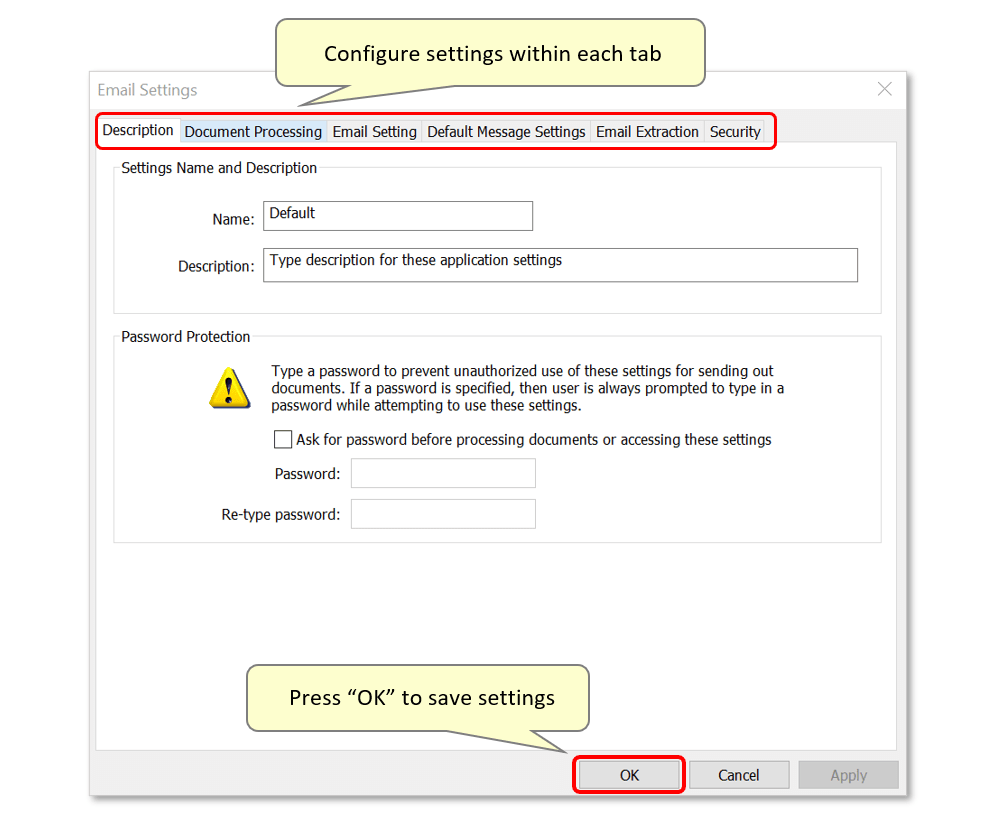
- Use this window to configure the desired method for distributing documents and attachments. Proceed through each tab to specify how files are to be split, as well as how email addresses are extracted/assigned. See more details on configuring general distribution settings here.
- Once done, press "OK" to save the configuration.
- Step 6 - Select the Input Folder
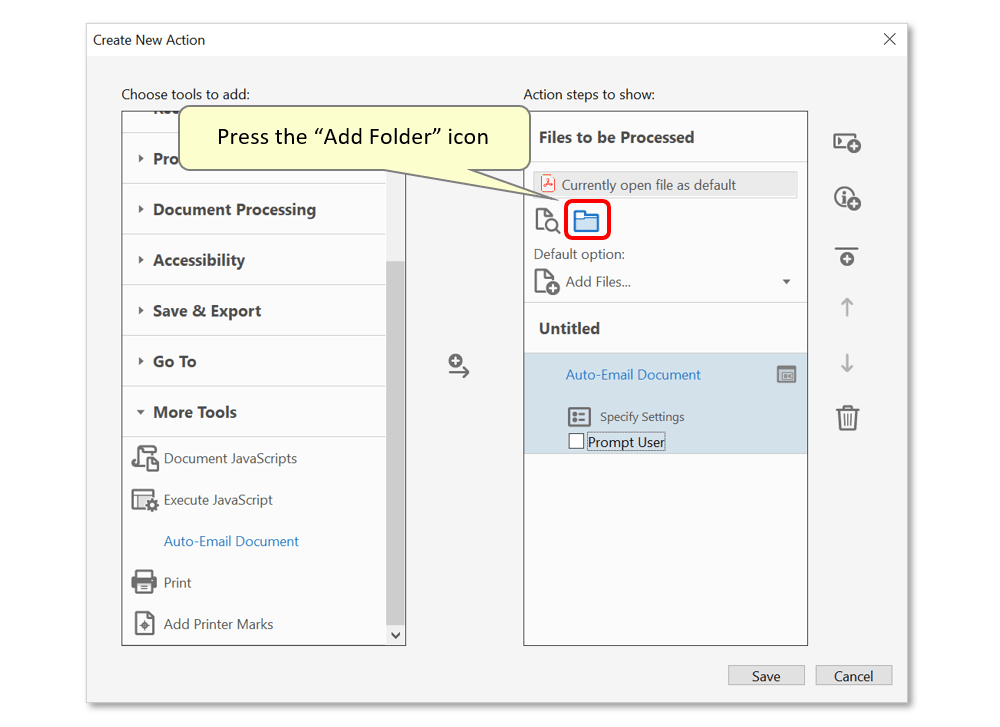
- The action can be used to process files located within a specific folder with a single click. Specify the folder at this stage by pressing on the "Add Folder" icon under "Files to be Processed".
- Note: To manually select different input files/folders each time the action is used, ignore this step. Files for processing can be selected manually at a later stage.
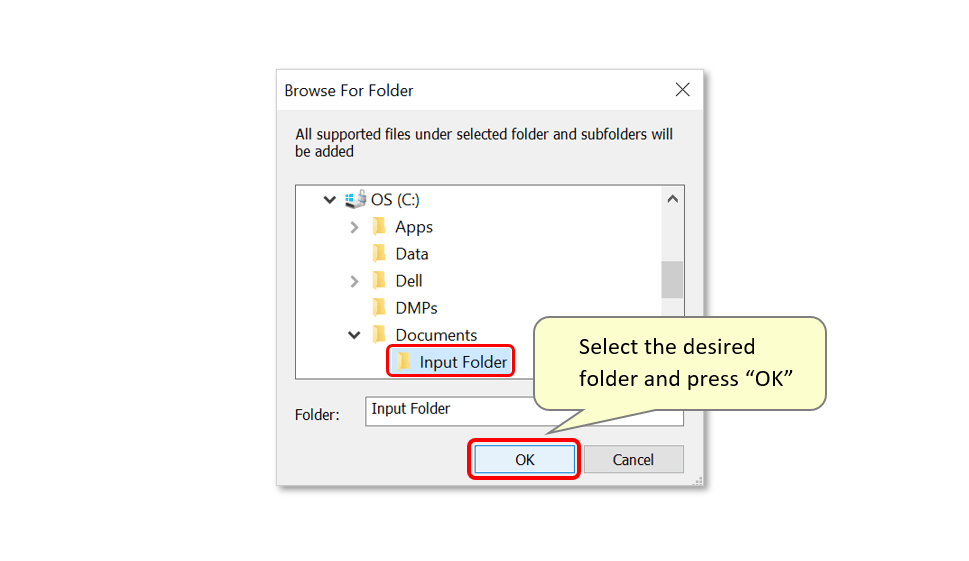
- Use this dialog to locate the desired input folder. Press "OK" once done.
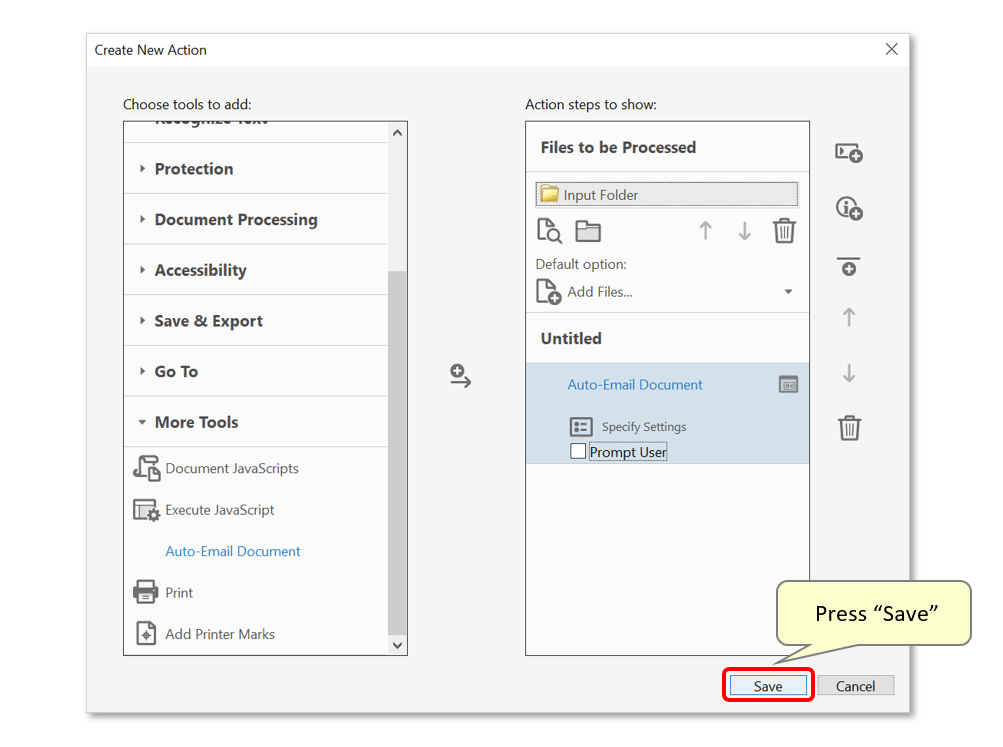
- Step 7 - Save the Action
- Press "Save" to save the action.
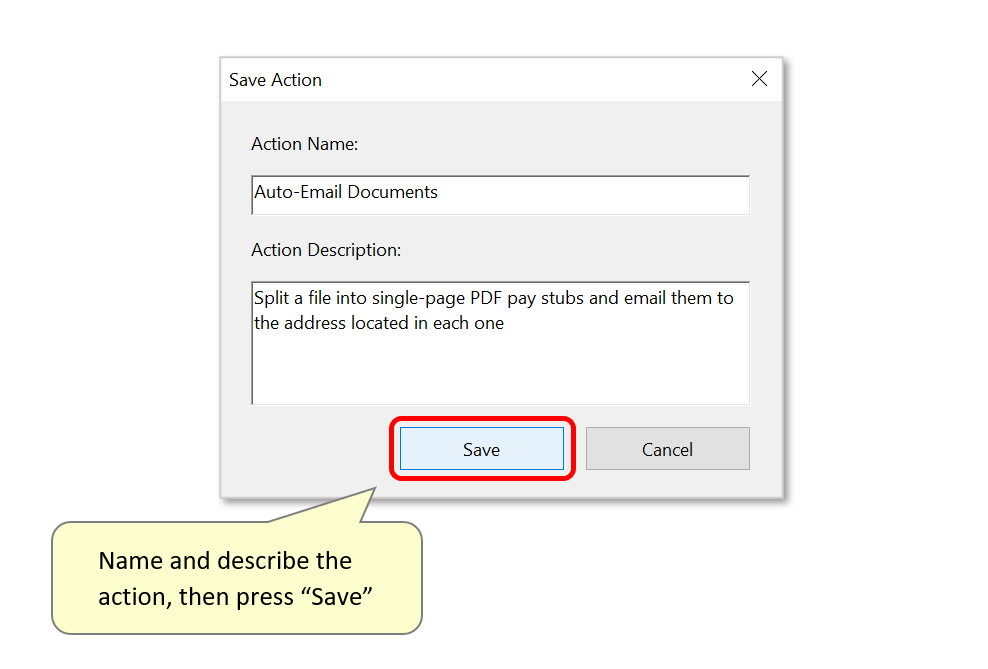
- Now type a suitable "Action Name" and optionally a description into the "Save Action" dialog, then press "Save".
- Step 8 - Execute the Action
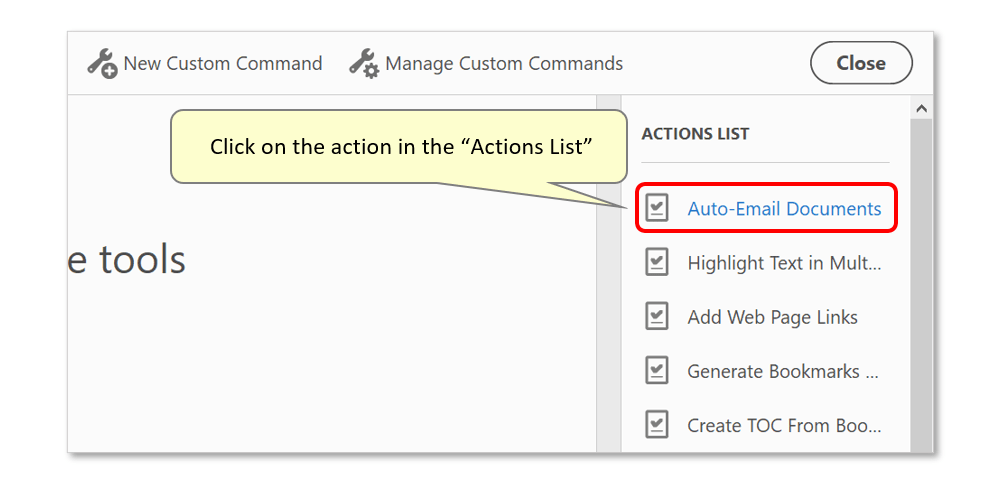
- The new action will have been added to the "Actions List" on the right. Click on it to use it.
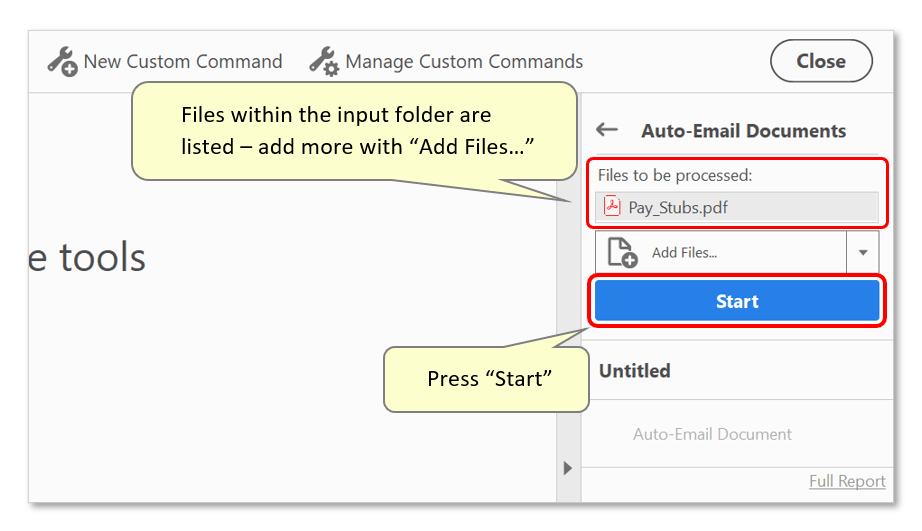
- Any file(s) located within the input folder will now be listed under "Files to be processed:". More can be added via "Add Files..." In this example, the "Pay_Stubs.pdf" file will be split into individual documents and emailed to the corresponding recipients.
- Press "Start" to begin running the action.
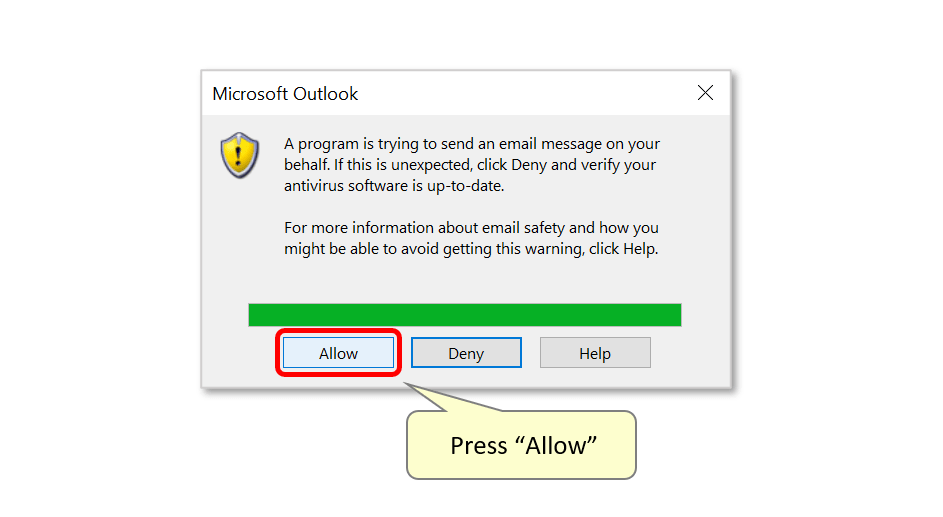
- If the "Confirm emailing of each message..." option is left checked under "Email Settings", MS Outlook (if used) will prompt for confirmation when sending each email. When this dialog appears, press "Allow" each time to approve the email being sent. Sending emails and attachments using this method is much faster when this option is unchecked. The best way to send emails silently and securely is via SMTP email server.
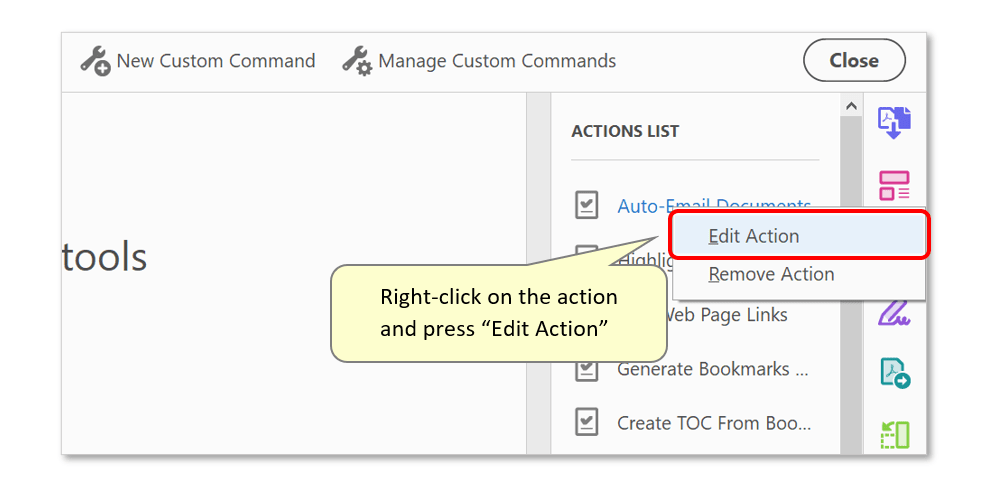
- To edit an existing action's settings, open Action Wizard and right-click on it in the "Actions List". Then press "Edit Action" to re-configure it. Press "Specify Settings" (see step 4 above) to make the necessary changes.
- Click here for a list of all step-by-step tutorials available.