Deleting PDF Page Ranges
AutoSplit plug-in for Adobe® Acrobat®
- What is it for?
- The AutoSplit™ plug-in offers a powerful way for deleting pages from PDF documents by specifying a list of individual pages and page ranges. Pages can be specified either directly as absolute page numbers or indirectly via bookmarks, named destinations or page labels. Indirect page referencing provides a very flexible way to specify page ranges.
- This operation is also available in Action Wizard (Acrobat's batch processing tool) and can be used for automating of document processing workflows.
- The instructions below consist of two parts. The first part explains how to delete pages by specifying pages both directly and indirectly. The second part explains how to define your own PDF processing "action" that executes "Delete Page Ranges" batch command using Action Wizard tool in Adobe Acrobat Pro.
- What do I need?
- You need a copy of Adobe Acrobat Standard or Professional along with AutoSplit™ plug-in installed on your computer in order to use this tutorial. You can download trial versions of both Adobe Acrobat and AutoSplit™. The batch processing functionlaity requires Acrobat Pro.
- Step 1 - Open a PDF File
- Start Adobe® Acrobat® application and open a PDF file using “File > Open…” menu.
- Step 2 - Open “Delete Pages” Dialog
- Select “Plug-ins > Split Documents > Delete Page Ranges…” from the main Acrobat® menu.
[⚡ How to locate Plugins menu in Adobe® Acrobat® ⚡] - Step 3 - Specify Pages to Delete
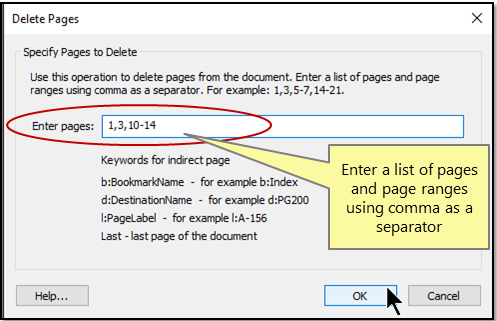
- Enter a list of pages and page ranges that needs to be deleted. Pages can be specified either directly as absolute page numbers or indirectly via bookmarks, named destinations or page labels.
- Absolute Page Referencing: Enter a list of absolute page numbers for deleting (using comma as a separator). Single pages and multiple page ranges can be specified. For example, type: 1,3,10-14. This will delete pages 1,3,10,11,12,13,14 from the PDF document. The order of the pages in the list of page ranges is not important.
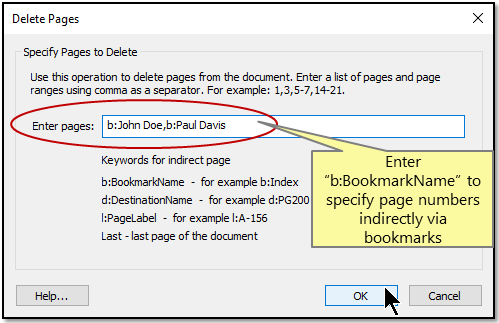
- Reference Pages By Bookmarks: Enter “b:" keyword followed by a bookmark name that goes to the page to specify page numbers indirectly via bookmarks. For example, the following instruction will delete pages in PDF document, where bookmarks "John Doe" and "Paul Davis" pointing to: b:John Doe,b:Paul Davis.
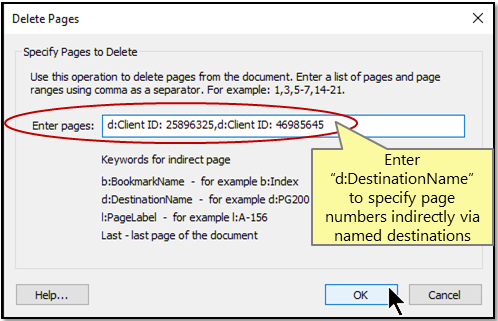
- Reference Pages By Destination: Enter “d:" keyword followed by a destination name to refer to the corresponding page. For example, the following keywords will delete 2 pages in PDF document, pointed by named destinations "Client ID: 25896325" and "Client ID: 46985645": d:Client ID: 25896325,d:Client ID: 46985645.
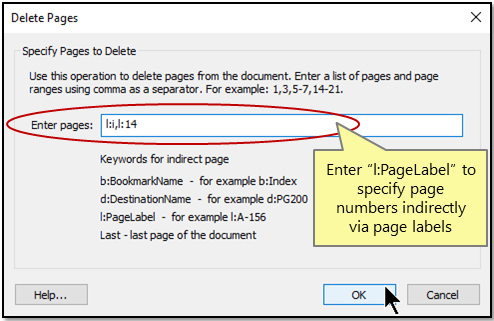
- Reference Page By Page Labels: Enter “l:" keyword followed by a page label to specify page numbers indirectly via page labels. For example, the following instruction will delete pages in PDF document with the page labels "i" and "14": "l:i,l:14".
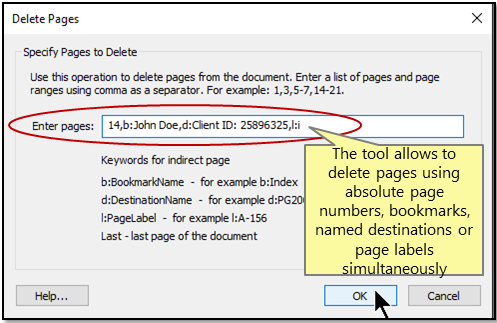
- Use all Keywords: Mix and match keywords to delete pages using any of the available page reference methods. Use absolute page numbers, bookmarks, named destinations or page labels simultaneously.
- Click “OK” to start deleting process..
- Step 4 - Inspect the Results
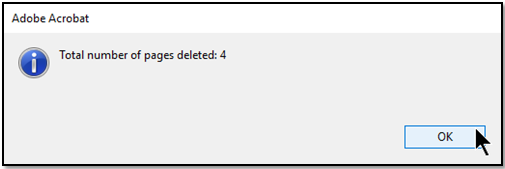
- AutoSplit™ would remove specified pages from the PDF document.
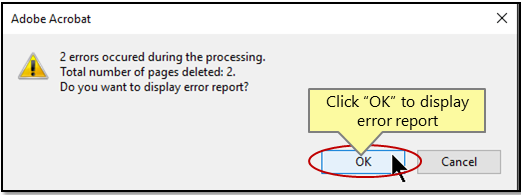
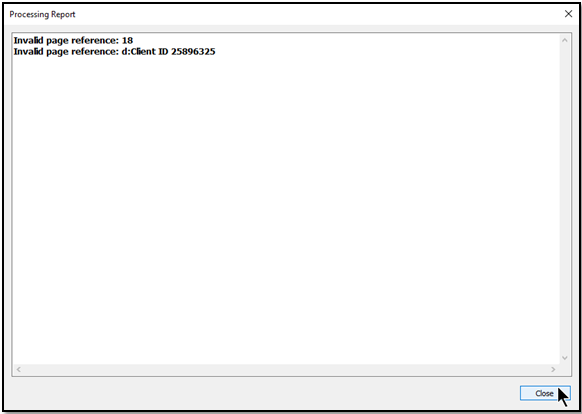
- If the errors occur during the process, then the user will be prompted to see a processing report. Click “OK” to display an error report.
- The processing report with errors would be displayed.
- Using Guided Actions with "Deleting Page Ranges" command
- The Adobe Acrobat® Professional offers a powerful way for automating repetitive tasks on the number of documents at once. This functionality is called Guided Actions (aka Action Wizard) .
- The following tutorial shows how to use "Delete Page Ranges" command to process multiple files at once.
- Step 1 - Start Action Wizard
- Step 1 - Start Guided Actions (Action Wizard)
- If you are using "new" Adobe Acrobat, then show all tools and double-click on "Use Guided Actions" tool icon to open tool controls.


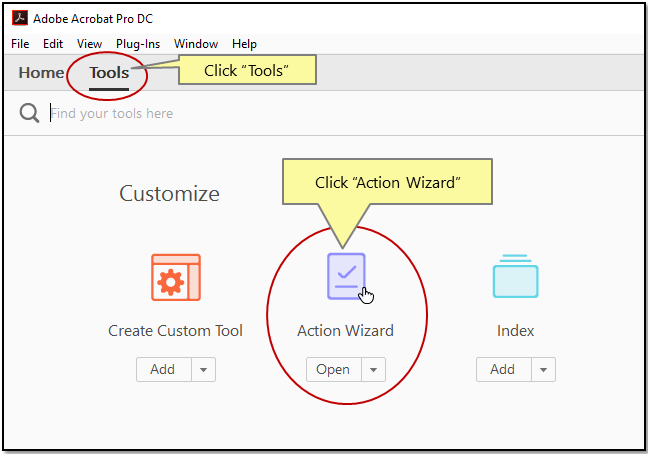
- If you are using "classic" Adobe Acrobat, then select "Tools" panel located on the main Acrobat toolbar. Double-click on "Action Wizard" tool icon to open tool controls.
- Step 2 - Create New "Action"
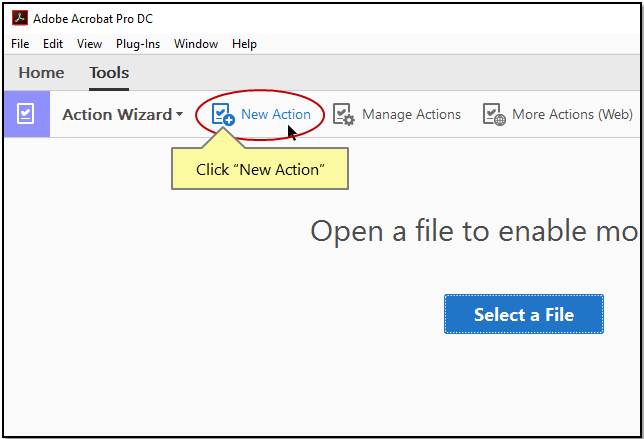
- If you are using "new" Adobe Acrobat, then click on the "New Action" icon to create a new "action".

- If you are using "classic" Adobe Acrobat interface, then click on the "New Action" icon on the "Action Wizard" toolbar to create a new batch processing "action".
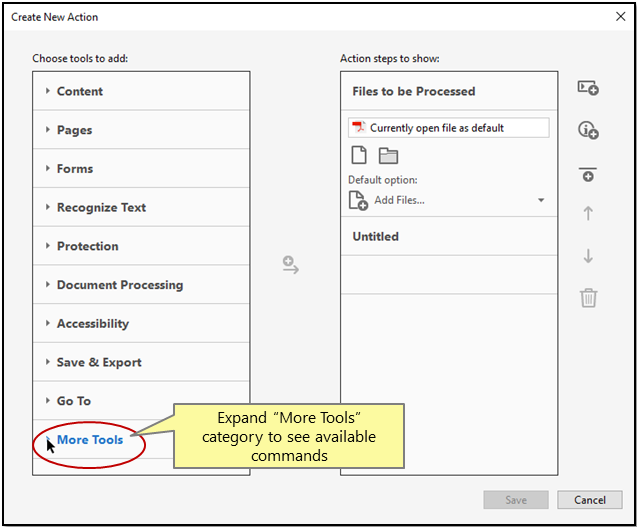
- Step 3 - Expand "More Tools"
- Click on "More Tools" group to see a list of available commands.
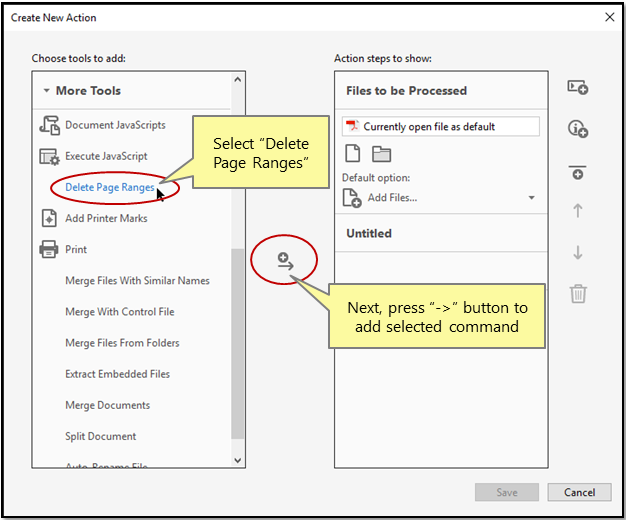
- Step 4 - Add "Delete Page Ranges" Command
- Select "Delete Page Ranges" batch command and press "+ ->" button to add it to the list of action steps.
- Step 5 - Open “Delete Pages” Dialog
- Press "Specify Settings" button to open “Delete Pages” dialog.

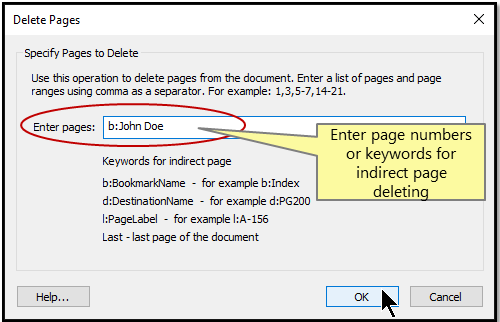
- Step 6 - Specify Pages to Delete
- Enter page numbers or keywords for indirect page deleting. For example, enter “b:John Doe" keyword to delete a page pointed by John Doe bookmark.
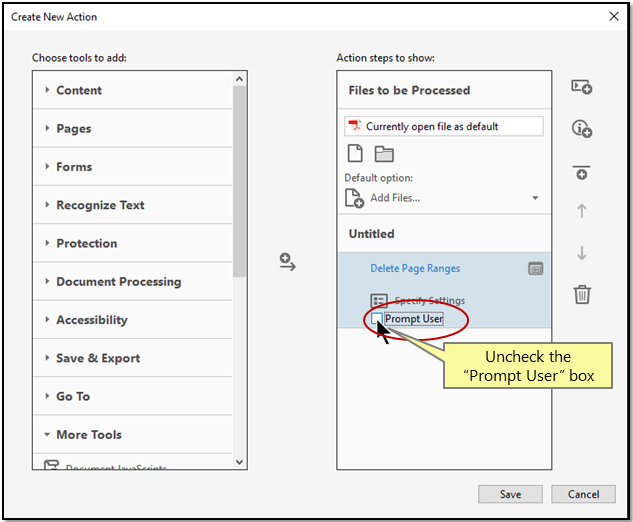
- Step 7 - Uncheck the "Prompt User" Box
- Uncheck the "Prompt User" option, otherwise the command would always display a settings dialog when executed.
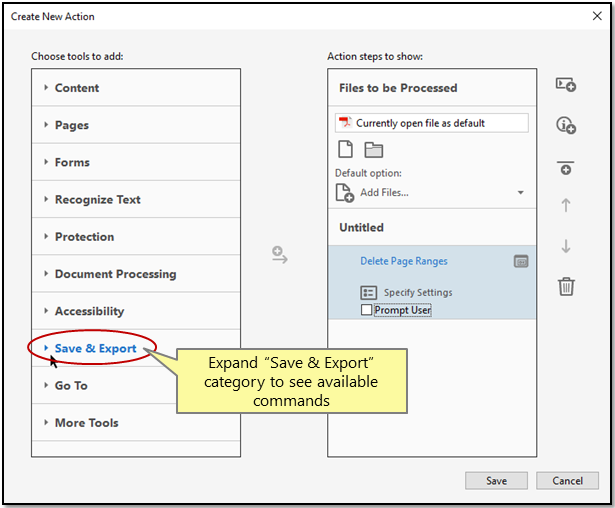
- Step 8 - Expand "Save & Export" Command Group
- Click on “Save & Export” command group to see a list of available commands.
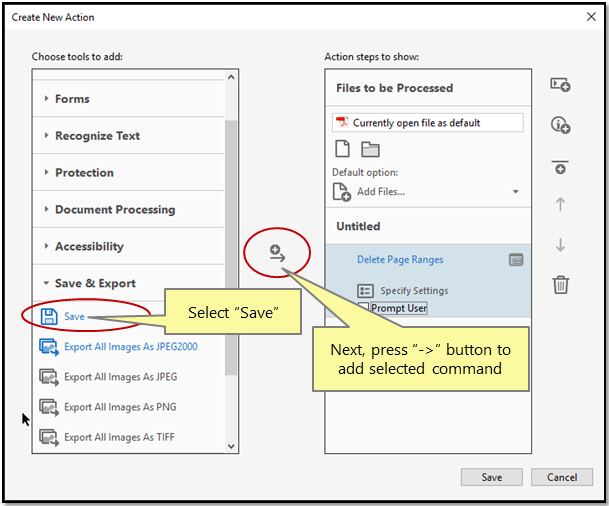
- Step 9 - Add "Save" Command
- Now add "Save" command to save processed file(s). Select "Save" batch command and press "+ ->" button to add it to the list of action steps. This step is necessary to save changes in the PDF documents back to files.
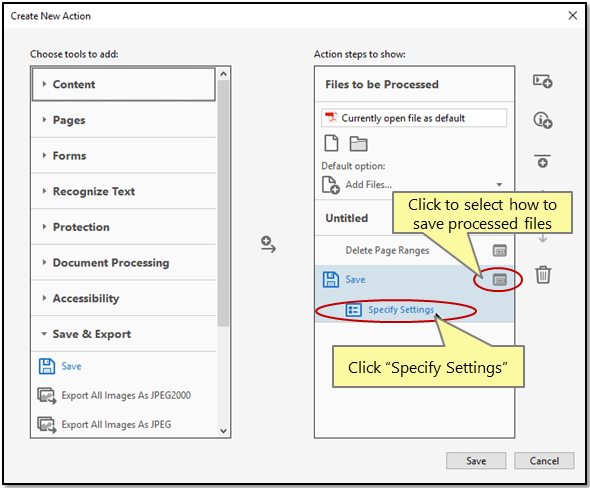
- Step 10 - Specify Where To Save Changes
- Click on the Save menu and select the way you want to save files ("Save", "Save As", "Save To Local Folder"). Press "Specify Settings" button to enter options. Specify filenaming options. Press "OK" button once done.
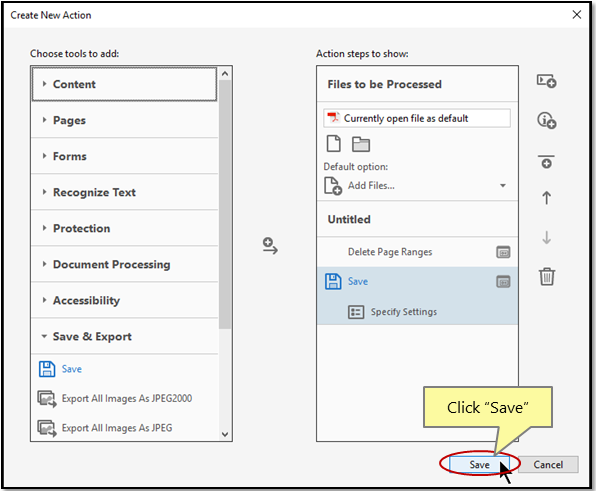
- Step 11 - Save "Action"
- Now we have completed configuring the command. Press "Save" button to save these settings as a named "action".
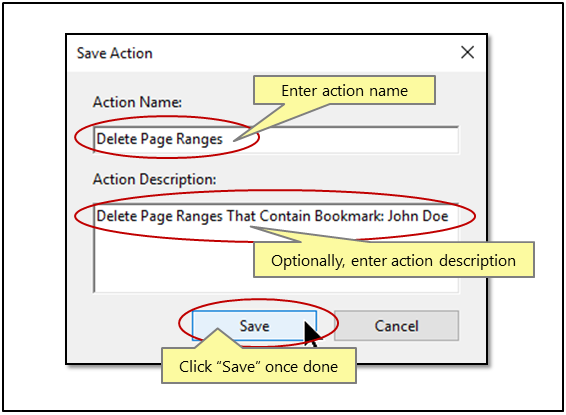
- Step 12 - Add "Action" Name and Description
- Type desired "Action" name and description into "Save Action" dialog. Press "Save" button to save the action.
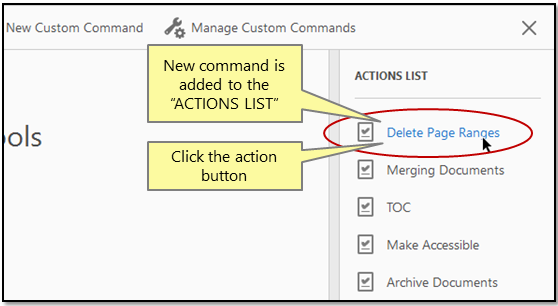
- Step 13 - Select "Action" For Execution
- Now you should see this new "action" added to the "Actions List". Click on the "action" in the "Actions List" to execute it.
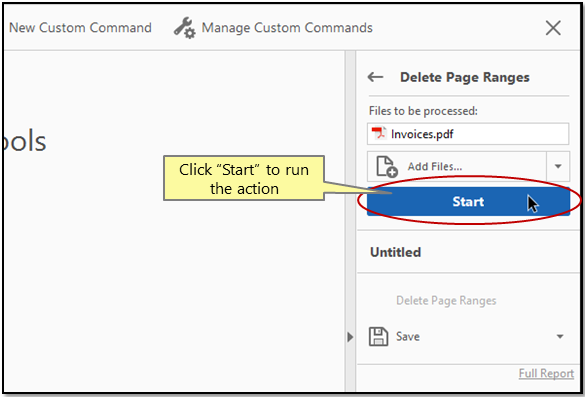
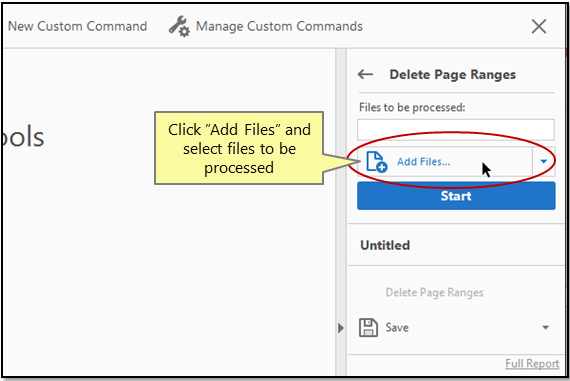
- Step 14 - Select Files to Be Processed
- Click ”Add Files” and select file(s) to be processed.
- Step 15 - Starting the Action
- Press "Start" button to execute the "action" and delete pages in the selected files according to specified settings.